Showing posts with label Stitched Wide Rectangle Frame Set. Show all posts

Wednesday, January 08, 2020

Holiday Wishes & Gingerbread Kisses

Hello!  This is Sukie and today I'm sharing this sweet card. I have one last card to share from the Christmas holiday created with the adorable gingerbread couple from the Gingerbread Baking Set.
The couple was die cut in card stock along with 4 frames: Stitched Wide Rectangle, Nested Stitched Scallop Rectangle, Stitched Rectangle and the Rectangle set.
The sentiment is from the Scrappy Moms (retired) Winter Wishes stamp set.  I punched holes on each side of the sentiment tag and tied it some Candy Cane Trendy Twine.
The frames were layered together and adhered to the card base. The different sized frames nested inside one another perfectly.
The first gingerbread was angled a bit and placed in the left hand corner of my card directly under the sentiment.
The second gingerbread was adhered directly opposite of the first which completed this festive card.
Here are the die sets used on my card available in the store:


Tuesday, September 03, 2019

Party Animal Bus

Hi, Janja is here with you.
Today I would like to show you another birthday card.


- CottageCutz dies: Party Animal Bus, Fancy Happy Birthday, Stitched Wide Rectangle Frame Set
- white card base: 4.25 x 5.5" (10,8 x 14 cm), folded
- colored cardstock
- colored ink pads
- cloud stencil
- glue, double-sided adhesive tape, self-adhesive foam pads

Start by die-cutting the bus from colored cardstock. Additionally color edges with colored pads.


Also die-cut a sentiment and two strips. I used the largest die of the set.


Create a cloudy sky background with a stencil, ink pad and brush.


Cut a white frame with two rectangle dies. The size should match the size of the cloudy sky background.
Now all we have to do is put together a card.


Have a nice day. 
Janja


Tuesday, August 13, 2019

Let’s Celebrate With a Cake

Hi, Janja is here with you.
Today I have two simple birthday cards with a cake for you. Let's see how they look in different color combinations.


- CottageCutz dies: Mad Hatter Cake, Nested Stitched Scallop Rectangle Set, Rectangle Set, Build An Easter Egg (bow), Stitched Wide Rectangle Frame Set
- card base: 4.48 x 5.66" (11,4 x 14,4 cm), folded
- colored cardstock
- colored ink pads
- self-adhesive foam pads, glue
- white craft foam

First, cut out all the pieces for the cake from colored cardstock. Assemble and paste them together.


Prepare the card base and cut two rectangles out of beige and kraft cardstock - 4.21 x 5.47" (10,7 x 13,9 cm).
Cut out the red ribbon with the largest die from the Stitched Wide Rectangle Frame set.
Use the largest die from both basic sets for the frame.


Apply glue to the back of the frame and paste it to the rectangle. Create an extra dimension with craft foam.


Now spray the background with white paint. Use a brush.


Once all the elements are ready, assemble the card.


Have a nice day.
Janja


Wednesday, August 07, 2019

Happy Birthday

Hello!  This is Sukie and I have another birthday card to share created with the new Cottage Cutz Birthday dies.
I found the patterned paper in my stash and pulled the solid color stock to coordinate with the colors.
I cut out the Party Mouse with Presents in white card stock and used some inks to shade all of the pieces.  I also cut the Stitched Wide Rectangle Frame.
Totally Sky Trendy Twine coordinated perfectly with my background paper.  The sentiment is from the Scrappy Moms (retired) Simple Sentiments.
The patterned paper was layered on the red card stock.  I wrapped the twine at the top of the card base.  The lighter blue paper was layered underneath the Wide Rectangle Frame.
The sentiment was anchored in the corner of the frame and the Birthday Mouse with Presents was balanced inside the frame.
The finishing touch was a twine bow.  I tied the ends of the bow for a bit more softness on my card. 
Here are the dies used on my card, available in the shop:

Saturday, June 15, 2019

A Fairy Happy Day

Hello Scrapping Cottage friends! Thanks for taking the time to stop and visit with us today. It's Mary Marsh here bringing you the Saturday edition of the Blog. 

We have released the new Magical Garden dies. There are 14 new designs and they are currently on sale at 25% off.

If you love fairies, fairy gardens, gnomes and flowers, you will love these dies. We will have several group posts to jump start your creativity starting next Wednesday, June 19th through Saturday June 22nd. The DT has created some really cute cards showcasing these new dies so make sure you check back each day. 

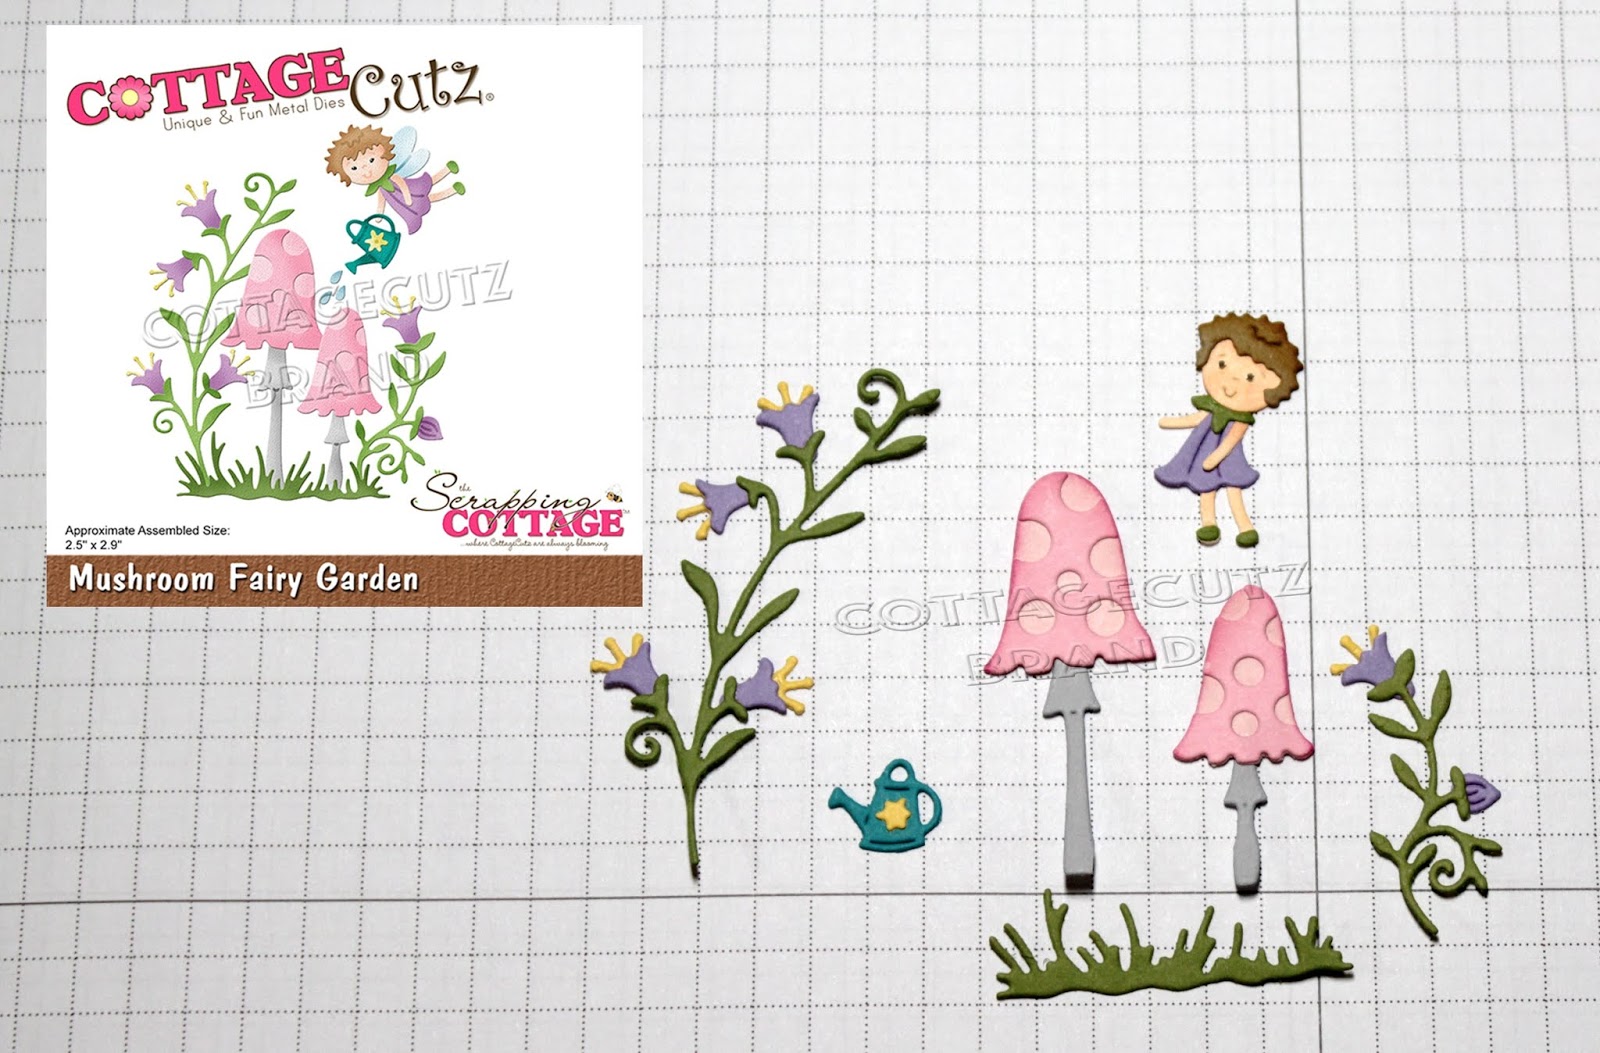
 Today, I am featuring the new Mushroom Fairy Garden die. Let's get started with some details on how I created it.

Step 1: I cut the fairy and the mushroom garden first, using the colors on the packaging. I wanted those colors done first because I was going to sponge the background and I wanted colors that would complement each other.
For the background, I used tumbled glass, broken china, spun sugar and picked raspberry distress inks. When I was satisfied with the color intensity, I misted it lightly with water to get a more muted type look. Perfect for my fairy and her mushroom garden.
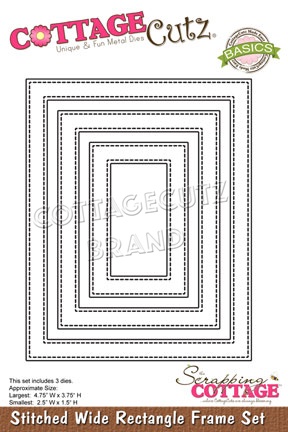
I wanted a frame around the scene so I used the largest of the Pierced Wide Rectangle Frame die and cut in white cardstock.

Step 2: I am ready to start card assembly. I attached the garden scene with multi-matte adhesive. I wanted the fairy to lifted slightly from the background so I attached her with dimensional adhesive.
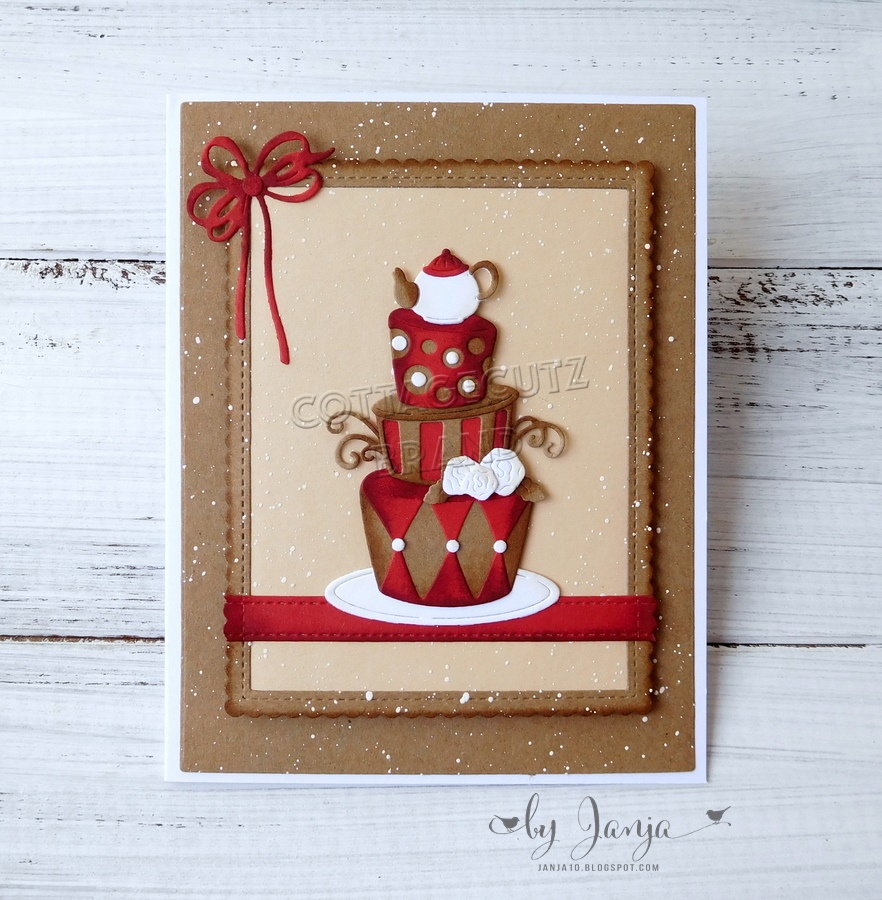
I stamped the sentiment using a grape ink and my MISTI. I did need to ink & stamp twice this time. The MISTI is invaluable for that reason alone.
I die cut the "wish" word in a light purple cardstock. I used the coffee & cocoa warm wishes die. The word was the perfect size for this card and I simply trimmed off the "es". I cut it 3x to give it a bit more dimension.
To complete my card, I attached the image panel to the light purple (highland heather) cardstock. Scattered a few sequins and this card is finished. I hope I have given you some inspiration on a way to use this new die set. See you next Wednesday for the DT group posts.

dies I used to create card: