Showing posts with label Spooky Kitties. Show all posts

Sunday, October 02, 2022

Halloween Release Design Team Samples (Part 1)

Hello CottageCutz friends! Thanks for taking the time to stop and visit today. We are sampling DT cards from the Halloween release.

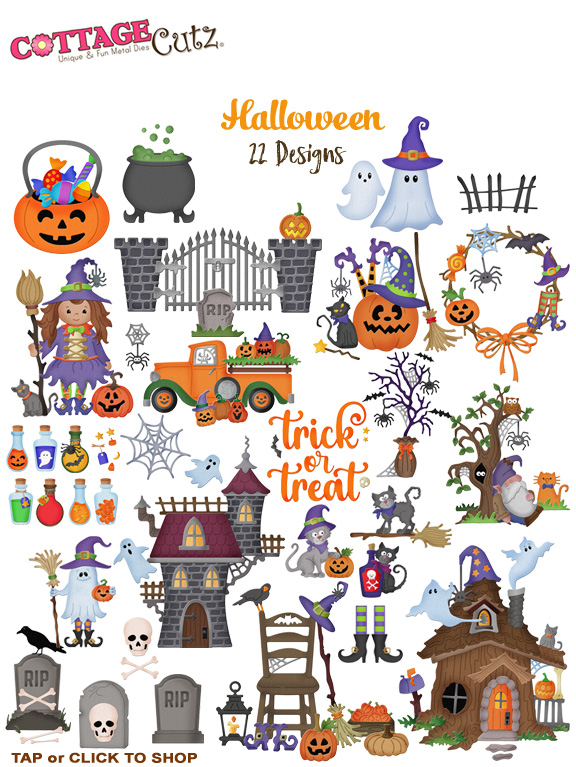
There are 22 new designs in this release. So many whimsical images that are perfect for your Halloween card-making. They are currently on sale with 30% off individual dies. The sale is just for a limited time so hurry over to the online store to make your selections.

Group Posts give you the opportunity to see more card samples from the Design Team. We have 4 samples for your viewing pleasure today.

Card 1: The first sample for today is from Pam MacKay. She created such a cute fun-fold outdoor scene in a sidestep design. The left side panel uses the Spooky Tree Gnome, and she has the gnome sleeping under a nighttime sky. She used designer paper for the starry sky.  
 
The right side features the Haunted Ghost House die in a graveyard setting. The gravestones are created with the Halloween Victorian Gate dies, the fence is from the Spooky Fence Mini. She finished off her scene by adding pumpkins and her sentiment is from cardstock.  

Card 2: Our next sample is from Kristine Breach. Since all of you don't make Halloween cards, we thought we would bring a sample using the Halloween dies but for another occasion. This fun birthday card features the Halloween Victorian Gate, the Spooky Truck and the Spooky Kitties dies.
 
For the truck she simply changed the color of the truck, used fun colors for the hubcaps (love these) and the pumpkins are colored in the trendy teal shade that is so popular right now. The kitties are done in lighter shades to complement the subtle colors of her card. She placed the images on a white panel using the Wacky Stitched Rectangle die.

Card 3: Our next sample is from Melinda Beltran. If you like to make multiples this design is perfect for you. She created a CAS card using the Trick or Treat Phrase, Web and the Spooky Tree Gnome dies. She layered her phrase and added some glitter to make it pop on the background. 


Sample 4: The last sample for today is one that I (Mary Marsh) created. We know that we have scrapbookers out there that follow our Blog and purchase our dies. A friend asked me if I could put together a Halloween themed scrapbook page. So, I decided to go out of my comfort zone and try a scrapbook layout. I have been inspired by Jen Hartsgrove since she created a couple recently. 

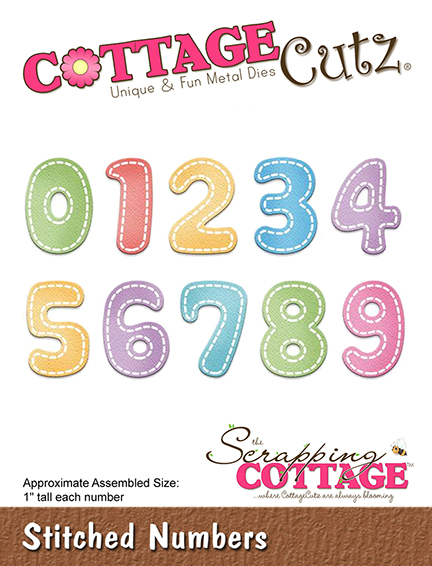
For the layout, I used the Candy & BucketCute Ghosts and Trick or Treat Phrase dies. I wanted the layout to be fun and not spooky to complement the photos she gave me. For the title, I used the Stitched Alphabet and the Stitched Numbers die and cut them in bright colors. 

The background papers, the too cute to spook phrase and the bottom ghost panel are all from the Echo Park Halloween Party collection. On the left side panel, I added a couple of leaves leftover from another project using the Fall Leaves die. I added the whimsical ghosts, my trick or treat phrase and a few bats to complete my layout.  


I hope you have enjoyed the samples for today and that we have given you some ideas on ways to use these new dies. We will have another group post next Sunday with more DT samples. 

The team will be posting all week on the Blog & YouTube so make sure you check back each day for ideas. There is still lots of time to order your dies and get cards made for Halloween.

Dies used to create today's samples:


Monday, September 26, 2022

Spooky Castle Pop Up Card

Happy Monday, crafty friends!  Kris here with a super easy-to-make inside pop up card featuring dies from our Halloween Release!

Here's the inside of my card...

And here's the front...


There are 21 dies in this release and they're currently on sale with a 50% discount on the entire bundle or 30% off individual dies for a limited time ~ so hurry over to the online store to make your selections!!

I used the Spooky Halloween Castle, the Spooky KittiesSpooky Fence Mini, the Web and Graveyard for the inside of my card - and for the front, I also used Trick or Treat Phrase, and Spooky Truck (just the spider).  As always, you can click on the pictures to see them larger. ☺

Design Steps:

I started with a piece of white cardstock cut at 5-1/8" x 3-7/8".  

I made a circle stencil from a scrap piece of cardstock by die cutting the 4th largest of the Pierced Circle set from the middle of my paper and alternating the positive and negative die cuts to sponge Distress Oxide inks.  I then misted with water and let dry.  Then I spattered white paint mixed with a li'l water over the top and heat set it to dry.


I cut my card base from Granny Apple Green cardstock at 5-1/2" x 8-1/2," scored at 4-1/2" 

I layered a piece of black cardstock, 5-1/4" x 4" to the inside upper half of my card, then attached my sponged piece on top.

I cut a piece of blue patterned paper at 5-1/4" x 3-1/4" and attached to the lower inside half of card. (see photo below for placement) 

I computer-generated my sentiment onto white cardstock, then cut it to 4-3/4" x 2-3/4".  I sponged the edges with Rich Razzleberry ink and centered it onto the blue patterned paper.

I then added my black silhouette tree and web to my inked layer before adding the mechanism as it will cover up part of the tree.


Now to make our POP UP feature!  

I cut a piece of black cardstock at 5-1/2" x 3-1/2" and then with the short edge along top of score board, I scored at 3/4", 1-1/2", 2-1/4", and 3".  Then I added tape to the last 1/2" piece and attached the other end to it to make a long box!


To add it inside my card, I added tape to the bottom side of my box and laid it down so it's just up to the score line w/out going over it.  (see photo below)

Then, I added tape to the adjacent side that will be attached to the "Back".  Then I closed my card front down over it and pressed.  Easy Peasy!!


I created a smaller pop up box to give dimension to the gravestone by cutting a pc. of black cardstock at 3/4" x 2-1/2" and scored it at 1/2", 1", 1-1/2" and 2" then folded score lines and attached the ends. I glued it in place by pressing it up against the inside back (blue) part and down.  Then I added the gravestone to the front section with glue.


And then I added all my elements as pictured  ☺


For the front, I cut a piece of rainbow glittered cardstock at 5-1/4" x 4".  Then added my die cuts and made them pop a li'l with a white gel pen... and DONE!!  ☺

PRODUCTS I USED:


Check out the whole HALLOWEEN RELEASE HERE!


I hope I inspired you to get crafty with your favorite CotageCutz dies ~ Have a blessed week ☺

~Kristine

❄❄❄

We are happy to announce that CottageCutz dies will be available for purchase in a boutique in Southern California. If you're in the neighborhood please drop by!

Wild Skyes
42050 Main St.
Temecula CA 92590

❄❄❄