Hi, Janja here!
Today I share with you another card made with the CottageCutz nautical dies.
Let's see how it is made.

For the card you need:
From wooden sheet we cut out 10 strips. They should be 5.1" (13 cm) long and 0.5" (1,2 cm) wide.

Paste them on a sheet of paper and cut it to size 4.9 x 4.9" (12,5 x 12,5 cm). I advise you to use glue and not double-sided tape.


Coat other cutouts with gold and copper metallic paste and glue them together with the foil.

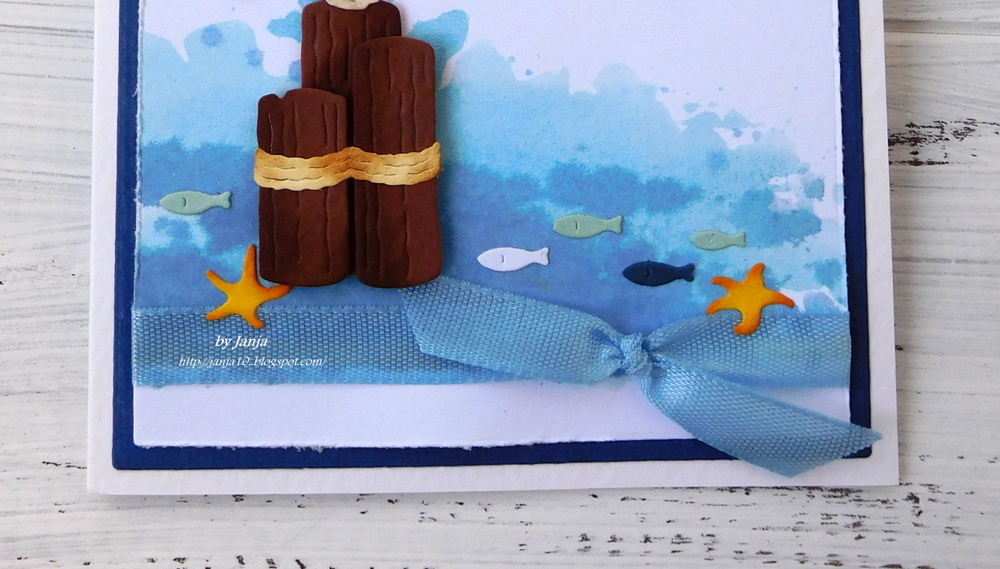
The fence consists of two CottageCutz dies. Pillars and the rope around them are from the pelican die. Pillars are also cut out of a wooden sheet.
For the rope between the pillars, use the rope corner die.

Seagull flew to the one of the pillars, while we stuck an anchor to another one. The inscription Happy Birthday is glued to the wooden background.

And don't forget on our April challenge - anything goes. You have time to share your projects with us till the end of the month.
Two lucky winners will get the nice awards.
List of dies used:


Today I share with you another card made with the CottageCutz nautical dies.
Let's see how it is made.

For the card you need:
- card base in brown color: 11.4 x 5.7" (29 x 14,5 cm), folded in half
- white cardstock: 5.3 x 5.3" (13,5 x 13,5 cm)
- wooden sheet
- scraps of white and colored cardstock
- transparent PVC foil
- embossing folder
- Distress inks: Antique Linen, Vintage Photo and Wild Honey
- white pigment ink pad
- white chalk paint, brush
- gold and copper metallic paste
- paper cutter

The whole area is shaded with the Distress ink Vintage Photo and a white pigment ink pad.
Finally it's painted with a white chalky paint.
Finally it's painted with a white chalky paint.
When the color is still wet, pull with the finger on some places. This will remove color. Little smearing, but at the end, you will be satisfied with the shabby appearance of the wood.

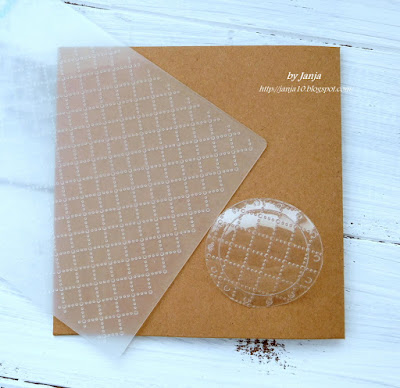
Now let's start with porthole.

Prepare the cardstock cutouts. For the glass piece use PVC foil. I can't advise you which one is preferred. I always use the thicker one.

Use embossing folder for pattern on the foil.


I hope that you enjoy my company.
Janja