Showing posts with label Party Favors. Show all posts

Friday, June 25, 2021

Happy Birthday Chick

Happy Friday!  It's Jeanne today and I have a card for that spring chicken in your life.  This card uses the Country Farm Chicks from the new release and some older birthday dies.  This new release features adorable farm themed dies.

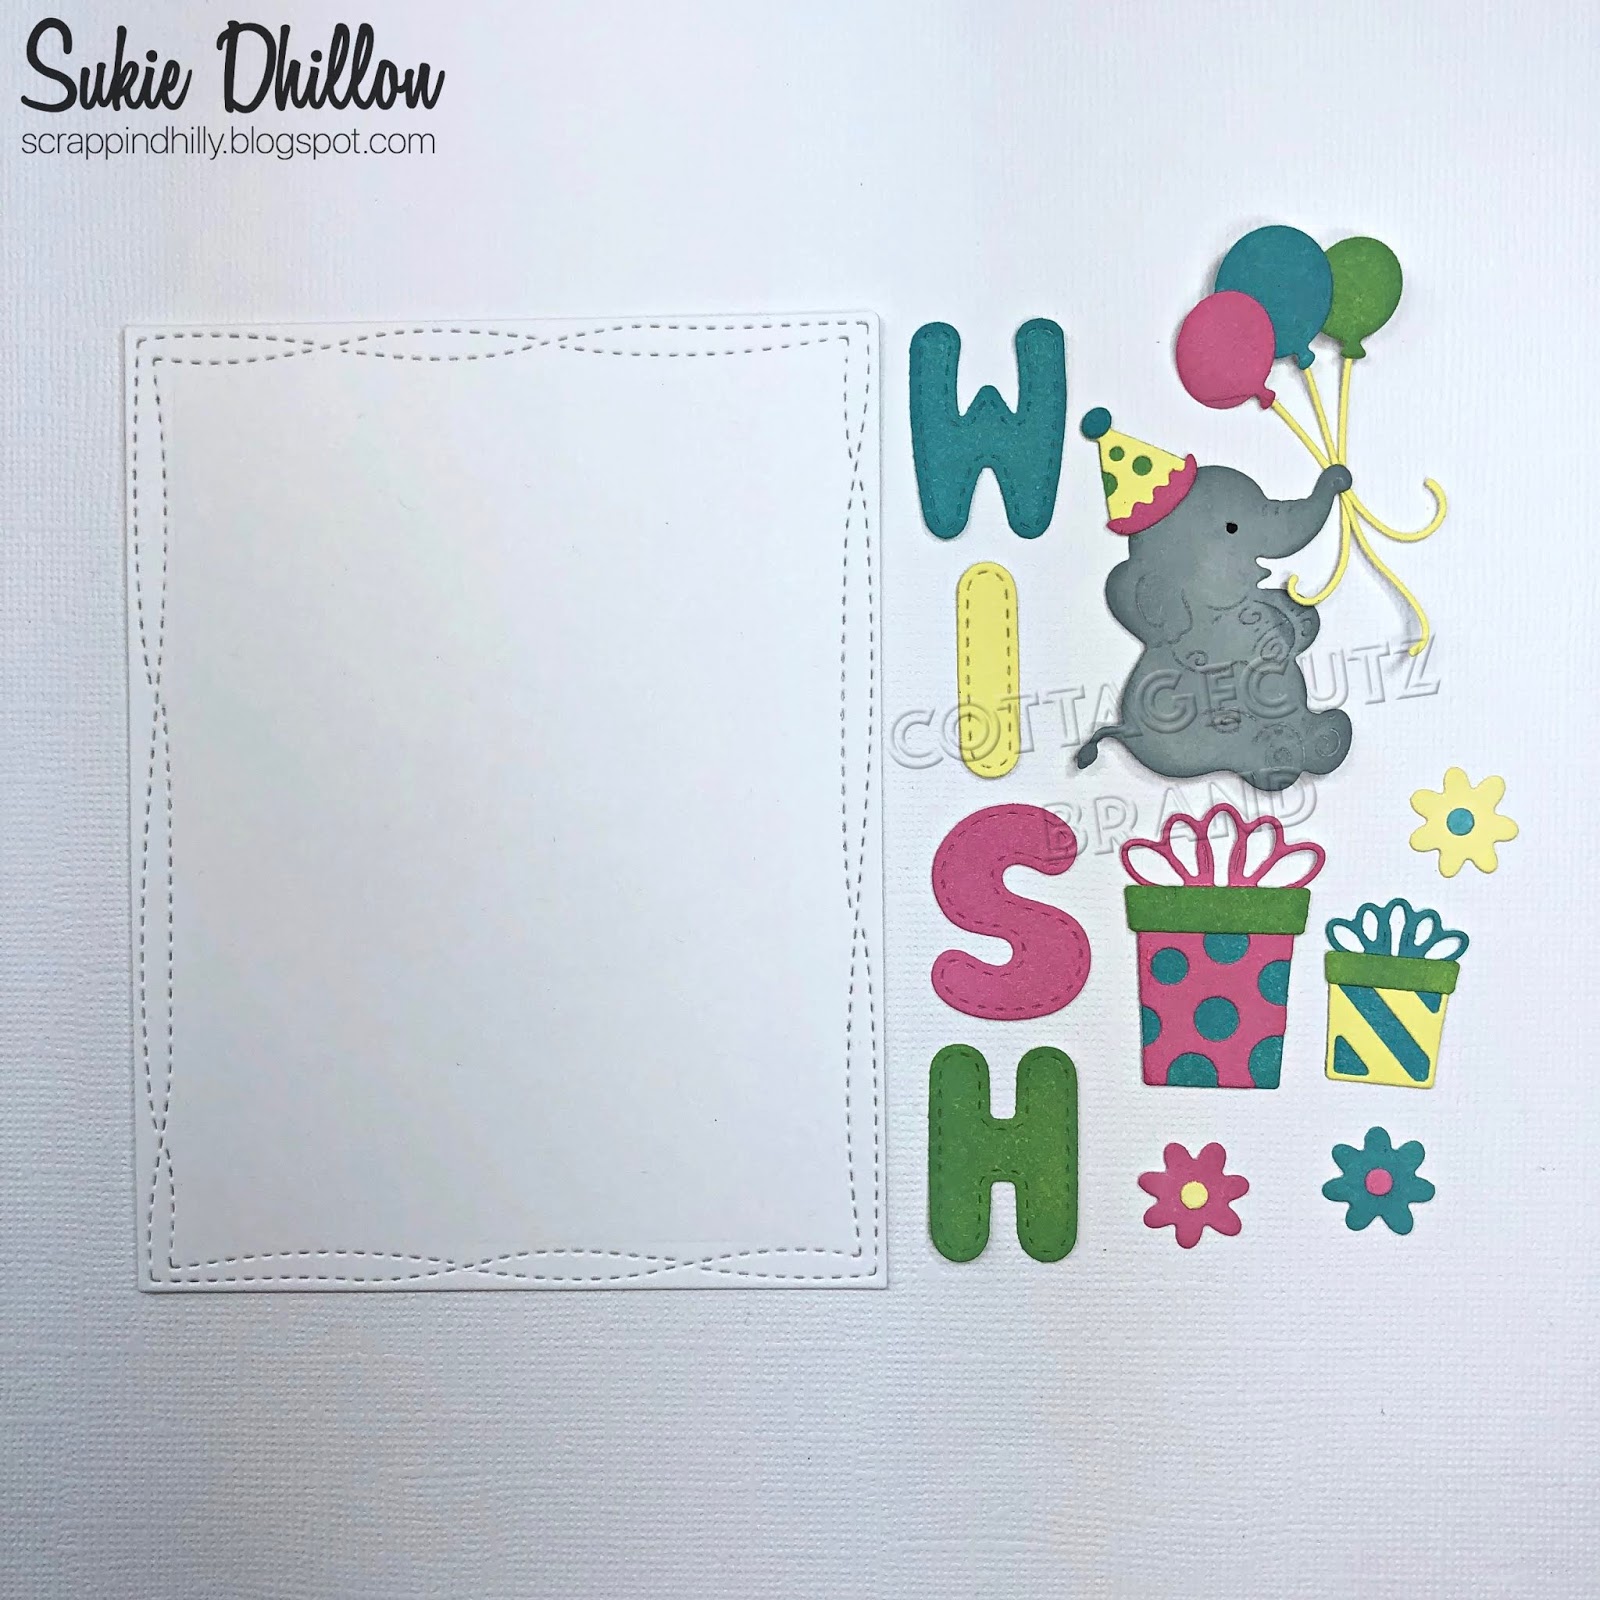
I started this card by die cutting the chick, presents and balloons from various colors of cardstock.

Next I cut an A2 base from white and a gingham panel 4 x 5 1/4 inches.  Using the second largest of the Scalloped Rectangles I cut my top panel from white.

The sentiment is stamped centered at the top of the scalloped panel.  Then I adhered all the panels together, centering them.

 
I added the chicken and presents centered on  the bottom.

I wanted to put strings on my balloons.  To do this I put double sided tape on the back of the balloons and added the strings.

I placed foam dots on top of the string and popped them up off the card.

I love these new Country Farm dies.  They make such fun summer cards!  Be sure to visit the online store where they are on sale for a limited time.

Products used:


Thanks for visiting today!  I hope you have a fun and creative weekend!


Wednesday, February 05, 2020

Happy Valentine's Day!

Hello!  This is Sukie and I'm excited to share a card created with the new Spring Release dies.  These dies are not only ideal for those Spring and Easter creations but also perfect for Valentine's.
I cut out the newly released Bunny Truck for my card and added some hearts to the back of the truck. The hearts are from the Party Favors die set.  The truck and hearts were inked up with some Oxide Inks.  I used the Nested Stitched Eyelet Rectangle Set for my card panel.
I prepared my panel by stamping it with a sentiment from the Scrappy Moms (retired) Love Notes stamp set.  I also added some Peppermint Icicle Trendy Twine as an embellishment.
I used the colors from the truck as inspiration for the papers on the background of my card.  The center piece was punched with the Fiskars Scalloped Sentiment punch.  The rectangle panel was adhered on top.
To finish off my Valentine's card, the truck was placed in the center of the panel as the focal point.
Here are the dies used on my card, available here:

Friday, August 30, 2019

Celebrate You!

Happy Friday!  It's Jeanne today with an easy, fun birthday card featuring the Mouse with Cake die from the new birthday release.  I love  this release; the dies make adorable birthday cards.
For this card I started with the color challenge colors on Splitcoaststampers this week.  They were chosen by none other than our own Mary Marsh!  She chose Lovely Lipstick, Gorgeous Grape and Coastal Cabana.  Just perfect for a festive card.
I cut the pieces from the Mouse with cake and Party Favors dies using the colors plus the neutrals Very Vanilla, Sahara Sand, and Mossy Meadow (my cherry stem.)  I used just a touch of the Lovely Lipstick ink to color the mouse's ears.
For my card layout I chose to use a sketch challenge that was on Splitcoaststampers awhile back.  A hint to make cards go faster - I download the sketch challenge each week from SCS, print it out and keep in a file.  I may not use it then, but I have it for future use.
I flipped this sketch and used two of the third smallest Stitched Squares in white, one of the largest Stitched Square in Grape and one of the fourth smallest Stitched Rectangles in white.
I glued them to an A2 card base.
I heat embossed the sentiment on Lipstick card stock and trimmed it close to the embossing.  I glued all the die cuts to the card, popped up the sentiment using foam dots and added a few glitter enamel dots in the corner.  Super easy!

Dies used:
http://www.scrappingcottage.com/cottagecutzmousewithcake.aspx

http://www.scrappingcottage.com/cottagecutzpartyfavors.aspx
http://www.scrappingcottage.com/cottagecutzstitchedrectanglesetbasics.aspx
http://www.scrappingcottage.com/cottagecutzstitchedsquaresetbasics.aspx

Thanks for stopping by today.  I hope you have a fun and creative weekend!

Friday, August 16, 2019

Never Too Old

Happy Friday Cottage Cutz fans!  It's Jeanne today sharing a very easy birthday card.  This card uses two dies from the new birthday release that are are both gender and age neutral.  These dies can be used for ANYONE!

It also features a sentiment that is great for anyone who likes to have a good time.
I started by picking two coordinating designer papers in bright colors.  I cut an A2 card base from  Rich Razzleberry, a panel 5.5 x 4.25 inches from the polka dots, a panel 5.5 x 1.625 inches from the chevron pattern and a strip 5.5 x .375 inches from the Razzleberry.
I used white card stock for my die cuts and colored them in a combination of Copic markers and Stampin Blends to match the colors in the designer paper.
I stamped the sentiment in black on a piece of Pumpkin Pie card stock and use the second smallest of the Nested Wacky Stitched Rectangle dies to cut it out.
After I adhered all my panels together, I glued the sentiment panel in the upper right.
Then I could place my cake and presents.
I'm trying to increase my stash of ready to go birthday cards so I'm not making them at the last minute.  These dies are perfect for that!

Dies used:
http://www.scrappingcottage.com/cottagecutzpartycake.aspx
http://www.scrappingcottage.com/cottagecutzpartyfavors.aspx
http://www.scrappingcottage.com/cottagecutznestedwackystitchedrectangleset.aspx


Thanks for stopping by today.  I hope you have a fun and creative weekend.


Wednesday, July 24, 2019

Wish Card

Hello!  This is Sukie and today I'm sharing this sweet card for my design team post.  I used the new Birthday dies for the focal point and also pulled in a couple of older Cottage Cutz dies for this festive card.
The inspiration for my card was the patterned paper from the Bo Bunny Surprise 6x6 paper pad.  The different colored polka dots were used to draw out the bright colors of my die cuts.
The Party Elephant and Party Favors are from the new Birthday dies. I used the Nested Wacky Stitched Rectangle Set for the white card base and the Stitched Alphabet for the sentiment.  Once I cut out my pieces, I shaded them with some cheerful colors of Oxide Inks.
I layered the Wacky rectangle frame on my pattered paper.  The "wish" sentiment was adhered at the bottom of my card base and the adorable elephant was placed above the phrase.
Next, I added the presents above the sentiment and layered them slightly for a more cohesive design.
I created an embellishment cluster with the three tiny flowers in the corner of my card and finished off the birthday scene!
Here are the dies used on my card, available in the shop: