Happy Wonderful Wednesday crafty friends!
Melinda here with you. I hope your mid-week/hump day is going fantastic so far! Today I am sharing a fun little birthday banner I created with some beautiful cottage cutz dies! Here's what I created.

I made this pretty little mini birthday banner to celebrate a co-worker's birthday.
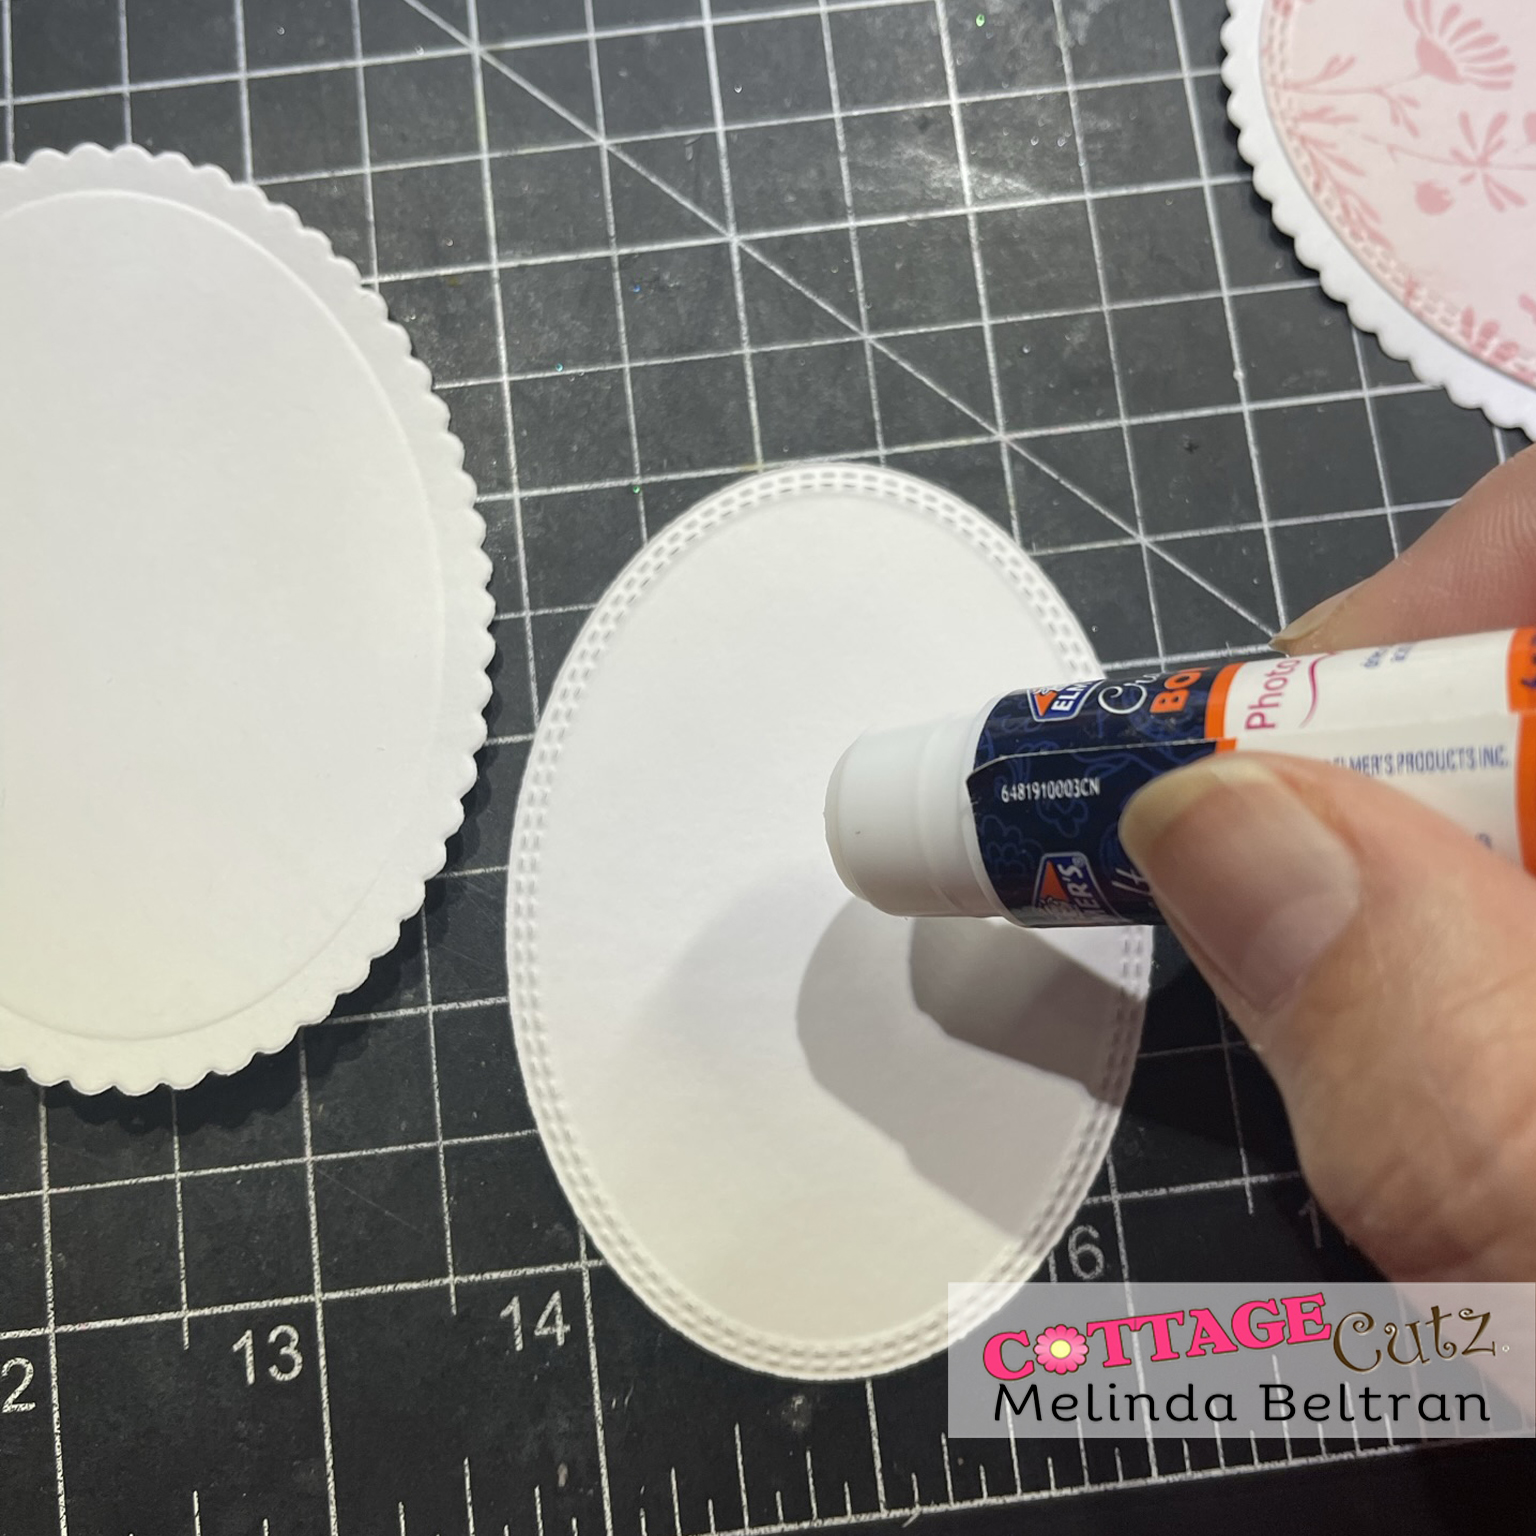
I started by cutting out my scalloped ovals from white cardstock. I then used my double stitched ovals to cut out a size smaller some patterned paper.

I then glued the patterned paper to my scalloped bases for mats.

I then cut out all of my various die cuts n white cardstock and then colored my various pieces in in a variety of shades of pink. Here I am coloring in my Happy letters.
The following are closeups of each little panel I created.

For this one I used my Happy Birthday Shadow die along with the pretty filigree bow die.

For this one I used the Folk Art Butterfly and the Folk Art Mixed flowers. For the butterfly, I cut out two of them and layered them onto each other and then lifted the top layer to give the illusion of the butterfly in a side view.

For this one, I used the swirl cupcake die cut.
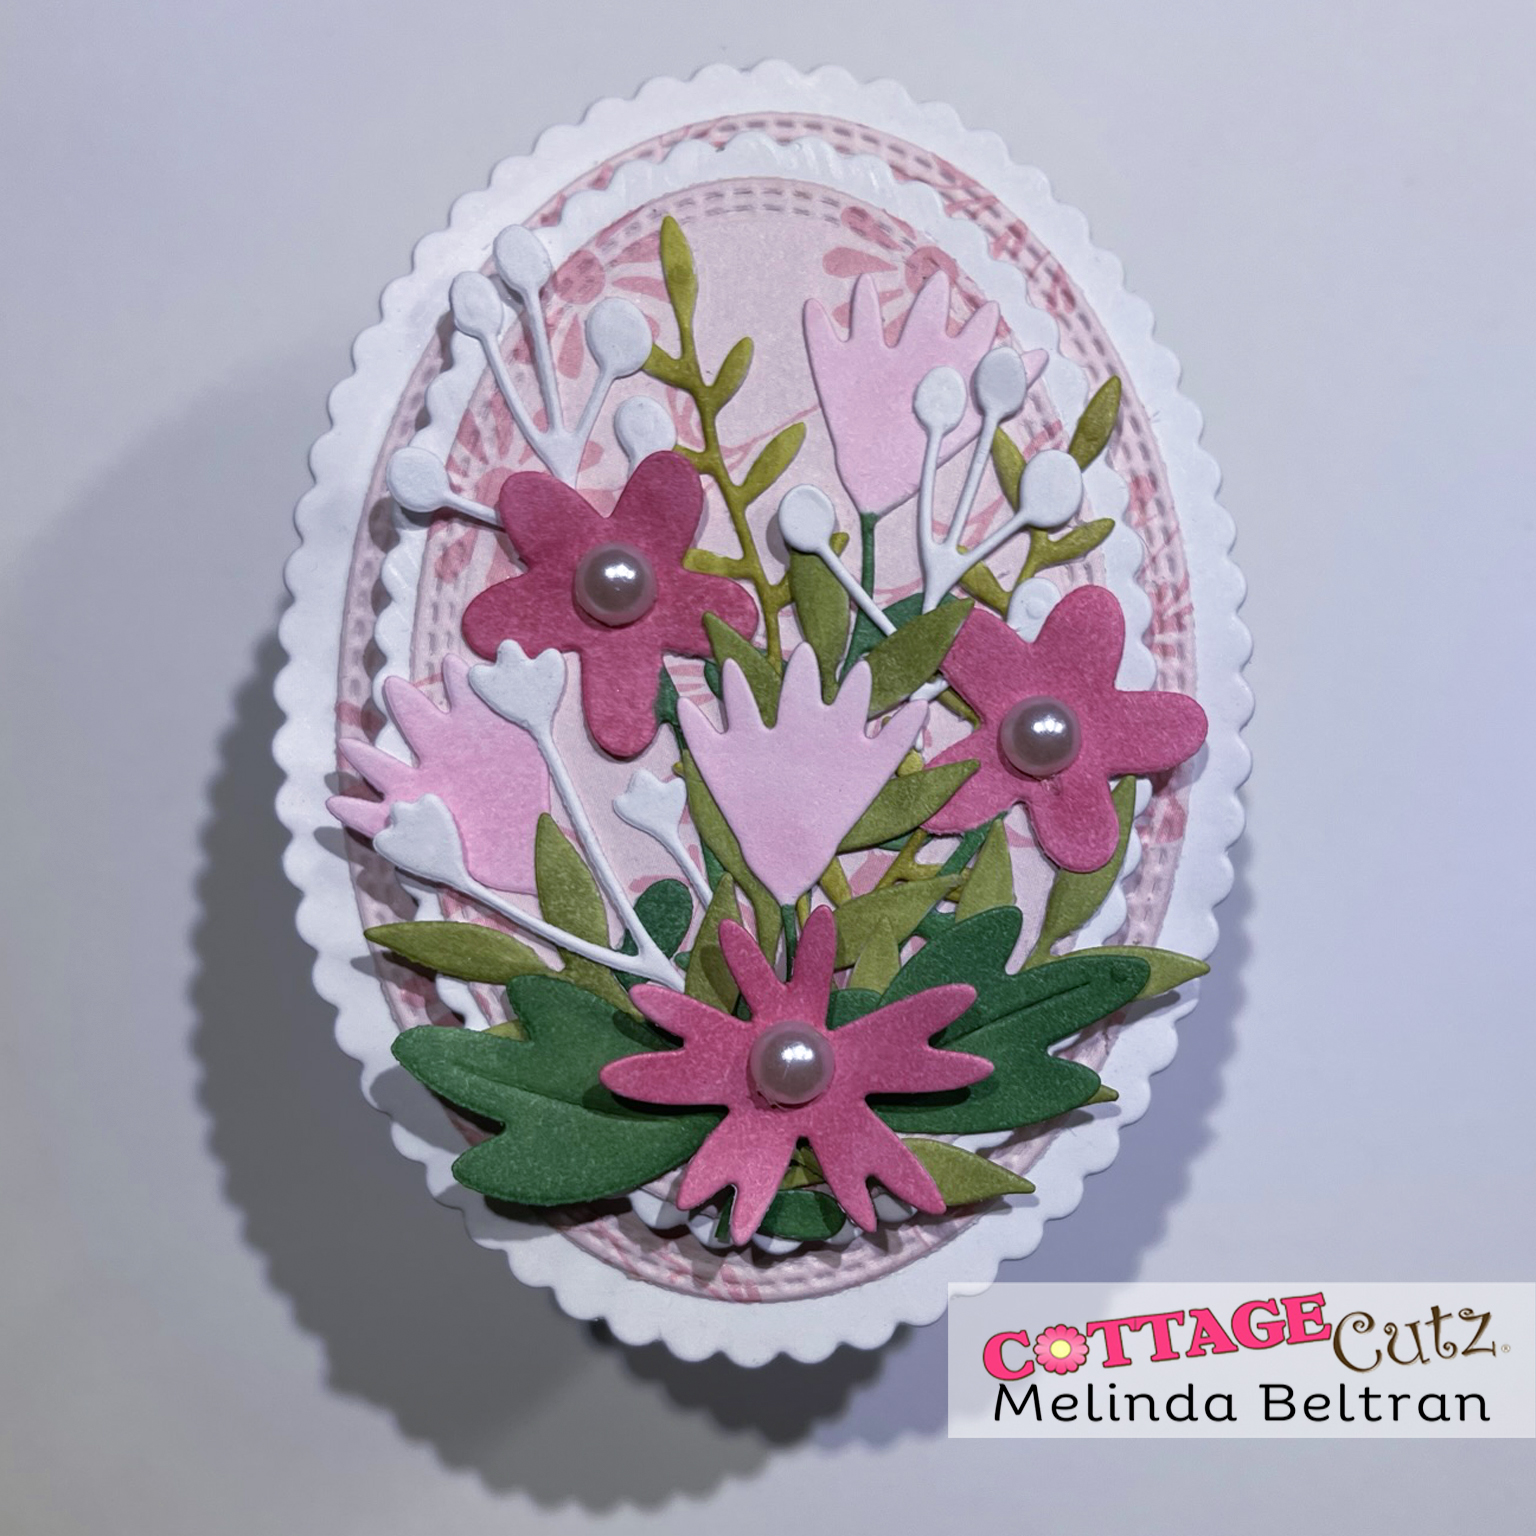
For this panel, I used the Folk Art Mixed Flowers die set. I actually created two panels like this one.

Here is a view of the little banner hanging from my desk. In between each panel I added a little strng of beads and then some tulle. I strung it all on some thin white ribbon.

Folk Art Flowers Mixed

Spring Butterflies

Fligree Bow

Cupcake w/ Twists

Happy Birthday w/Shadow
Currently out of stock
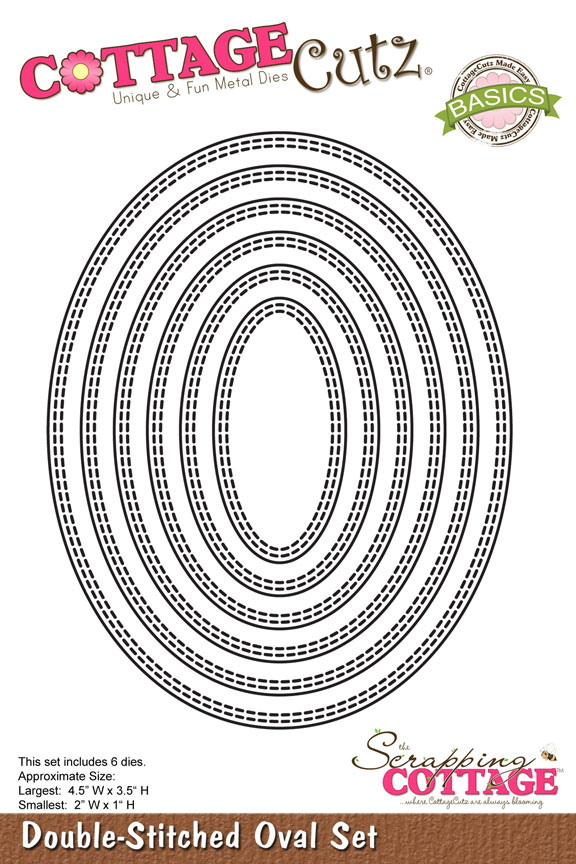
Double Stitched Oval Set

Nested Scallop Oval Set

Well that about covers it for today. I hope you were inspired to have some fun and pick up some of these wonderful dies!
Don't forget to check back often and see what the rest of the design team is creating. Until the next time, have a wonderfully crafty day!


.jpg)
.jpg)