Hi
everyone! It's Anja here and this is my first post on the Cottage Cutz blog.
I'm very honored and happy to be able to share my work with you for the next six months.
For my
first post I decided to combine a few different dies and made a spring scene
with some cute animals.


I used:
- Cottage
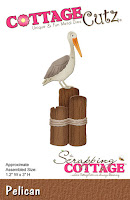
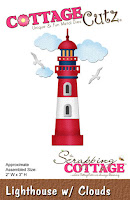
Cutz dies (Forest Critters, Kitty with Spring Chicks, Stitched Rounded Square Set, Spring Bunny w/ Flowers, Hollow Tree w/ Forest Friends, Lighthouse w/Clouds)
- white
card stock base (13x34 cm, folded at 8,5 cm and 25,5 cm )
- white
card stock strip (4x36 cm, folded at 8,5 cm and 25,7 cm )
- white
paper for die cuts
- Distress
Ink pads: Peeled paint, Mowed lawn, Barn Door, Shabby Shutters, Stormy Sky,
Spun Sugar, Squeezed Lemonade, Wild Honey, Spiced Marmalade, Vintage Photo, Weathered
Wood, Tea Dye, Pumice Stone
- patterned
paper (12,6x16,6 cm, 2x 12,6x8,3 cm)
- white and
black pen
- paper
glue
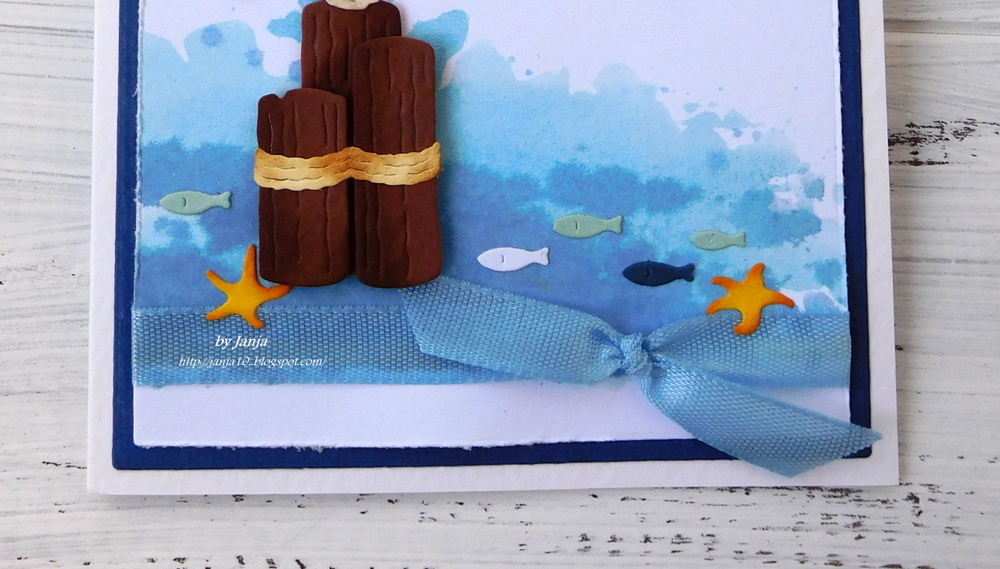
First I cut
all the little elements from white paper.

Then I
colored them with Distress Inks and glued them together. I made the eyes with
black pen and bunny and mouse ears and nose with white pen.

I then
folded the white card stock base at 8,5 and 25,5 cm and glued on some
patterned paper. I applied some Peeled Paint Distress Ink on the edges of
patterned paper.

Then I
colored the sky and grass with a sponge and Distress Inks. And glued all the
pieces together.


In the end
I made a strip that holds the card closed. I cut tree stitched squares and
decorated them with the cute little snail that goes well with the patterned
paper.

Cottage
Cutz dies I used:


Thank you
for stopping by. I wish you a beautiful Sunday!
Anja Z.