Showing posts with label Joy Snowman. Show all posts

Monday, December 21, 2020

Joy Snowman


Hello Scrapping Cottage friends! Thanks for taking the time to stop and visit with us today. It's Mary Marsh here bringing you the Monday edition of the Blog. Hope you are on track with all your Christmas preps. It's only 4 days until the big day.

Today, I have for your viewing pleasure a card featuring the Joy Snowman die. It's part of the Christmas Part 1 release. 

I created this card using the colors from the Splitcoaststampers color challenge #820. I thought these colors would be perfect for a card featuring a snowman. 

I had this layout saved on one of my Pinterest boards and I knew the 3 panels work well to display this image.

Then I chose my background paper. It's from a "snowflake splendor" collection. Perfect to cover the balmy blue and highland heather colors.

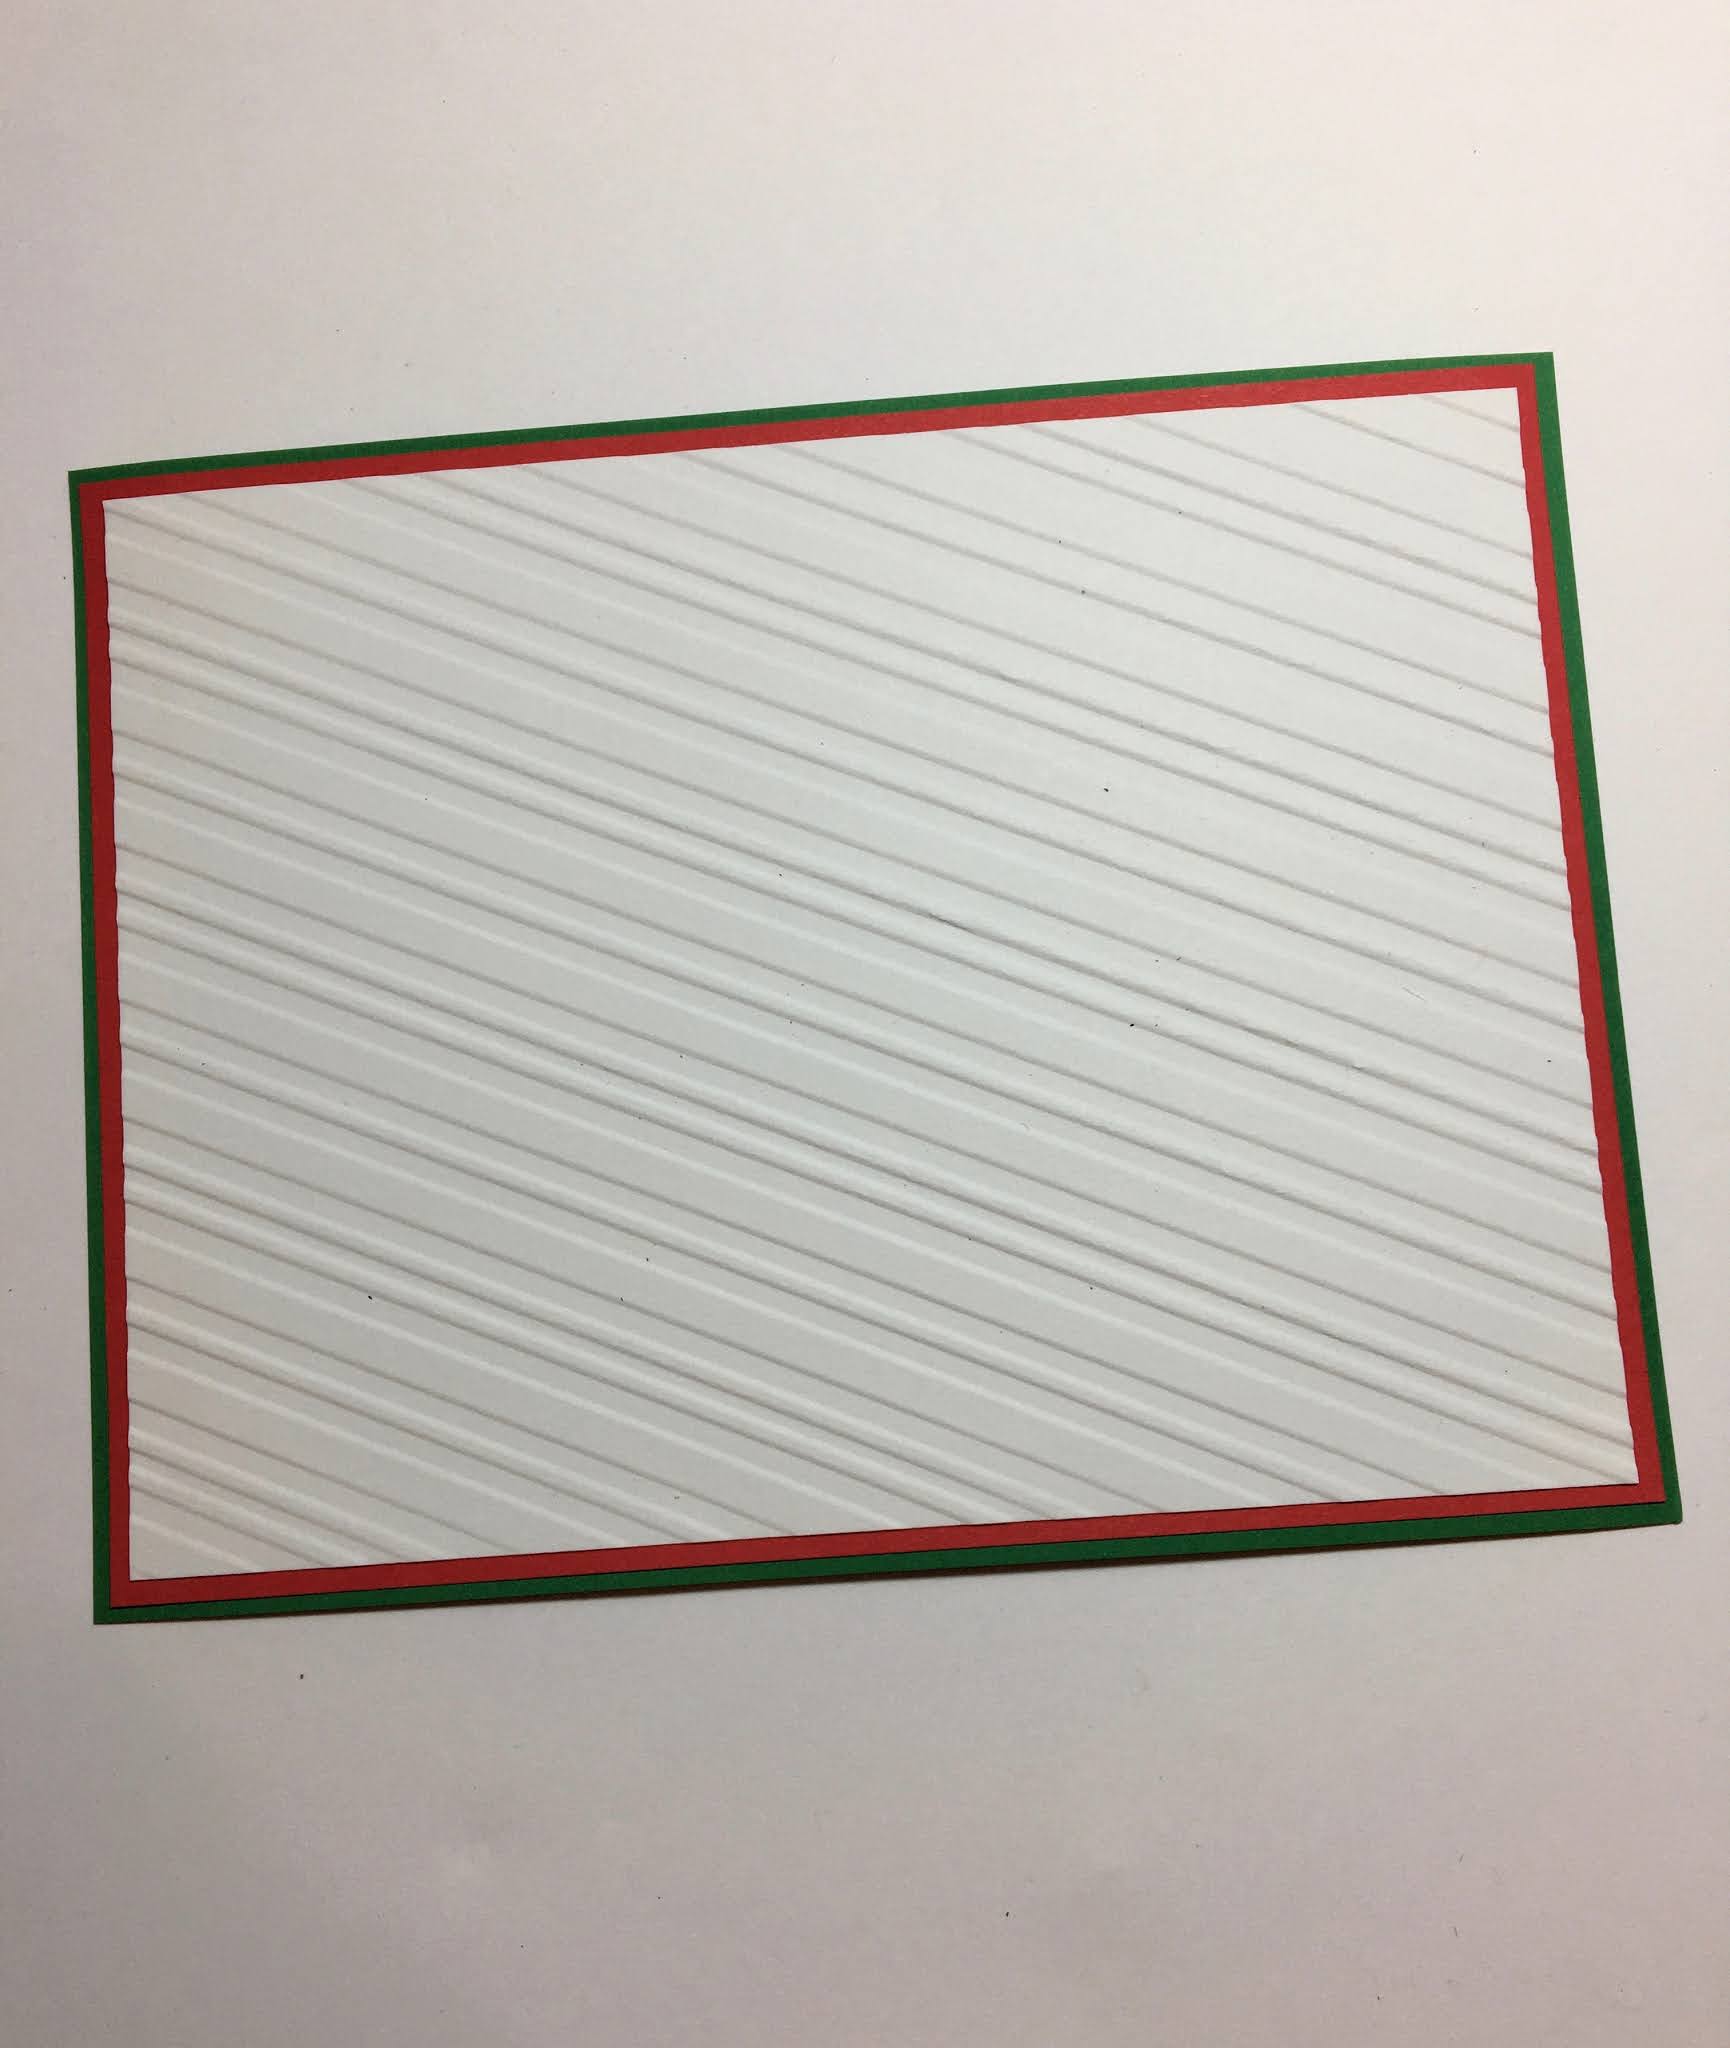
The "joy snowman" is cut in the challenge colors. The image panels are embossed with a falling snow embossing folder. 

To finish off my card I added some ribbon in the balmy blue shade and a few snowflakes cut from the designer paper. For the snowflakes I used this older Snowflakes Set die. 

And, that's it for me for this post. See you on Saturday. Merry Christmas everyone.

dies I used to create card:


Wednesday, December 16, 2020

Joy

Hello!  This is Sukie and today I have another Christmas card to share.  For this card, I went for a clean and simple (CAS) design which is a challenge since it's all about the details for me.

I cut out the Joy Snowman from card stock using the packaging as a guide for the colors.  I also selected a light blue patterned paper for the base of my card along with some basic white card stock.
The white card stock was embossed with the Cuttlebug D'vine Swirls embossing folder.
Next, the embossed panel was affixed to the lower half of my card base creating a striking contrast between the 2 portions of my card.
I visually looked for the center point of my card and adhered the cute snowman on the upper portion of my card.
The letter "Y" was placed on the right side of the snowman nestled closely to the snowman.
The letter "J" was adhered on the left side of the snowman, completing the "Joy" sentiment.
This card came together quickly and can be mass produced for those last minute Christmas cards.
Here is the die set used on my card, available in the store:

Sunday, November 08, 2020

Christmas Joy

Hi!

It's Anja here. For today's post I made a clean and simple card in a smaller format. I replaced the snowman from Joy Snowman die with a snowman and a reindeer.

For this card I used:

- Cottage Cutz dies (Snowman & Reindeer, Joy Snowman, Nested Stitched Scallop Rectangle Set, Circle Set),

- Distress Inks and Oxides,

- white card base (10x12,5 cm),

- white card stock for die cuts,

- white pigment ink,

- black pen,

- white pen,

- acrylic block,

- snowflake stamp,

- paper glue. 


First I cut and colored the snowman, reindeer and both letters.

Next I cut a rectangle out of white card stock. I used the largest die from the set. Next I cut a circle out of the rectangle. I used the fourth largest die from the set.

I colored the night sky directly to the middle of the card base. I used Distress Oxide ink for coloring. When dry I stamped the snowflakes on the blue night sky.

When all the pieces were ready I glued it together and my card was done.


That's all from me for today. Have a nice Sunday and see you again next week. 

Anja Z.


Cottage Cutz dies I used:


Thursday, October 22, 2020

Frosty Snowman

Hello Scrapping Cottage Friends,

It is Pam creating with you on the blog today!

I am continuing to work on my Christmas cards and I send some special ones out to my little niece and nephews.  I thought this Joy Snowman is just the perfect card for the younger kids! And it was pretty fast and easy!


Design Steps:

1.  Cut out all of the pieces using the Joy Snowman die.  I cut out 3 J's and Y's in red.  I also used DP for the scarf and hat band.  The other card stock is brown, green, white, black and orange
2.  Glue the 3 J's and the 3 Y's together.  Assemble the snowman with a fine tip glue.  Also cut a piece of silver glitter card stock with the second largest Pieced Rectangle die

3.  Cut Green card stock 4 1/8 x 5 3/8,  red card stock 3 7/8 x 5 1/8, white card stock 3 5/8 x 4 7/8.  Before glueing the pieces together run the white piece through a diagonal striped embossing folder

4.  After the layers are glued together attach a knotted ribbon and then glue to an A2 white card base
5.  Use dimension dots to glue down the snowman making sure that he is centered.  Then use dimension dots to add the letters J and Y.  For a little extra fun add some snowflakes and your card is finished

Cottagecutz Products


We have 3 releases of Christmas dies in the online store.  I know you will find something you love for your Christmas cards.  So please click here to check all of the adorable dies we have.
Blessings
Pam