Showing posts with label Hello w/Shadow. Show all posts

Saturday, June 03, 2023

Folk Art Flower Pot (New Die)

Hello CottageCutz friends! Thanks for taking the time to stop and visit with us today. It's Mary Marsh here bringing you the Saturday edition of the Blog.

We have a brand-new release in the online store. It's our Folk Art release with 19 new designs. For a limited time, you can pick up the entire bundle for 65% off. The individual dies are 35% off.

The folk-art designs are so perfect for cardmaking, journaling, and scrapbooking. They allow you to add a beautiful touch of folk art to whatever you may be creating. 

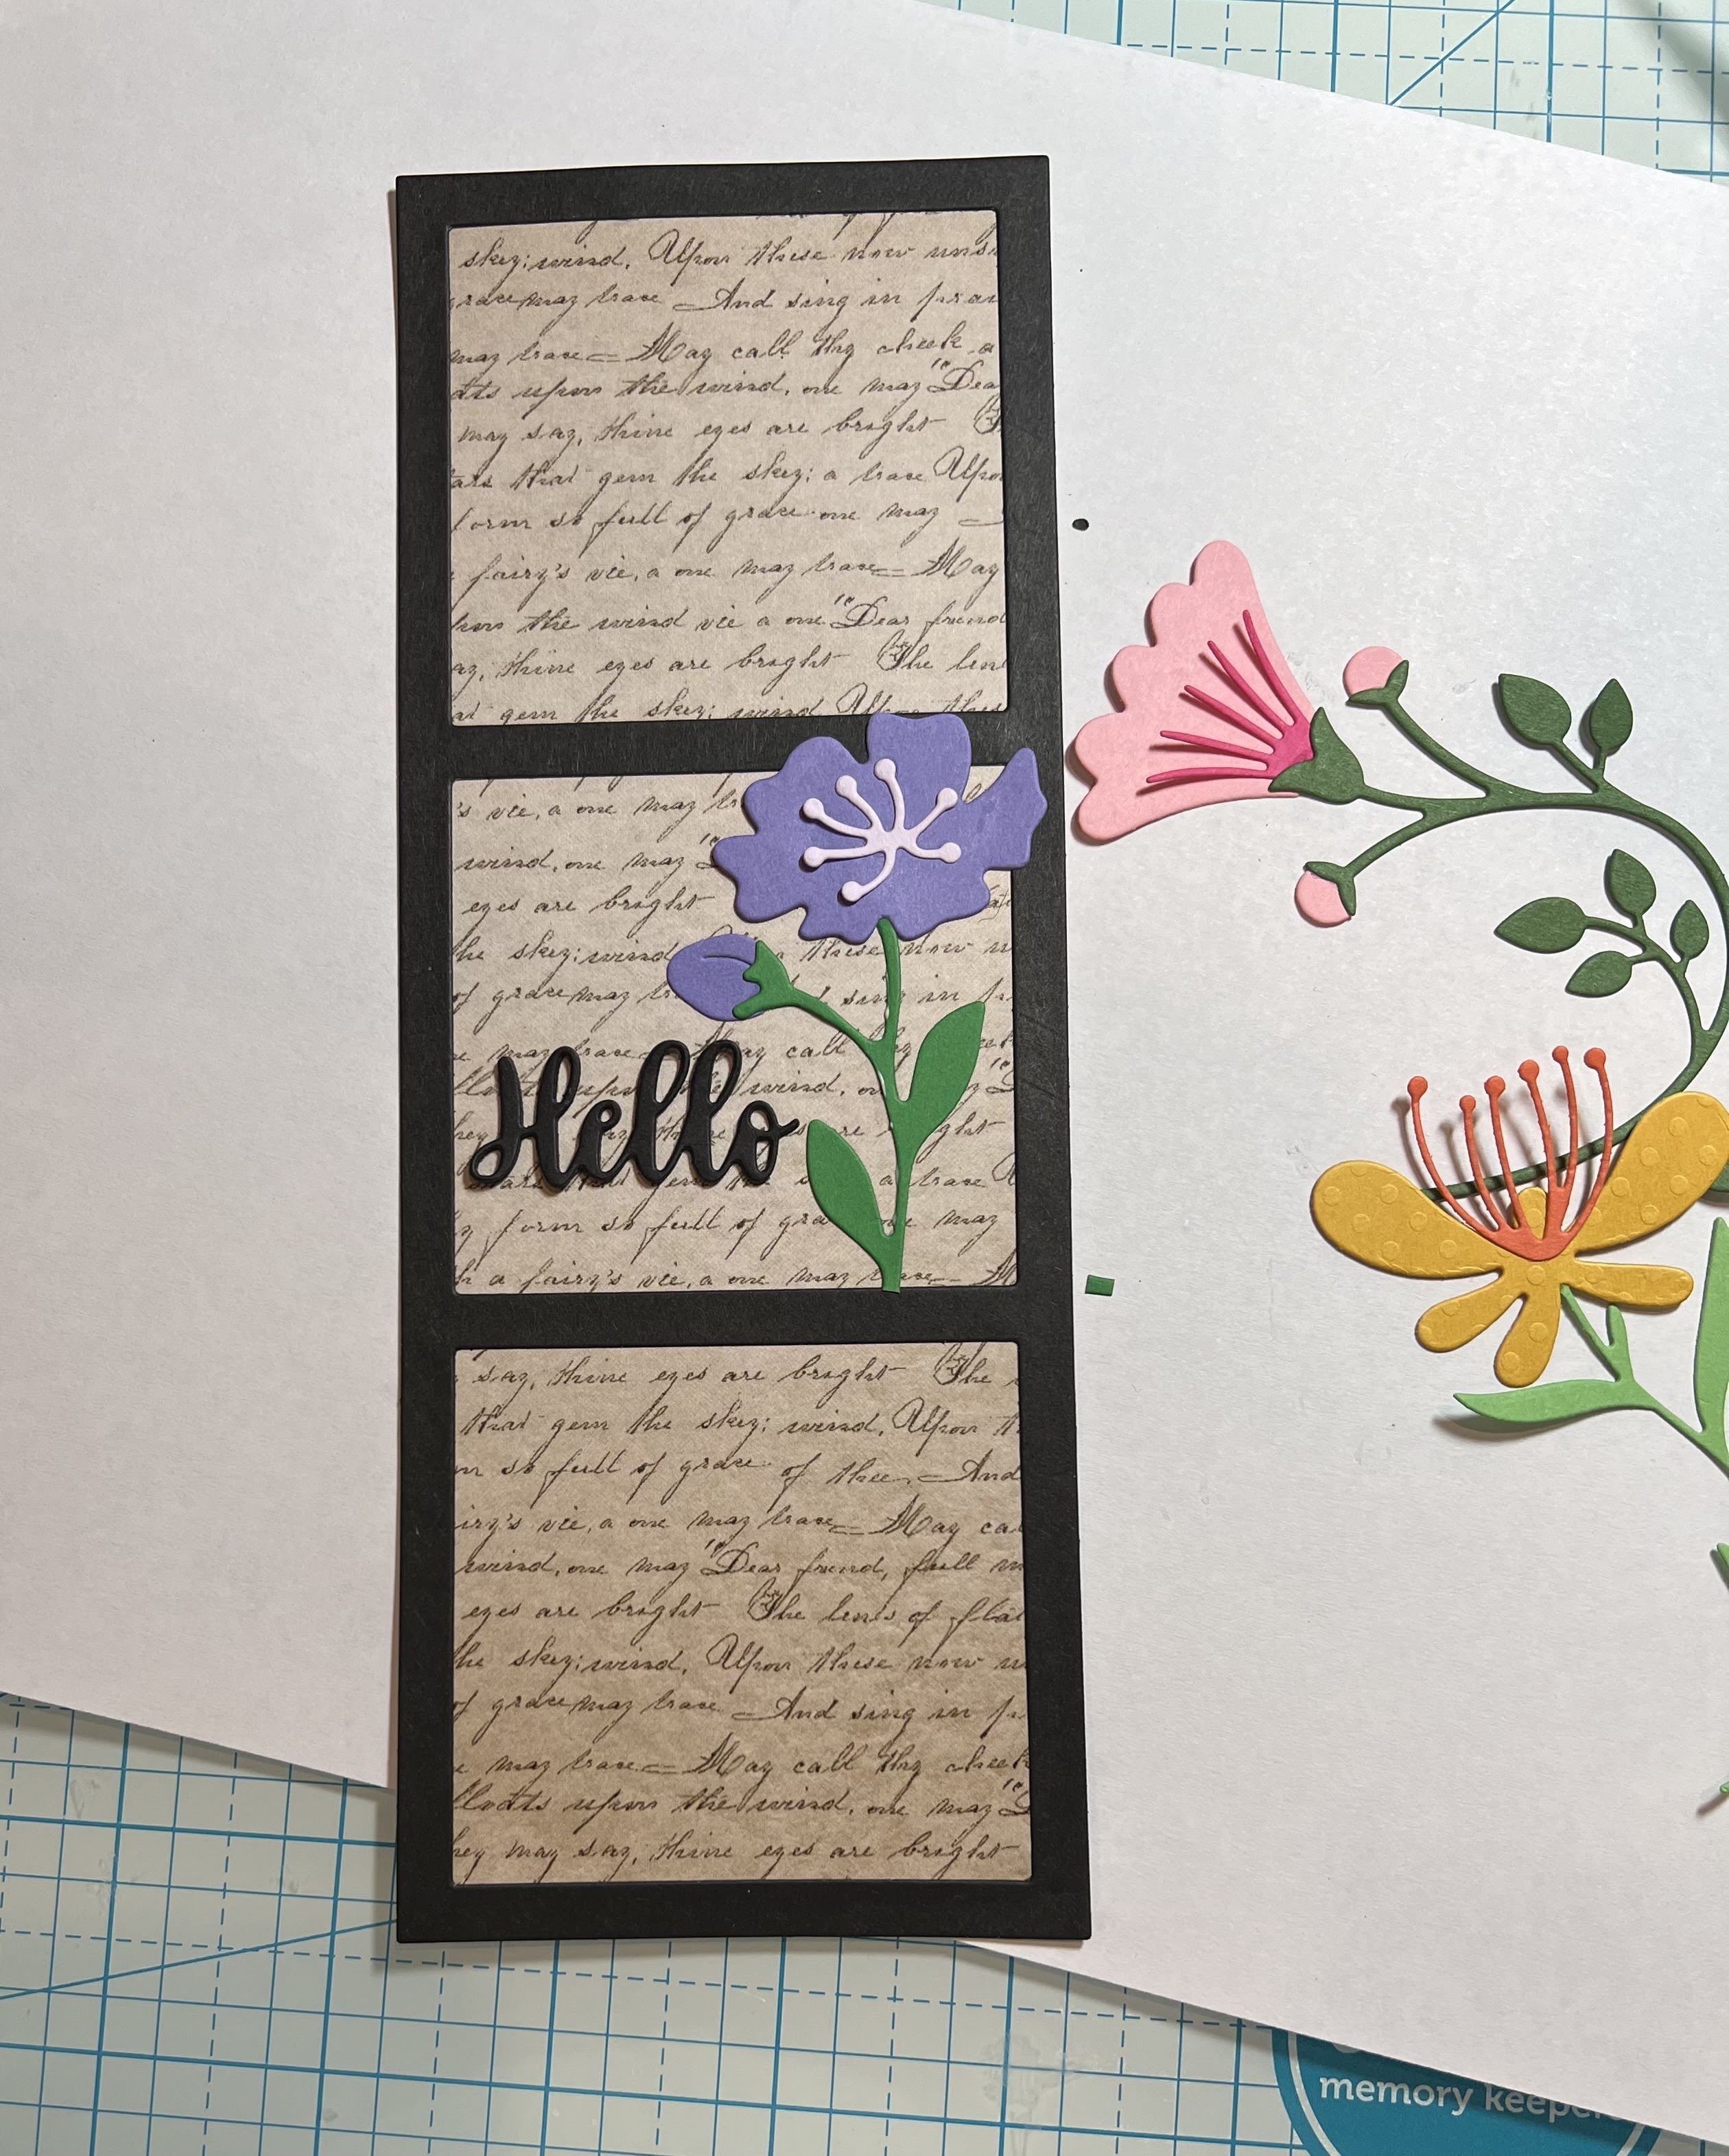
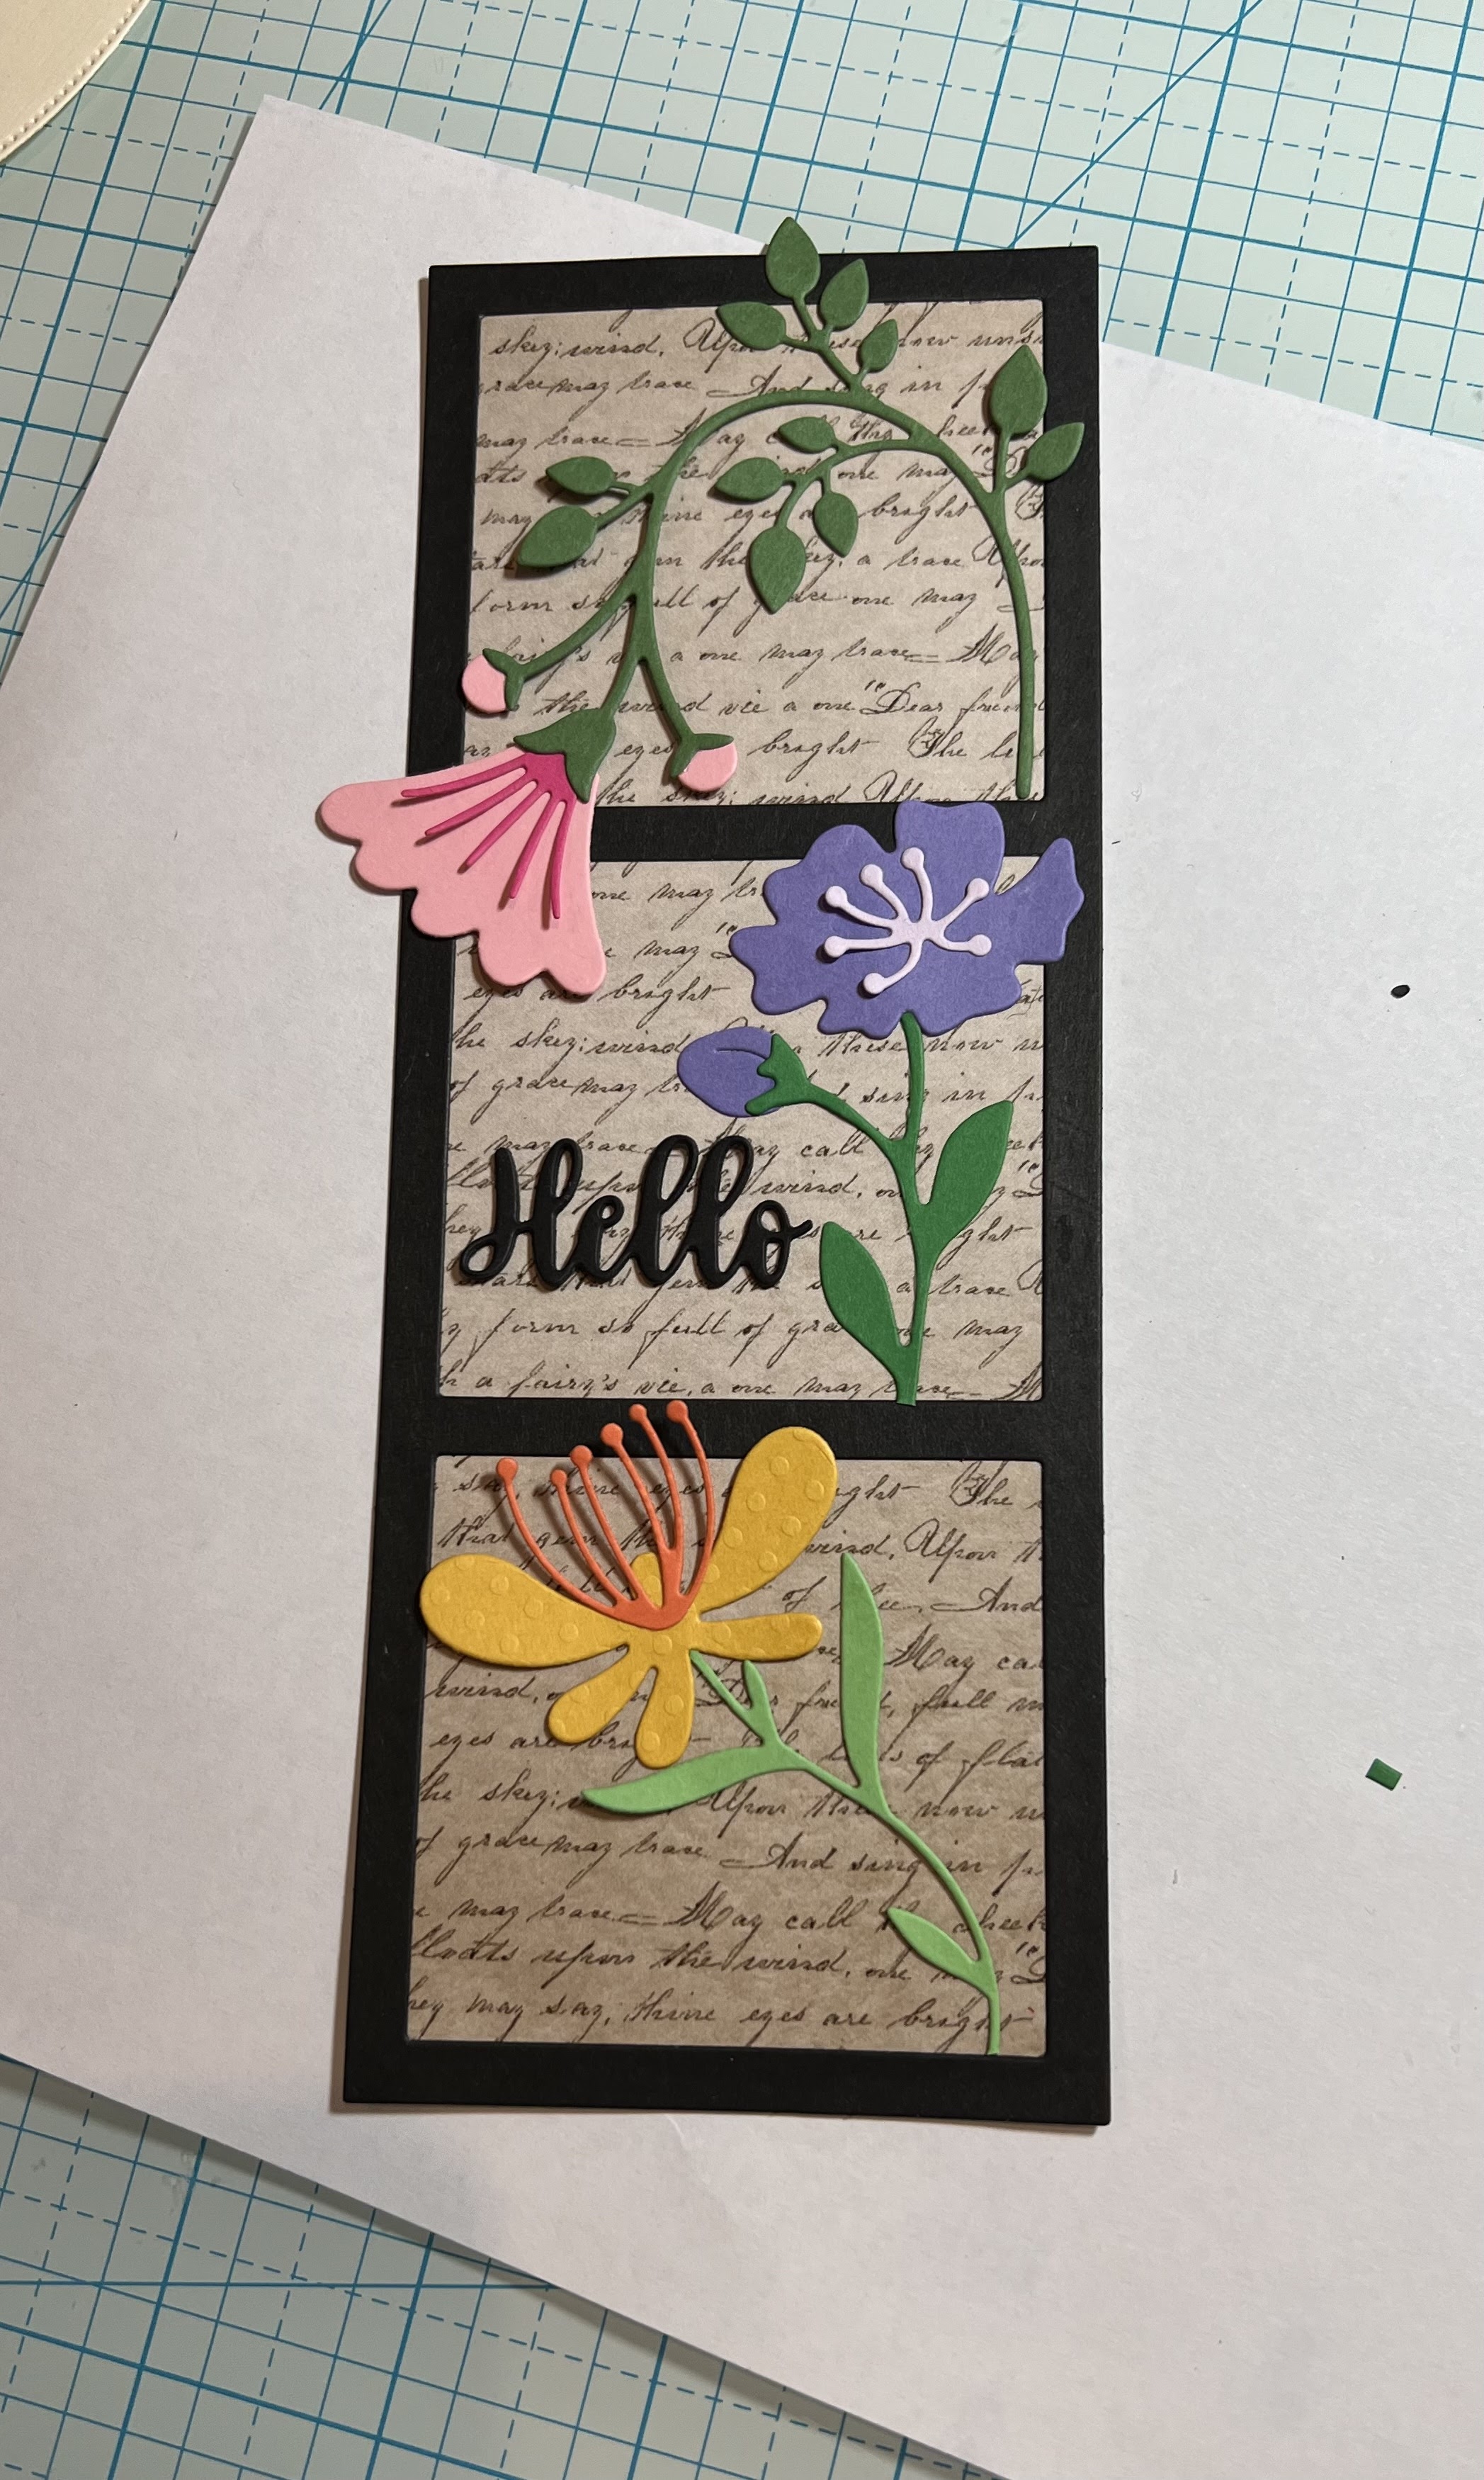
Today, I am using the Folk Art Flower Pot and I created a thinking of you card. I don't make this type of card very often and when I want to send one, I don't have any on hand. I thought this new die was so perfect for this type of card. 

Design Steps:

I first selected my card colors. I decided on a tahitian blue shade, and I had glimmer paper to match for my background. I wanted a rectangular frame around the flowerpot. The only die I had that was the size I needed is the Pierced Wide Rectangle Frame die. Looks like this one is out of stock, but you could use another rectangle die and cut a frame easily.
Next, I cut the flowerpot in cardstock using some cardstock that coordinates with the tahitian blue. These are bright summer colors. I just love the hearts on the pot. 
I cut my hello phrase in a bright pink cardstock. It's the same shade as one of the flowers. 
Now I am ready to start card assembly. I first attached the glimmer paper to the white frame. I used dimensional adhesive to attach the flowerpot. I wanted it lifted off the background. 
To finish off my card, I attached the image panel to the card base using double sided tape. Added the hello phrase on an angle for interest and secured with liquid glue. I added a couple more hearts to the glimmer paper. 
That's my card for this week. I hope I have given you an idea for this new die. Stop back every day this week to see what the other DT members are creating with these new dies. So, you don't miss any of our posts you can subscribe to our Blog and an email will go out to you every day that we have a new post.

Reminder: Marla has a new video on our YouTube channel and there is a die giveaway. Click here. 

Dies I used to create card:


Thursday, March 09, 2023

Hello Flowers

 Hello CottageCutz Friends,

I like to send cards to family and friends with no special occasion.  So today I thought I would make a card just to say hello and I am thinking of you!

The dies I used for today's card are from the new collection.  They are Flower 2Flower 6 and Flower 7.  I decided to make a slimline to display these pretty flowers.

Designer Steps:

1.  Using the following dies Flower 2Flower 6 and Flower 7 cut out these colors of card stock: yellow, orange, pink, dark pink, purple, light purple and 3 shades of green
2.  Use a Kraft slimline base measuring 3 1/4 x 8 1/4
  • Use the Window Slimline and cut it out in black
  • Use the Hello w/Shadow and cut out the hello in black 3 times
  • Cut a piece of script designer paper 3 x 8
3.  Glue the 3 Hello's together.  Glue the black window frame to the designer script paper as shown above
4.  Glue the Hello and the purple flower in the middle window as shown above
5.  Glue the pink and yellow flowers as shown above
6.  Ink the edges of the kraft slimline card base in black 
7.  Glue the flower panel to the kraft card base.  Using the Spring Meadow die cut out 3 black butterflies.  Place 3 small pearls on each butterfly and then attach to the card front as shown below and your card is complete

CottageCutz Products


We have more inspiration on our YouTube Channel check it out HERE

Thanks so much for stopping by!  And I will see you next Thursday.

Blessings and Take Care


Saturday, March 26, 2022

Hello from the Spring Kitten

Hello CottageCutz friends! Thanks for taking the time to stop and visit with us today. It's Mary Marsh here bringing you the Saturday edition of the Blog.

The Spring Release with 20 new designs is in the online store. There is a nice combination of both religious and whimsical designs. So perfect for all card makers out there.

And there is still plenty of time to order and get them for your Easter cardmaking. Today for your viewing pleasure, I have a card featuring the new Spring Kitten w/Envelope die. 

Instead of using it for a Spring or Easter card I created a thinking of you card. I will send this one off to my friend who lives in another state, and I haven't seen her since the pandemic started. Hopefully that will change soon. 

Design Steps: 

Since I knew the type of card I wanted to make and the die I was going to use, I just needed to select the card and image colors. I looked through my designer papers and I found an envelope with some nice shading on it. It was too nice to use as an envelope to send in the mail and then throw away. So, I cut the envelope apart and used it for my card background. I am also using a papaya ribbon for an accent on my card.  

Papaya Card Base - 4 1/4" x 5 1/2"
Designer Paper Layer - 4" x 5 1/4"
I cut the envelope, tulips and kitten in colors that coordinated with the papaya shade color I was using. 
I cut the hello phrase from the Hello w/Shadow die. I used coral cardstock and sponged the shadow layer for a color variance. 
Now I am ready to start card assembly. I attached the ribbon and designer paper to the card base with double sided tape. 
The image and hello phrase are attached with dimensional adhesive. I scattered some enamel dots and that completed my card. I hope I have given you an idea for a different way to use this die. I will be back tomorrow with another thinking of you card using these Spring dies. 
Dies I used to create card: