Showing posts with label CottageCutz stitched oval Set. Show all posts

Friday, September 27, 2019

Birthday Melody

Happy Friday!  It's Jeanne today and I have a birthday card for you that is made with one of the new Christmas dies.  I have a real need for birthday cards with 20 people in my family (and that is only on my husband's side!)  Add to this my side of the family, then friends and well....you understand.  I make them whenever I can.
This card features the singing penguins from the Penguin Carolers die and uses a sketch from Splitcoaststampers.
I switched up the sketch a bit to accommodate my sentiment but it is very close.  I started the card by die cutting my penguins in black and white cardstock.  (Don't the little black penguin bases look like ghosts?  I'm thinking about how I could use these for Halloween!)
I colored the beaks and feet using a Copic marker and colored the eyes with a liner pen.  Then I assembled my penguins.
For the card itself I cut an A2 card base from Crushed Curry cardstock and two strips, one 2.875 x 5.25 inches and one .875 x 5.25 inches out of coordinating DSP.  I really like this paper as I felt the colors went perfectly with the colors of the penguins!
The ovals are cut from Whisper White using the second smallest of the Stitched Ovals dies.
I glued the panels and penguins to the card base; the smallest penguin is glued higher up in the oval so there is room for my sentiment strip.
My sentiment strip is .375 x 3.625 inches.  Originally I was going to use pink but decided on the green as a more neutral color.
To finish the card I popped the sentiment up using foam dots and added a few star sequins.  I love getting multiple uses out of my dies.  These cute little guys are perfect for Christmas or anytime of year!

Dies used:
http://www.scrappingcottage.com/cottagecutzpenguincarolers.aspx

http://www.scrappingcottage.com/cottagecutzstitchedovalsetbasics.aspx

Thanks for stopping by  today.  I hope you have a fun and creative weekend!

Friday, April 12, 2019

Bunny Medallion

Happy Friday!  It's Jeanne posting today with an Easter card for you.  This card is easy to create and is perfect for a last minute card.  I love this little bunny die - it reminds me of the adorable cottontails that are in my yard right now! (And eating my grass I might add. LOL)
It also uses a technique that I like which gives subtle color and added dimension - stacking dies cuts.
I started by cutting three ovals in purple and one in white from the fourth largest oval in the Stitched Ovals set.  I then stacked and glued them together with the white on top.
Next I cut three of the Spring Egg Scene in white and the Blessings Phrase from lavender glitter paper.  I used a self adhesive backing sheet on the phrase.
I stacked and glued the scene pieces together then glued that to my stacked oval forming a medallion.
On an A2 white card base I used a splatter stamp and purple ink to create some background interest behind where the medallion will go.  (You could also just splatter on some ink with a paint brush if you felt so inclined!)  I thought it still needed  little something, so I cut white foliage using the Spring Teacup Bouquet set.  I also added some fine silver thread.
Finally I added the Blessing Phrase and a few sequins.

Dies used:
http://www.scrappingcottage.com/cottagecutzspringeggsceneelites.aspx

http://www.scrappingcottage.com/cottagecutzspringteacupbouquet.aspx
http://www.scrappingcottage.com/cottagecutzexpressionsplusblessingsphrase.aspx
http://www.scrappingcottage.com/cottagecutzstitchedovalsetbasics.aspx


I hope you enjoyed my card today.  Have a fun and creative weekend!


Friday, November 16, 2018

Autumn Memories

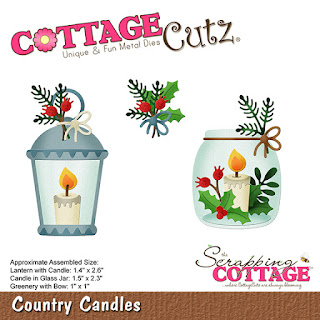
Happy Friday Cottage Cutz fans!  Its Jeanne today with my last card before Thanksgiving!  This card uses the Country Candles dies along with a few from the Autumn release. The Autumn release dies are on sale for a limited time so be sure to stop by the online store!
I started by die cutting the lantern from a "galvanized tin" cardstock, the candle, flames and bow from vanilla, and the glass from velum.  I used leaves that I had left over from last week's card!  I had already used a sponge to color the edges of the leaves.
Next, I colored the vanilla pieces with Copic markers.
 I carefully adhered the velum window to the back of the lantern using Multi Medium Matte.
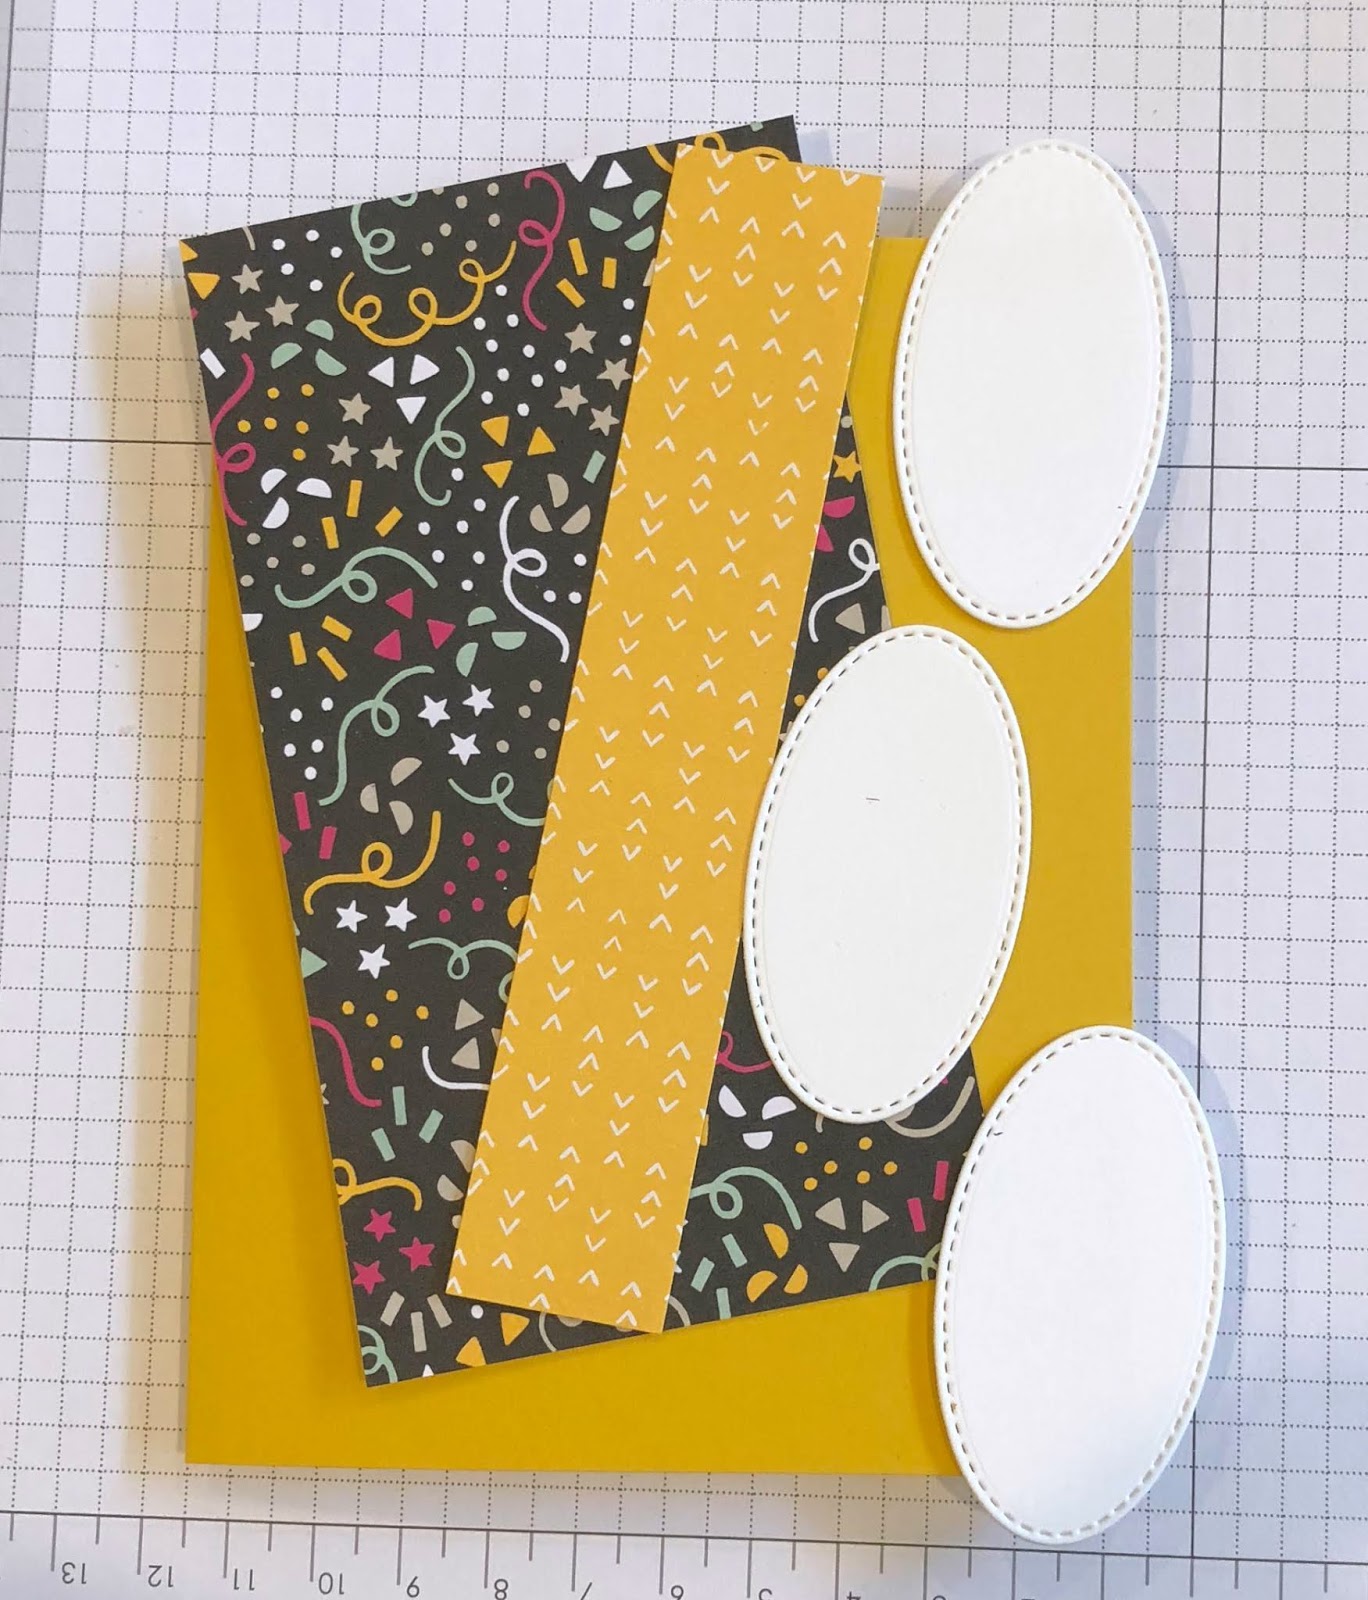
I cut a gold panel the size of an A2 card - 5 1/2 x 4 1/4 inches, and a 5 1/4 x 4 inch panel from brown Co'ordinations cardstock.  This cardstock was popular several years ago and has a different color interior which shows when embossed and/or sanded.  Today, I embossed the panel and used a sanding block to reveal the interior color and enhance the embossing.
 I stamped the sentiment in Mossy Meadow ink and used the third smallest stitched oval to cut it out.
The lantern is popped off the embossed panel using foam dots and I used linen thread behind it.
I glued the sentiment below and slightly to the right of the lantern and then glued on my leaves. The embossed panel is glued to the gold one and both are adhered to an A2 card base.

I hope you enjoyed my card today.  My next post will be after Thanksgiving and I wanted to get in one last autumn themed post!

Dies used:
http://www.scrappingcottage.com/cottagecutzcountrycandles.aspx
http://www.scrappingcottage.com/cottagecutzpumpkinsandvines.aspx
http://www.scrappingcottage.com/cottagecutzpumpkinpieandlatte.aspx
http://www.scrappingcottage.com/cottagecutzstitchedovalsetbasics.aspx

Thanks for stopping by today.  I hope you have a happy and weekend (and find some time for creativity!)

Friday, July 20, 2018

Discover Shaker Card

Happy Friday Cottage Cutz fans!  It's Jeanne today and I have a fun shaker card for you!  I love interactive cards and this one uses some really cute dies.  I just love this mouse and snail.
I started with an A2 sized top fold card base.  I cut a panel from patterned paper the same size as the front (5 1/2 x 4 1/4 inches) and a slightly smaller panel from a coordinating paper for the back of the shaker.
Next I die cut all my pieces for the foliage and critters from a variety of green and neutral card stocks.
You may notice that there are a few pieces missing from this photo - that's because as I was puting this together I decided to add a few extra elements.

I cut the word discovery from a dark purple card stock that had been backed with adhesive paper.  I like doing this with fine elements.  I wait until I'm ready to stick it down before I  try to remove it from the rest of the card stock since it also removes it from the adhesive backing.
I used the third largest oval and cut an opening from my from the front panel about 1/2 inch from each side and the bottom.  Then I adhered an acetate panel to the back with "snail" tape.
On the front side I glued down  all of my elements.
When I finished I put a double layer of foam tape on the back.  Keep the tape very close to the shaker.  It does not have to touch on all sides of the opening as long as the sequins (or beads or whatever) can't escape through any holes.  I used anti-static powder to the inside of the tape so my sequins would not stick to it.
After gluing my smaller back panel to my A2 base I added about one tablespoon of sequins in the center of the card.
Then I placed the card front on top.
I hope you enjoyed this card today.  It was a lot of fun to make.

Dies used:
http://www.scrappingcottage.com/cottagecutzforestcritters.aspx


http://www.scrappingcottage.com/cottagecutzmushroomsandgreenery.aspx
http://www.scrappingcottage.com/cottagecutzexpressionsplusdiscoverphrase.aspx
http://www.scrappingcottage.com/cottagecutzstitchedovalsetbasics.aspx


Thanks for stopping by today!  I hope you have a fun and creative weekend!

Wednesday, April 25, 2018

Love Ya Mom! Botanical Mother's Day


Hello everyone! It's Janet here with a delicate botanical mother's day card. I like the mix of hard black and white with all the soft pastels that frame the Mom tag sentiment. Perhaps I should have chosen a slightly more muted yellow ribbon but in person it isn't as bright as the photo shows here.

Speaking of MotherÅ› Day, 22 new dies have just been released to celebrate the occasion. The dies are currently on sale so go check them out and take advantage of the discount. The link can be found HERE.

My flowers and greenery are all from the new Botanical Garden 1 die that is part of the Llamas and Botanicals release. Rather than color the flowers with markers, I used white panels that I first covered in blended distressed oxide inks, splattered with water to create additional texture, and then sprayed with gold glimmer spray. These panels of color created a really special array of flowers for the card. I raised the card front with the wide black frame up on foam tape to create a window which was a perfect base to arrange all the individual flower die cuts. I used the versatile Mail Tag die to use as the sentiment to tell Mom just how much she's loved.

The video shows how I created the panels, how the individual flowers go together and how I created the card front with the framed and raised front panel. You can watch the video by clicking HERE or clicking on the thumbnail below.


Thanks for spending some time with us here today. See you again soon!

Hugs,
Janet

DIES USED IN THIS CARD: