Showing posts with label Birch Trees. Show all posts

Sunday, January 21, 2018

Walk in the Woods

Hi!

This is Anja again. My brother is finally doing better and we hope he'll be home in the next few days. We have a beautiful sunny Sunday here in Slovenia. Perfect for a nice walk in the woods. Like this fox I made for today's post.


For this card I used:
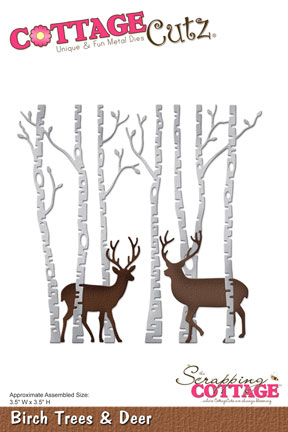
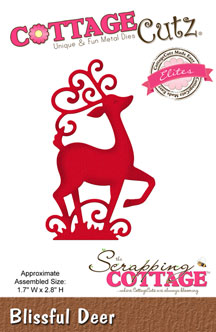
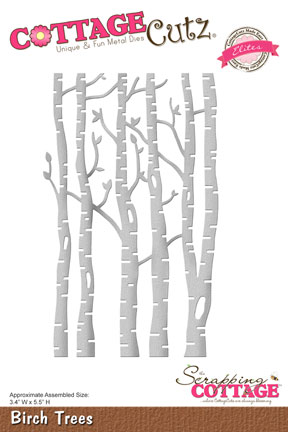
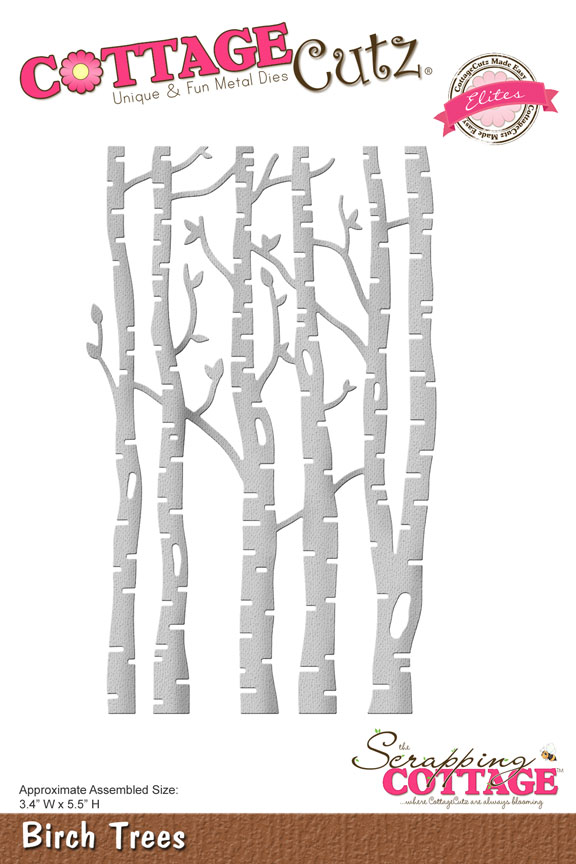
- Cottage Cutz dies (Fox & Bird, Birch Trees, Rustic Sign & Trees, Snowy Tree),
- Distress Inks (Wild Honey, Spiced Marmalade, Peacock Feathers, Broken China, Pumice Stone, Black Soot, Bundled Sage, Peeled Paint, Forest Moss, Pine Needles, Antique Linen, Tea Dye, Vintage Photo, Walnut Stain),
- craft card base (15x15 cm),
- craft paper for background (15x14,8 cm),
- white card stock for die cuts,
- paper cutter,
- white pigment ink,
- white pen,
- black brush pen,
- black liner pen,
- paper scissors,
- paper glue.

First I cut the card base. I cut the front for 6 cm. The inside of the card base was a little lighter, so I decided to cut another background (15x 14,8 cm) that's the same color as the outside of the card base. I used white pigment ink to add a bit of mist to the sky. I glued the background inside.


Then I used the dies and cut and colored all the pieces. I cut two sets of birch trees.


I colored the black parts with the black brush pen.


First I glued the birch trees on the card base. I cut two identical stripes of white card stock for the ground.  First is 9 cm long, the second is 14,8 cm long.


When I had the background finished, I added the remaining trees and animals. And this is the final result.


Have a nice Sunday and we'll see each other in a week.
Anja Z.

Cottage Cutz dies I used:


Wednesday, December 27, 2017

Happy New Year! Bottle Tag


Hi everyone! The new year is fast approaching and that means that many of us will attend a gathering of some sort to celebrate the arrival of 2018. Often a bottle of wine is an easy and appreciated choice for a hostess/host gift. I thought I would create a bottle tag instead of the usual wine bag to make it a little extra special. 

To construct this tag, I started with a piece of black glitter card stock and used a Scalloped Nested Die to cut the bottle neck hole. Then I used the Birch Tree die as the background and slipped the doe and fawn into the trees. The Happy New Year Ornament was cut out of gold card stock and placed on top of a doily from the Nested Stitched Doily set cut out of white holographic paper. For a final touch, I applied some chunky white glitter at the feet of the deer to appear as if they are standing in snow. You could skip this step if you are in a hurry or do not have the glitter on hand.  

This tag was made using the dies shown below but if you do not have these particular designs, use your creativity to decorate your tag in another way. For example, it does not have to say anything about the new year. Instead, you can use a Thanks or other Expression die in combination with other shapes to create your own bottle tag. There are many occasions it could be used for as well. For example, you could decorate it to celebrate a birthday or to congratulate someone for something. 


This tag was surprisingly quick to construct when you let the dies do all the work for you. If you wanted to put more time into it, you could shade the deer and the birch trees but I really wanted to show you could create this without much fuss and still get a great result.

To learn how to construct this bottle tag, click on the YouTube thumbnail below. 


Thanks for joining me here at the Scrapping Cottage. I hope you have a very happy New Year!

- Janet


Friday, December 16, 2016

SPARKLING SNOW AND CHRISTMAS CARD


HELLO FRIENDS !!

It's Anita here !!
Winter is all in its beauty with sparkling snow fields and woodlands covered with snow and those adorable forest creatures !!!! Ah !!! the natural surroundings in a countryside in the snowy winter months looks awesome.

To capture that look I have a Step card with sparkling snow land amidst the woodlands and that country scene , all together in one card, actually made possible because of the amazing Christmas collection found at the CottageCutz Store.

Here is my card and all the close up pictures. Its a very simple card and I have added a sparkling dust powder on the die cuts to create that shimmery look.


To make the card,

Cut all the die cuts from CottageCutz dies in white card stock.


For the card base, cut a piece in white measuring 6 Inches by 12 inches. Score at 1", 2" 4" and 6". Fold along the score lines to make a step card.


Create three panels for each step that have a wavy top edge.


Distress wit Tumbled Glass Distress ink and apply clear glue. 

Add the sparkling dust powder and remove the excess. This will create the snowy ground.

Adhere these panels on each step.

For the last panel, Add a frame from Stitched Wide rectangle frame die and top of it adhere the die cuts as shown to create a snowy woodland scene.


On each step, add the die cuts to build up the scene.


Add a sentiment on top to finish the card.

CottageCutz dies used.


I hope you liked this sparkling winter card. Have a great and fun filled Christmas  !!!

Saturday, August 06, 2016

A WOODLAND CARD

Hello dear friends ,

Happy weekend to all !!!! It's been raining here in India and the days are dark and cloudy . In this gloomy weather, I am reminded of my last vacation that I spent in the countryside amidst the woods . I loved the natural beauty of the woodlands and inspired by it , I made a card featuring the woods .

Here is my card


To make this card , follow the steps with each picture


Distress a cardstock 4inches x 6 inches with distress inks wild honey, carved pumpkin and fired brick.


Spray some water on the die cut and add some colour using the Distress inks Gathered Twigs and 
Ground Espresso .


Using the Negative of the CottageCutz Garden stem die and Black Soot distress ink to add shadow images .


Add a little more shading to the edges with Black Soot distress ink.


Cut another die cut from CottageCutz and adhere the two together to give a 3D look .
Adhere the die cut on the distressed coloured cardstock.


Adhere the panel on a white card base measuring 7 inches x 5 inches . Add two thin black strips at both the sides
Adhere the white circle die cut on the black die cut . Adhere the bird die cut . Add the circle black frame . Attach this on the top right of the card . Add a sentiment at the bottom.


The complete card


The CottageCutz challenge no . 5 has the theme birthday  . Do share your entries to win amazing prizes. 
Have a wonderful weekend.