Showing posts with label Baby. Show all posts

Tuesday, August 29, 2017

Rub-A-Dub-Dub Birthday!

Hello all! I hope the week is treating you well so far. It's back to school time and I'm sure many of you sent your students off to start a new year like I did yesterday. Time flies alarmingly fast!

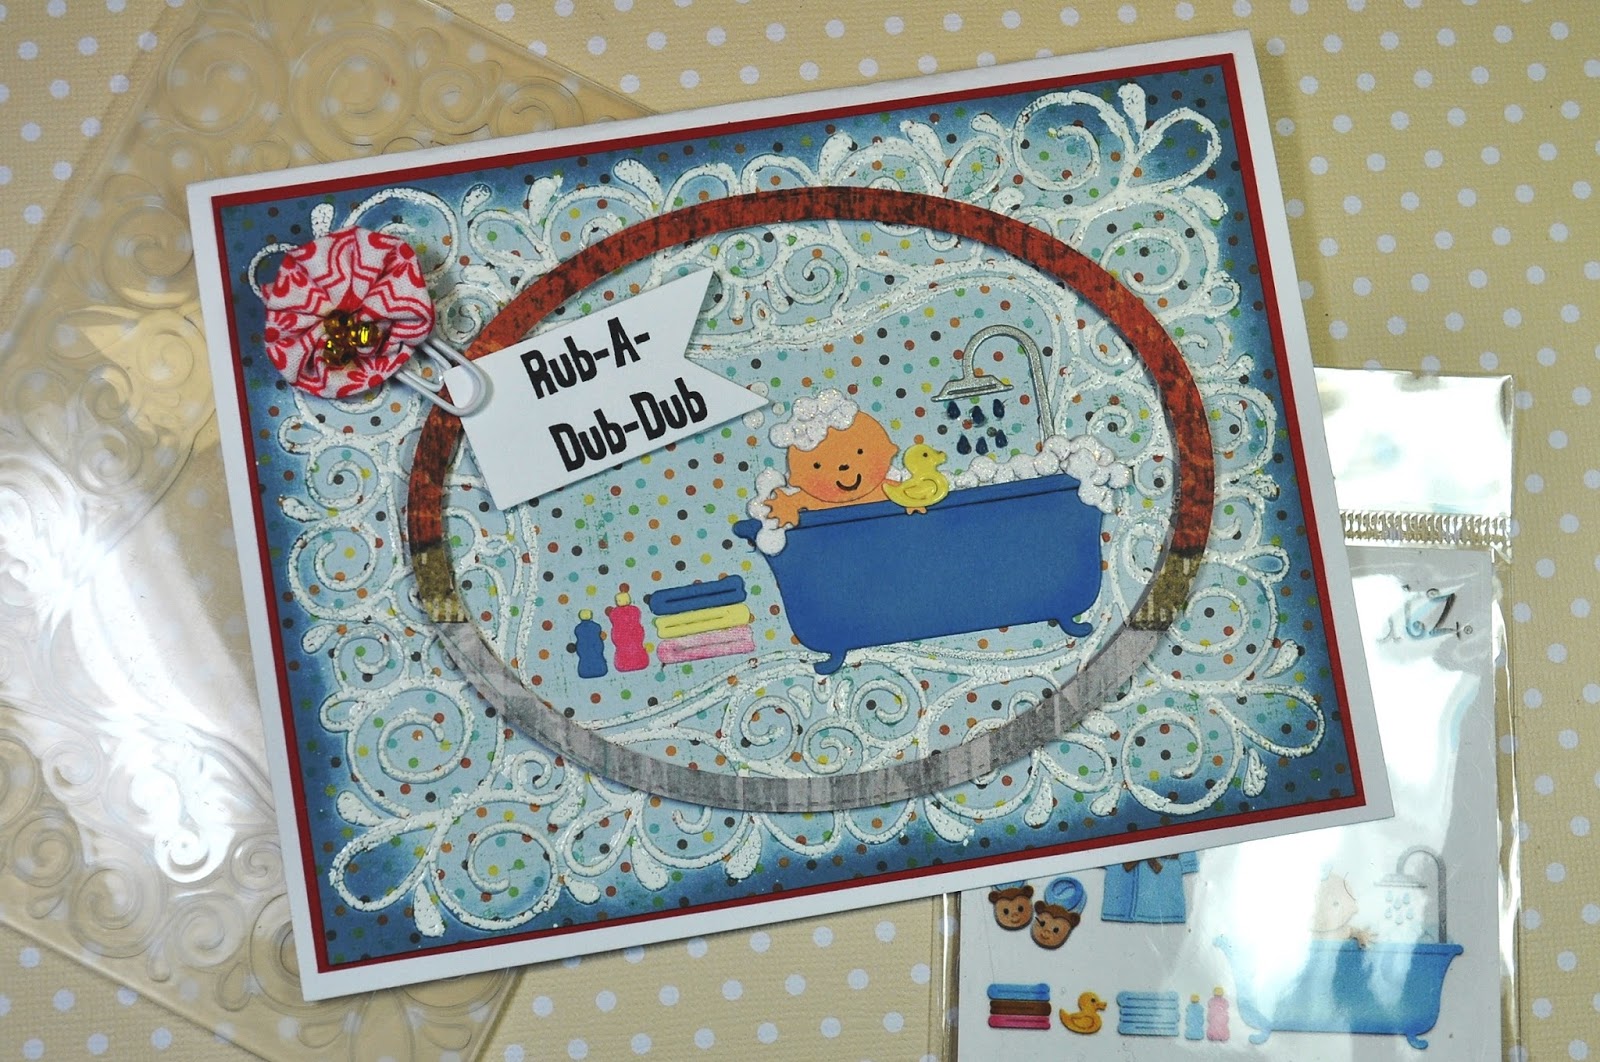
For your viewing pleasure today, I'm taking a little break from the wedding theme to bring you a birthday card for a little one in your life. It features the Bathtub Time die that that was part of the baby release this spring. This die has ten individual elements you can use to create a large variety of scenes. It's a great die to play around with and easy to construct. There are enough pieces to decorate both the front and the inside of a card like I did on this one.

I also used the Stitched Oval Set to create the frame on the front and the mat inside the card. The Happy and Birthday Expression dies were used for the sentiment inside.

To learn how this card came together, please click on the YouTube thumbnail below. If you are a fan of embossing or want to some additional ideas on combining embossing techniques, I think you'll enjoy this one.


Thanks for spending a few minutes with me today. I'll be back tomorrow with another video.

- Janet
  SugarShine Designs

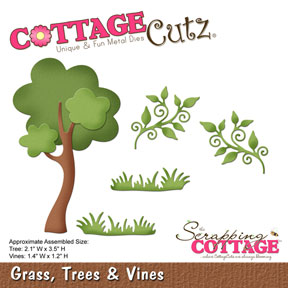
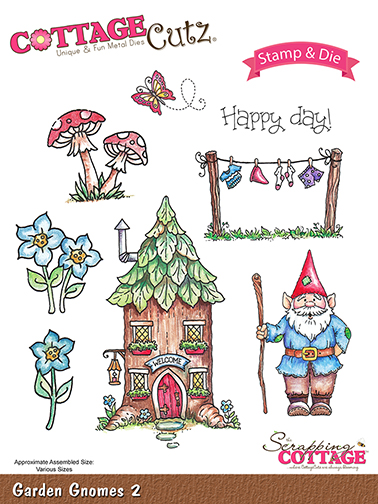
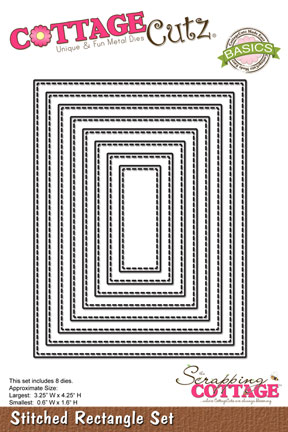
Dies Used For This Project:


Tuesday, May 02, 2017

Bear on cloud (gate fold card)

Hi, Janja here!

Teddy bears are so popular toys. They are so soft to touch and ideal for cuddling.
On a gate fold card, that I share with you today, I put a lovely bear on cloud.


Supplies:
- CottageCutz dies: Bear On Cloud and Moon, Baby, Nursery Furniture, Elephants on Parade, Baby Diaper Pins, Stroller mini, Baby Carrier mini, Bathtub mini, Fancy Victorian Frame, Cross-Stitched Square set, Stitched Wide Oval Frame set
- white cardstock for card base: 11.4 x 5.7" (29 x 14,5 cm)
- patterned paper
- white and colored cardstock
- light pink organza ribbon

For card base trim white cardstock and fold it at 2.85" and 8.55 " (7,25 cm and 21,75 cm)


Trim patterned paper. First, attach organza ribbon on card base, and then cover the base with patterned paper. Use two-sided adhesive tape.


Cut out a square from patterned paper with the largest die from cross-stitched square set. Place it on to a little larger square from white cardstock.
Also cut out frames from white and patterned paper. Cut them in half with scissors, and attach to the back of the square.


Place square over the center fold. Take care that the adhesive is applied only to one-half of a square.


Add selected patterned paper also on the inside of the card. In the middle add space for text. Use the largest die from stitched wide oval frame set.


Cut out with dies all pieces, and assemble them into a whole.


To complete the card, mount all motives as shown, using glue and self-adhesive foam pads.


Thank you for coming over. Have a nice day.


Friday, April 28, 2017

HAPPY DAYS WITH BABY ANIMALS

Hello Folks !!!

Happy Friday !! It's Anita here with the new release baby dies. CottageCutz has released a whole new collection of adorable baby theme dies and I am sure you will love them all. you can see them here.

I had made two cards with these cute dies last week. If you missed that post, do check it out here.

I loved the way this card has turned out. I am sure all kids will adore this card.


To make this card, follow the instructions below.
1. Cut a frame with Stitched Rectangle die using the largest die and small die.
2. Adhere it on a card stock a little larger than the frame.
3. Cut clouds, sun , grass baby animals and balloons  from card stock .
4. Colour them with copic markers.
5. Arrange the die cuts as shown.
6. Assemble the animals pieces together. For this , follow the picture given on the package.
7. Stamp a flower and colour it.
7. Add the sentiment.

CottageCutz dies used.


Used the balloons from this die.


Grass 


sentiment

Do check the store for all the amazing collection. I hope you liked my card.


Sunday, April 23, 2017

Sleeping Bear

Hi!

It's Sunday again and it's time for my new post. The new Baby collection in available in the store and I just love it. For my first baby card I chose this cute bear on the moon.


 I used:
- Cottage Cutz dies (Bear on Cloud and Moon),
- white card base (14,5 x 14,5 cm),
- light blue paper (13,5 x 13,5 cm),
- white watercolor paper (13 x 13 cm),
- Distress inks (Black Soot, Faded Jeans, Chipped Sapphire, Stormy Sky, Broken China, Mustard Seed, Wild Honey, Vintage photo, Brushed Corduroy),
- blue felt,
- blue small pom pom,
- white embossing powder,
- little star stamp,
- Versamark embossing ink pad,
- white and gold acrylic paint,
- water,
- brush,
- white and black pen,
- paper glue and foam glue pads.


First I made the starry background. I stamped a bunch of little stars on the watercolor paper using Versamark embossing ink.


I embossed it with white embossing powder and colored the background with Distress Inks (Broken China, Faded Jeans, Stormy Sky, Black Soot and Chipped Sapphire).


I dropped some water around the stars and dried it with the heat gun.


I splashed some drops of white acrylic paint around the stars to make it look like a galaxy.


Then I die cut all the pieces for the bear from white card stock and colored it with Distress inks. The blanket is cut from blue felt. 


The moon is also colored with Distress Inks and sprayed with some water. I emphasized the surface with white brush pen and splashes of gold acrylic paint.


I glued all the pieces of paper together and adhered the moon with foam glue pads to give it a little height.


That is all from me today. Have a nice Sunday.

Anja Ž.

Cottage Cutz die I used: