Hello Friends
It is Pam creating with you today!
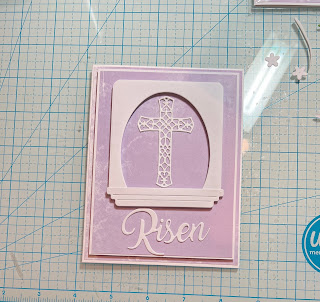
I have a few more Easter cards to complete before I mail them out to my family and friends. I am doing multiples of the one I am sharing today. I just love the Easter Cross die that I am featuring today. To me it represents the true meaning of Easter.
Background Photo by Freepiks
2. Glue the larger piece of purple DP to the card front. Glue the smaller piece of purple DP to the extra piece of white card stock and then pop it onto the front using dimensional tape set aside
3. Cut a rectangle piece of white card stock measuring 4 1/8 x 3 next using the 4th from the largest Pierced Oval die cut an oval just slightly above center as shown above. Use a corner rounder and round the top corners of the rectangle. Cut out the following dies on white card stock: Easter Cross, He is Risen (you just need the Risen part), for the flowers use the Garden Phrases die and cut out 2 large flowers, 6 medium flowers and 3 small flowers. And finally on white cut out the window base using the Garden Window die. Use the Spring Greenery die and cut out two leaves as shown above on green card stock4. I wanted a unique shape to showcase the cross so I made an arched window by taking the rectangle that I cut the oval in and cut it to measure 3 x 3 then I glued the window base to the bottom as shown
5. I then added dimension tape to the back of the oval window
6. I used dimension tape on the window then popped it onto the card base toward the top and glued down the cross and Risen
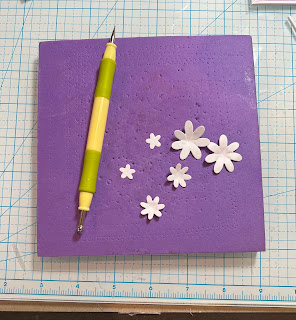
7. Next glue down the greenery. You can see below I added some bend to the flowers using my stylus
8. For the large flower I glued to large flowers together, added 2 medium flowers and one small flower for the center. For the other two flowers I glued to medium flowers together and added a small flower to the center
9. Glue the large flower in the middle and then add the two smaller flowers. To finish the card add two pearls to the corners and one pearl to the centers of the flowers. Your card is now complete
We have more inspiration on our YouTube Channel check it out HERE


1 comment:
Such a beautiful card Pam!! I love the soft the colors and meaningful message 💕
Post a Comment