
Good Morning Scrapping Cottage Friends!
Hello it is Pam creating with you today!
The Design Team is continuing to show samples from the Part 2 Christmas release. Today I selected the Winter Village die to create with. This die is just loaded with trees and little buildings super fun to work with.

Design steps


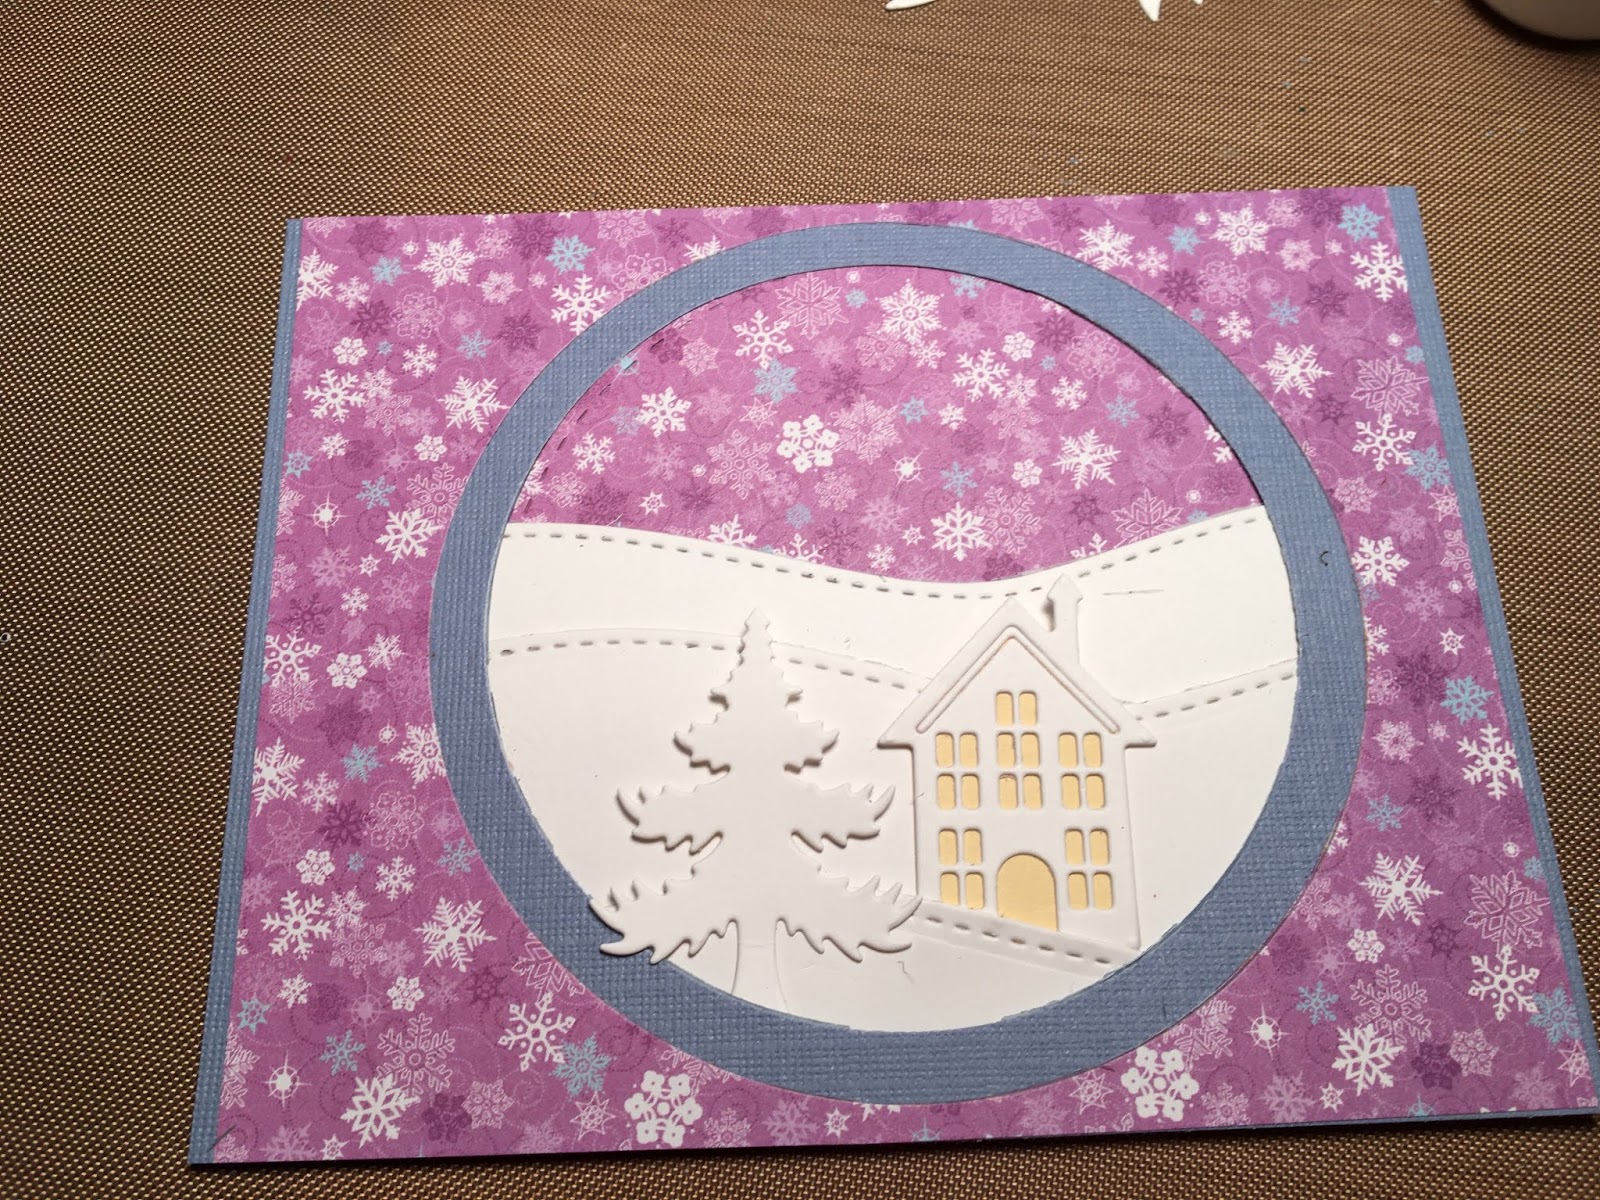

5. After your have finished arrange your pieces glue them down to the card. Then glue the whole panel to a A2 white card base and your card is complete

CottageCutz Products


I hope you are well under way in creating your special Christmas card. These new dies sure make creating them so easy!
Blessings
Pam

4 comments:
Beautiful card! The pretty scene you created looks amazing! The patterned paper you used is gorgeous!
Such a beautiful card!
This is a nice winter village
Beautiful scene! Love the purple snowy background. Unexpected but gorgeous!
Post a Comment