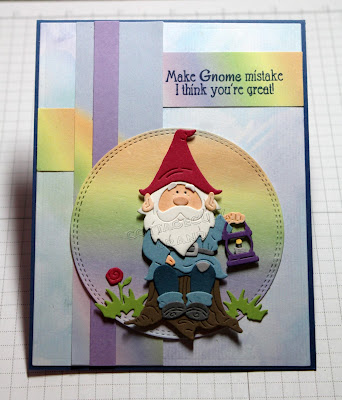
If you love fairies, fairy gardens, gnomes and flowers, you will love these dies. Today, I am featuring the new Gnome on Tree Stump die. Let's get started with some details on how I created my card.
Step 1: As I have said so many times before, having a layout in mind at the start of my card is always a big boost for me. It jump starts my creative thought process. I love working with the sketches that are out there in the online world. That way I just choose the colors and designer paper and I am good to go.
I liked this week's sketch #755 from Splitcoaststampers.
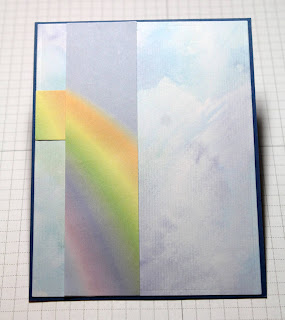
I used this blue watercolor wash patterned paper for my background. It has an outdoor sky look to it. Then I found this other paper that had a rainbow in on it and decided to use it for the circle that the gnome is sitting on. The paper is also element 2, 3 and 4 of the sketch.
Blueberry Card Base: 4 1/4" x 5 1/2"
Patterned Paper Background: 4 3/8' x 5 3/8"
Sketch Element 2: 2 3/8" x 7/8"
Sketch Element 3 : 1/2" x 1"
Sketch Element 4: 1 3/8" x 5 3/8"
Sketch Element 5: 3/8" x 5 3/8"
Circle: 2nd largest of double stitched circle die.
I cut my gnome image in different colored cardstock. I used the colors that were on the packaging. I colored his face, ears and hands with Copic markers. I used E000, E00, and E21.
I stamped my sentiment directly on the patterned paper in blueberry ink. Used my MISTI for placement and also I knew I was going to stamp twice to make sure it was dark enough. It's element 2 of the sketch. I started off with a larger piece of paper than what I needed and then trimmed it down to the 2 3/8" x 7/8".
Step 2: I am ready to start card assembly. Attached the background layer and element 2 and 3 of the sketch to the card base with double sided tape.
I am ready to attach the image panel. I used dimensional adhesive on the gnome and double sided tape on the circle.
To finish off my card, I added a few glitter enamel sequins. Well, that's it for me for this post See you next Saturday! I hope I gave given you an idea for another way to use this Gnome die.
dies I used to create card:


4 comments:
So cute love the rainbow colors on your card perfect for this little gnome!
Super cute card!
Adorable card! The gnome is so super cute! Great take on the sketch!
Wonderful card Mary! I really like the rainbow paper that you used - it adds a great touch.
Post a Comment