Just changing the sentiment to any one of a number of "wish" sentiments changes the card instantly. And it is gender neutral - I love having cards on hand that I can give to my male or female friends!
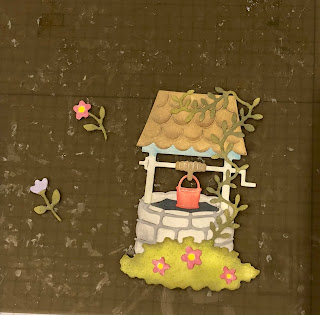
I started by cutting all the pieces from white card stock. I used a combination of Distress Oxide inks and Copic markers to color them. I used the Copics on the small flowers as I find that easier than using a sponge dauber and ink.
I assembled the well on a silicone mat.
Next I chose the paper for the background, frame and sentiment. The various shades of green in this patterned paper really sets off the wishing well. I cut it to 4 1/4 x 5 1/2 inches. I also cut a white panel 3 1/2 x 4 1/2 inches, a dark green frame using the largest of the Stitched Wide Rectangle Frame dies and a light green sentiment panel using the tag shape from the Fancy Pocket Plus dies.
The white panel is glued behind the frame with the wishing well adhered to the panel. I wrapped linen thread around this framed piece several times before gluing the panel to the patterned paper.
This was then put on a white card A2 base. I added the sentiment using foam dots for dimension and some small floral trinkets I had in my stash.
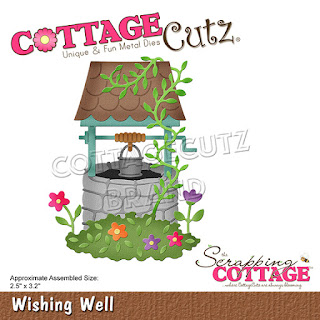
I hope you enjoyed my card today. The Wishing Well die is part of the new Magical Garden release and is on sale for a limited time. Stop by the online store and see the other great dies that are part of this beautiful release!
Dies used:
Thanks for stopping by today. I hope you have a fun and creative weekend!


4 comments:
Beautiful card! I love this die cut and was just creating a card with it last night! I really like how you kept your card gender neutral. All of the details look amazing!
this is a great card Jeanne- the sentiment makes me think it would be good for a birthday, wedding or a shower card
Love your shading on all the different pieces and your background paper is perfect! Very Pretty Card!
A very nice card.
Post a Comment