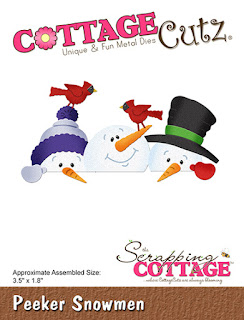
These little guys are so cute and are super easy to put together making this a great card for multiples.
I cut everything in white card stock and used Copic markers to color.
Because of the large greeting I opted to not use the birds. I cut the greeting from gold foil that I had backed with a self adhesive sheet.
Next I took a panel 5 1/2 x 4 1/4 inches and used Distress Oxide inks and a blending tool to create a sky. After this was finished, I trimmed it to 5 3/8 x 4 1/8 inches.
I used a wood-look background stamp to stamp the fence then I trimmed off the top and used paper snips to cut notches to mimic the planks of a fence.
I trimmed the fence to 5 3/8 x 1 1/2 inches tall and adhered it to the background leaving the top portion unglued so I could slip the snowmen underneath.
When everyone was added, I adhered the greeting and then mounted it all to a red A2 card base.
Very easy and fun to make!
Dies Used:
Thanks for stopping by today. Don't forget to check out the savings on the website! It's only for a limited time.
I hope you have a fun and creative weekend!


6 comments:
These little peeking snowmen are super cute Jeanne - I love the fence they are peeking over- creative idea- I may case your idea for some of my Christmas cards- it’s too sweet not to (lol)
Love the row of snowmen peeking over the fence just adorable!
I see people from the CottageBlog use a lot of distress inks, but have you ever used the Tim Holtz alcohol inks in the bottles? I was wondering if you could tell me what the difference is and how they can be used in card making. thanks.
adorable!
I think this die was my favorite of Part 2 of the release. Your card is adorable -- love the fence you created!
To Anonymous: Our Blog focus is on CottageCutz dies. For information on alcohol inks, I would do a search on YouTube. There are many tutorials there that will be helpful to you.
Post a Comment