Wednesday, October 04, 2023

Fall Designs Group Post (Day 1)

Hello CottageCutz friends! Thanks for taking the time to stop and visit with us today. This post is featuring cards using the new Fall Release. There are 15 designs in this release and are available in the online store with special pricing.

The designs are so perfect for all your Fall projects- birthday, Thanksgiving, thinking of you, encouragement and home decor just to name a few.  They allow you to add a beautiful touch of Fall to whatever you may be creating.

We have had a good response when we do a group post on a new release. It gives you the opportunity to see more card samples from the Design Team. There are 3 samples in today's post and on Friday we will have another 3 samples.

Now onto our samples for today. 

Card 1: Our first sample today is from Marla Harris. She is featuring the Harvest FoliageFall Branch w/Swing and Autumn Friends dies.   
She took a step away from the traditional fall colors and created a vibrant card ready to brighten someone's day. 
The jewel toned leaves make a great frame for her bird on the swing. It's an ink smooshing technique.  The embossed background was inked before she ran it through her machine. You can see the process video on her YouTube channel - here.  
 

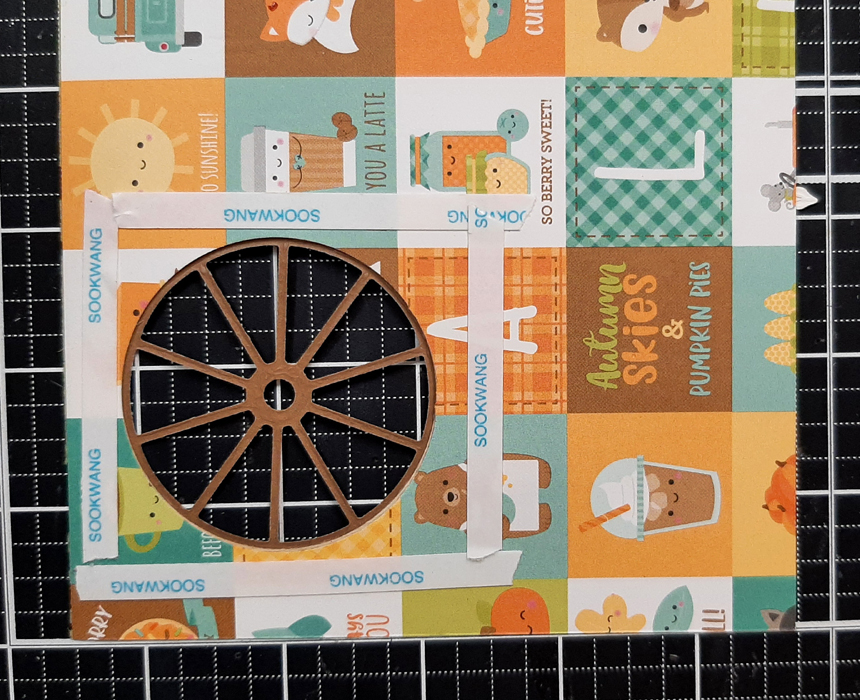
Card 2: Our next sample today is from Pam MacKay. Her card is featuring the Harvest Pumpkins and Fall Barrel dies in a larger format - 6 1/4" x 4 1/4". 
Her idyllic scene is so reminiscent of many yards across the land. It calls to mind images of cooling weather, golden sunlight, and fields of pumpkins ready to be picked before the frost arrives.  


Card 3: Our 3rd and last sample today is one that I (Mary Marsh) created using the Fall Scarecrow die.  I just couldn't resist the happy expression on his sweet little face. It doesn't seem like he could scare the birds away. 
I stenciled some clouds using prize ribbon distress ink and added some grass with peeled paint distress ink. The sun is from the Stitched Clouds, Sun & Umbrella die.  
I thought it would be a great Thanksgiving card to send to friends who have young boys. 

That's it for our samples for today. Stop back again on Friday for Day 2 of the Fall Release to check out what the other designers have created.


Tuesday, October 03, 2023

Fall Themed Card With New Fall Die Release

Happy Tuesday crafty friends,
Today I am sharing a pretty card I created with some of the new Cottage Cutz fall release dies. Here is what I created.
My card is a 5.5 x 5.5 top folding card. The base was created with a piece of white cardstock. To that I added a piece of patterned paper for a mat. I cut that mat a 1/4 inch size smaller.

I then cut out two of the square scalloped eyelet mats. I layered them and turned one a quarter turn. I used some pretty aqua and white polka dot patterned paper to create a mat for both scalloped squares.

I then used the new Fall Centerpiece and Autumn Garland dies from the new Fall Release. I cut all the pieces out in plain white cardstock and then inked, chalked and colored with my markers. I used some stickles for the centers of the flowers. I also used some foam tape to give the layers some lift.

Here are a couple of close up shots of my project. I love pink as my main fall color this year. Of course I love pink period, so I decided to make this in the pink and teal palette.


Here is one last look at my project. I used the Fifties Phrases #2 die set and used the word You're and te word Fabulous. I used some stickles for the centers of my flowers and also for my White branches that I have decided look more like baby's breat for my piece.

Dies I Used


Fall Centerpiece

Autumn Garland


Nested Scallop Square Set
This is close to the one I used

Fifties Phrases 2


Be sure to head over to CottageCutz.com and check out the amazing TWO new releases they have. 
The Christmas Release and the New Fall Release.

They are on sale now and for a limited time!

Christmas Release


Be sure to come back by to the Cottage Cutz Blog here this Thursday and Friday as the designers will be showcasing the new Fall release this week! Until the next time, have a wonderfully crafty day.

-Melinda

Monday, October 02, 2023

Fall Wagon Wheel Shaker

Happy Monday friends!

Kris here to share a fun Fall shaker card using some brand new dies from our FALL 2023 RELEASE!  There are 15 designs in this release and they are all on sale!  Individual dies are 30% OFF and for a limited time only, you can get the whole bundle for 50% OFF!

This release has so many wonderful dies (I love Fall!)  and the first thing that came to mind when I saw the Fall Wagon Wheel and Fall Barrel dies was to create shaker cards!!  I decided to use them together and make the wheel into a shaker.  Super easy to do!  


All the patterned papers I used came from the Pumpkin Spice paper pad from Doodlebug Designs

PRODUCTS:

SUPPLIES:
Low-tack tape
Foam strips
Acetate or window sheet
Sequins or other shaker elements

DESIGN STEPS:

• Card Base is a 5-1/2" square in Pumpkin Pie cardstock - set aside until the end.

• Leafy paper is cut at 5-1/4" square.

• I die cut a square using the largest of the Pierced Square Set from the blue plaid and glued to the center of leafy paper.

• I also die cut a circle (not pictured below) using the 4th largest of the Pierced Circle set from the green plaid paper that will be the back inside of the shaker.


• I die cut the Wagon Wheel from 2 shades of brown/tan and the Barrel from white and the same 2 shades of brown.  I then colored the white leaves and sunflowers.


• I glued the leaves behind the barrel and then to the bottom left of my plaid square.


• Next, I taped (with low-tack tape) the 5th largest Pierced Circle slightly overlapping the barrel, then die cut thru all layers.


I glued the larger outer wheel on top of die cut opening, then the smaller wheel on top.


 • On the back, I added Scor Tape all around the wheel, then removed backing and add the window sheet.  

***TIP:  running a used dryer sheet over the acetate will help prevent sequins from sticking!


• I added 1/8" foam strips closely around the circle opening and all around the edges... then can fill in with a few strips.


Add sequins or other shaker elements 


Add your circle shaker backing to lock in the sequins.


Apply glue to the back of the shaker part and remove backing of foam strips and center it onto card front.

• Add Sunflowers and "Fall" and glue the wagon wheel center to the wheel.


We have more inspiration on our YouTube Channel HERE
 
Happy Crafting!

~Kris


Sunday, October 01, 2023

Father Christmas (New Die)

Hello CottageCutz friends! Thanks for taking the time to stop and visit with us today. It's Mary Marsh here bringing you the Saturday edition of the Blog.

It's new release time!!! We have our Christmas 2023 release in the online store that has 40 designs. It's an old-fashioned Christmas theme. You can pick up the bundle at 50% off or the individual dies at 30% off for a limited time.

We also have a new Fall 2023 release in the online store with 15 designs. You can pick up the bundle at 50% off or the individual dies at 30% off for a limited time.

Today for your viewing pleasure, I am featuring the new Father Christmas die. I have a collection of vintage Santa images that my mother-in-law passed along to me and this die reminds me of those images. I may just send this card to her for Christmas. So, let's get started with some details of how I created my card.

Design Steps:

I started by selecting the designer papers I wanted to use for my layout. I have an older Christmas pack that had the name of Father Christmas. It contains vintage designs. I picked 2 different patterns and cut them as the background for my image.

Light Green Card Base: 4 1/2" x 5 1/2"
Light Green Image Panel: 3 1/8" x 4 1/8" (I used the largest rectangle die)
Dark Green Layering Panel: 3 1/2:" x 4 1/2"
 
 Next, I cut the Father Christmas image. I used the colors from the packaging as they coordinated well with my designer paper. I wanted a more vintage look to my card so I cut the bow from the Vintage Holiday Lantern die and also used the Corner Flourish die (2016 release) for another corner accent. 
I decided a stamped sentiment would work best for my layout. I stamped in a cherry ink that matches the ribbon and other embellishments on my card. 
Now I am ready to start attaching the panels and the images. I used double sided tape and clear drying glue. 
Next, I secured the Fathe Christmas images with dimensional adhesive. I wanted him lifted off the card slightly. 
I wanted some other embellishment on my card since the vintage style is always a bit busy. So I decided to use one of the images from the new Christmas Ornament die. I think it works well with the other images. 
And that completes my card for this week. I hope I have given you an idea for a way to use the Father Christmas die. See you on Wednesday. We are having a group post featuring the new Fall designs

Reminder: Marla has a new video up on our YouTube channel. There is a giveaway. Click here