Wednesday, February 14, 2024

Polar Bear Fishing Die Cut Card

Happy Valentine's Day crafty friends! I wanted to share a cute little card I created with one of the cutest cottage cutz dies!
It's the perfect card for my hubby for Valentine's day. He is indeed the perfect catch and he is all mine!


I started by cutting out and assembling all my pieces. For the cutie patootie polar bear, I cut all his pieces out in white cardstock. I then used some markers and chalks to give the pieces some color.

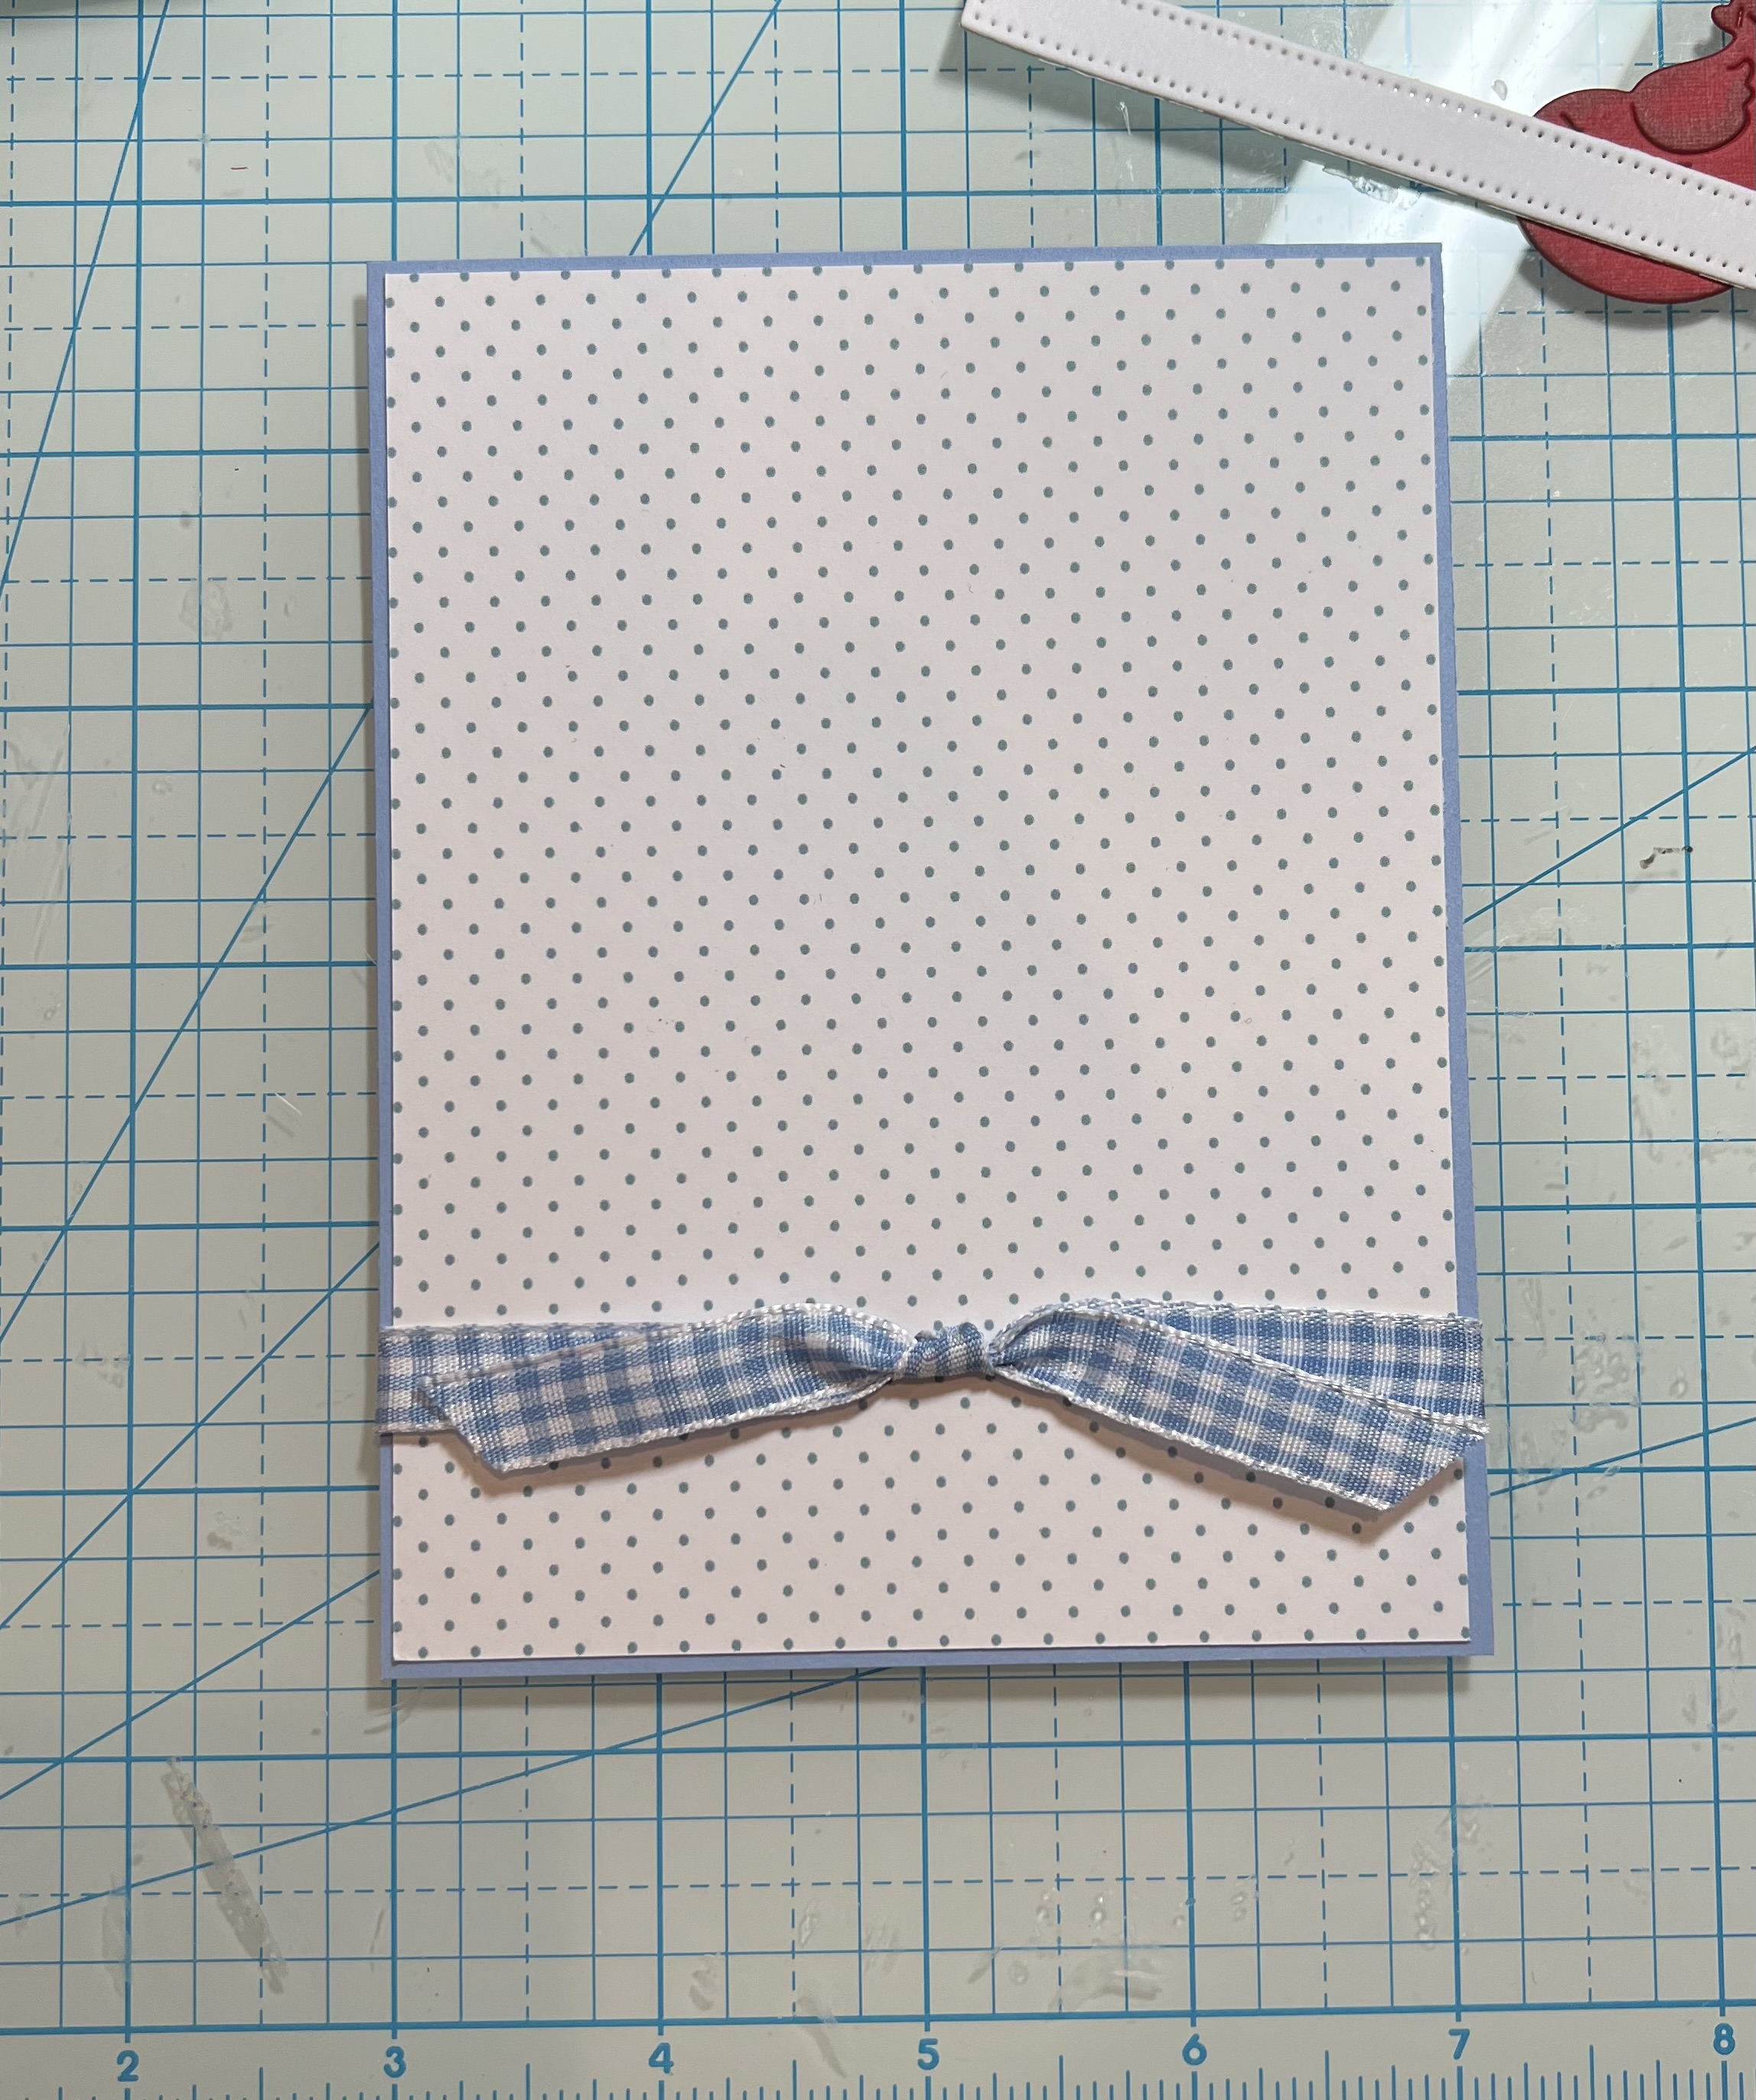
My card base is a standard A4 side fold card from some standard white cardstock. I used some cute patterned papers for the card base as well as for a mat for the scallop stitched rectangle mat as pictured.

Here is a closer look at the sweet little polar bear. He is holding his little fishing pole and he has one little fish on the hook. That fish I made extra sparkly with a touch of Stickles glitter glue.
I also used some of the glitter to color the water hole. The photo doesn't show the sweet little sparkle.

Here's a closer look at the cute little fish and you can also see a variety of the stitched hearts I cut out in a variety of patterned papers. I also used one of the arrows and one of the pieces from the retro alphabet set to make the arrow head look extra large.

here is a closer look at my layered sign. I layered one of the shapes from the Retro Alphabet die set onto one of the black scallop stitched dies. I then used another one of the arrows in the same retro alphabet set and wrote the words: you're, the and perfect. The perfect arrow points to the letters....

CATCH!  The letters are from the retro alphabet set. I cut them in white like the other pieces and then used the same marker color that I used on my little polar bear to color the letters in. I like doing this so that I can get the same colors on my project without having to try and have that particular color paper on hand. I have so many pieces of patterned paper and they are all from different manufacturers and the colors are so varied. This is the easiest, most economical way I have found to craft with a variety of color palettes.


Dies Used For This Project


Scallop Stitched Rectangle


Be sure to head over to Cottage Cutz and do a little shopping today!


Well, that about covers it for today. Be sure to come back real soon. You will want to keep up all the amazing projects the super talented design team shares! Don't forget to also check out the Cottage Cutz YouTube Channel and all our other social media accounts! Until the next time, have a wonderfully crafty day!
Melinda

Monday, February 12, 2024

Llama Love Slimline Shaker

Happy Monday friends!

Kris here, sharing one more Valentine card idea for you!  It's a cute & punny SHAKER card!  Who doesn't love a shaker, right?!  

For this one I used the Whimsical Hearts Slimline die and the Llama Love stamps and coordinating dies from Little Bluebird Designs.  I also used the scalloped heart from Be My Valentine Puppies die.


Slimline cards can be hard to photograph, but I just had to sneak in my llama plant stand for this one!  ☺ Also, you may notice my heart focal point is upside down... but I think it totally works with the random whimsical hearts and the placement of my llamas.  However if that bothers you, feel free to turn the heart right side up.

CUTTING & SCORING:

CUT white card base at 7" x 8-1/2" and SCORE along the 7" side at 3-1/2".

CUT a backing from dark pink cardstock cut at 3-1/2" x 8-1/2" and cut a sheet of acetate the same size.

Die cut Whimsical Hearts Slimline die from Kraft c.s., // *Optional:  cut it out of White, and Lime Green c.s.. as well if you want to piece some of hearts back into the die cut front.  Set the white and green ones aside.

Die cut just the scalloped heart from Be My Valentine Puppies die from white and Kraft c.s.

DESIGN STEPS:

1.  Create a shaker by adhering the acetate to back of Kraft heart layer, then add 1/8" foam strips on top of acetate all around the outside border and a few tiny pieces in center.  Add shaker elements inside the foam strips then carefully place the dark pink backing on top, lining up the outer edges.

*Optional:  I inserted some of the white and green tiny hearts back into the die cuts, (adding glue directly to the acetate then inserting hearts.)


2.  Stamp, color and die cut as pictured using the Llama Love stamps and coordinating dies

3.  Using scissors, trim the Kraft heart on the inner stitched line as shown. 


4.  Glue the Kraft heart onto the White scalloped heart.  Turn it upside down (if you wish) and adhere the llamas and other elements as shown below. 


5.  This next part is *Optional... but I wanted a scalloped border but didn't have one larger than my Whimsical Hearts card front, so I die cut (3) of the 2nd largest Scalloped Rectangles dies (currently out of stock). 


As you can see in the finished photo, this size rectangle will leave gaps in between, so I adhered the 2 outer ones first so I could get equal amount of border around the sides, and then I added the middle one. 

*Tip:   I placed it on wax paper below because I put tape all over the back of shaker and didn't want it to stick to my table.  

6.  Adhere to card base and done!  


I hope you liked this tutorial and are inspired to create something FUN with your favorite stamps and CottageCutz dies!  

Hope you have a wonderful Valentine's or Galentine's Day friends!

~Kris


Thursday, February 08, 2024

Lovebirds

 Hello Friends

WE HAVE A HUGH SALE GOING ON IN THE STORE WHICH ENDS TOMORROW!!  SO DON'T MISS OUT CLICK HERE TO HEAD OVER AND SEE ALL THE AMAZING LOW PRICES!

I am on my last Valentine for this year! And it is for hubby!  I am featuring the Lovebirds die today.


Design Steps

1.  The card base is a white A2, blue card stock cut to 5 3/8 x 4 1/8, Polka dot paper 5 1/4 x 4 and two white Pierced Wide Rectangle Frames glued together
2.  Glue the Polka Dot paper to the blue card stock and then add the knotted check ribbon to the bottom
3.  Cut a sun in yellow using the Arch Sun die.  I glued the sun to the back of the frame and then glued the frame to the card front over the top of the ribbon as shown
4.  Using the Lovebirds die cut out the branch in brown and green card stock.  I trimmed the leaves away from the brown branch and then glued it to the top of the green branch.  Glue the branch to the card front as shown above
5.  Cut out the flowers in white and the birds in blue with the becks in yellow.  I used a little ink to shade the birds and then added them to the branch along with the white flowers.  To add a little pop of red I used the hearts from the Love Letters die.  I placed the hearts on the corners of the frame and on the white flower centers.  I added a sentiment and the card is complete


Don't forget to check out the sale!!!

We have more inspiration on our YouTube Channel check it out HERE

Thanks so much for stopping by! 

Blessings and Take Care


Tuesday, February 06, 2024

Polar Bears w/ Birch Tree Die Cut Card And Flash Sale!

Hey crafty friends,
So glad you stopped in today! It's another Terrific Tuesday and I am sharing a new cute, quick and easy card with some of the amazing Cottage Cutz dies. Take a look!

Here's the star of today's card. This sweet little Polar Bears w/ Birch Trees die from Cottage Cutz!
I started by cutting out all the little pieces to the cute little Bears with Birch Trees die set. I cut them all out in white cardstock. I then colored them in accordingly.

Once I colored my pieces I added them to a stitched circle die mat and then added a piece of cute patterned paper to that circle for a layering mat. These delicious papers are all from the Echo Park Paper Pad I had in my stash from a couple years ago. I am a serious paper horder and need to use this paper once and for all! IYKYK!!!

I then cut out all the pieces from this fun alphabet set. I cut them out in white and black as I wasn't sure which direction I was going to go with the pieces.


Here's a closer look at the sweet little bears. You can see a bit better where I added some dimensional white paint to simulate snow.

Here's a closer look at all the fun layers. Once I added my finished bear pieces to my stitched circle die with the patterned paper mat, I added all of that to the stitched scallop rectangle with a corresponding paper mat. Notice I trimmed the trees to stay in line with the edge of the circle mat. I thought that gave it a nice finished inline look.


Here's a closer look at the letters. Instead of using the letter O, I used some hearts from the slimline heart background die. I love that die as it cuts out a ton of assorted sized hearts in one pass! I added some Stickles glitter glue to give them some subtle sparkle.

Here is one last look at my finished card. I think it turned out so super cute and makes me think of me and my hubby!


Dies Used For This Project


Scalloped Rectangle (Currently out of stock)


Be sure to head over to Cottage Cutz and check out their 
FLASH SALE! 
Most of the dies I used are up to 60% off!

Well, that about covers it for today. Be sure to come back and see what the rest of the design team is up to! You will want to keep up with all this wonderful inspiration!  
Don't forget to find us on social media and over on YouTube too! 
Until the next time, have a wonderfully crafty day!
Melinda