Thursday, May 18, 2023

Relax

Hello Friends

It is Pam sharing with you today.

It is so much fun when you get to see friends retire.  It start a whole new chapter in life.  When I retired it lead to many new adventures! A move from California to South Carolina and then back to Arizona.  We have explored many interesting places in Arizona so maybe it time to try out another state!  We have lived in Ohio, Washington, Oregon, California, South Carolina and Arizona!!  What state is next??

Here is the retirement card I made using the new release die Pond w/Cattails.  I also used some of our slimline dies for the background.


Design Steps:

1.  For the background I used an embossing folder and then I lightly inked it with a brayer
2.  Using the the Mountain & Tree and Grass Slimline dies cut out brown, white, dark green and light green card stock.  The mountain is about 2 1/2 inches tall, the trees are 2 inches tall and the grass is 2 1/4 inches tall

3.  Glue the mountains to the blue sky card stock about 1 1/4 inches from the top.  Next glue down the trees as shown followed by the grass
4.  Using the Pond w/Cattails & Lily Pad die cut out the follower card stock: blue, green, gray and brown.  Shade the pieces with coordinating inks.  Assemble with a fine tip glue
5.  Use a Kraft card stock A2 base and glue the blue sky panel to the card front.  Add the sentiment and your card is complete

CottageCutz Supplies


We have more inspiration on our YouTube Channel check it out HERE

Thanks so much for stopping by!  And I will see you next Thursday.

Blessings and Take Care


Wednesday, May 17, 2023

Card and Ferrero Rocher Treat Box DIY Template Set

Hello crafty friends,
Melinda here with you and today I am sharing a pretty card and box set I created.The beautiful flowers and foliage are from CottageCutz.com. Here is a look at my set.
The set features a top folding A4 sized card and a matching box. The box will fit 4 Ferrero Rocher chocolates and measures 3" square by 1.5" high.


Here's a look at the finished box.


Here's a template of the measurements, Your base piece of paper is 9.75 x 6.
You can follow the template above to make your score lines. You will cut away the parts indicated by the green squares. You will also cut up to the green lines.
PLEASE NOTE: You will need to score at .75", 1.5", 4.5" and 5.25" along the 6" side. See the measurements in white boxes. 


Here is what your box base should look like once you have scored and trimmed it. You see that I snipped a little angle piece off the "tabs". This is so assembly will be easier.


After cutting out my template, I created the patterned paper and printed it out. I then cut the pieces into mats. I then put adhesive on all the tabs and assembled the box. 


This is a photo of what the box looks like when assembled and closed. The lid simply flaps over the base piece.


Here is what the box looks like opened. Super simple but a perfect fit for the 4 pieces of candy. There is even enough room if you wanted to put a little sentiment on the inside of the lid flap.


Here is a closer look at my box. I added a scallop stitched square die cut from the set. I then created and printed out my diagonal plaid paper and cut it out for a mat. I then cut out several of the flower 3 dies in white cardstock along with the leafy branch 2 in white cardstock. I used my markers to color them in. I cut out an oval from the wood grain patterned paper I made and a smaller one from white cardstock. I cut one the same size as the white one from the patterned paper. I trimmed off the stitches to make it a mat. I then die cut the Love You Mom Die from White cardstock and then colored that in as well. I added three little flat back pearls for an extra touch. I also used my Nuvo Drops Clear for the centers of all my flowers.


Following are a few more photos of the finished card. It is a top folding A2 sized card base. To that I added a mat of some plaid paper I created. I also created the wood paper. I created a border of that and added some pretty organza yellow ribbon to it. For the sentiment, I used a scallop stitched rectangle die cut in white cardstock. I then created a mat from the same diagonal plaid paper I created and printed out. Then I glued the sentiment onto that. I used foam tape to give it all a lot of lift and dimension.


Here is one last look at my set. I think it turned out super cute and am excited to give it away.


Well that about covers it for today. Be sure to head over to CottageCutz.com to pick up these wonderful dies while they are available! 

Don't forget to also check out the Cottage Cutz YouTube Channel for some great crafty videos!

Until the next time, have a wonderfully crafty day!
-Melinda

Tuesday, May 16, 2023

Take Me Back Tuesday More Bees Please

Hello Cottage Cutz friends,
Melinda here with you and today we are sharing a different type of post. We are calling it, Take Me Back Tuesday! From time to time on Tuesdays, we will share a fun compilation of past projects featuring some of our wonderful past dies.


This week's post features three dies from the Strawberries and Bees Release. The Bee Gnome, the Honey Bee and the Bee Phrases dies.


Here are some of the amazing projects our designers created. Included are links to each post so you can get all the details for each project!

Check out the details on how to create this fun spinner card by DT member Kristine B.

A sweet fun fold card by Designer Pam M.


Head over for all the details on this sweet Welcome card by Designer Mary M.


Check out the details on this sweet card and soap sleeve set by former DT member Linh.

Buzz over to the post for details on this adorable card from Designer Mary M.

Head over for all the sweet details on this honey of a card by Designer Pam M.

Whew that is some Buzz Worthy Crafty Inspiration! Sure to get your creative honey flowing! If you don't have these wonderful dies, head over to CottageCutz.com and pick them up while available!


Be sure to also check out the Cottage Cutz You Tube Channel
There are so many creative ideas there too! 

Until the next time, have a Sweet As Can Bee Crafty Kinda Day!
-Melinda

Monday, May 15, 2023

Birdhouse Gift Box

Hi friends! 

Kris here to share some crafty inspiration with you ☺  I had fun making this birdhouse gift box with a couple of the birds from the latest release!  I used the Spring Bird w/ Vine and a smaller bird from the Spring Birdhouse Cup.


The lid comes off and has a smaller box attached under it that fits snug into the top of the box so it won't easily fall off.  


and here is the inside of the gift box!


I created this type of birdhouse box before, following a tutorial I found on Norma's blog here. She shares a lantern with "X"s cut out of 2 sides so you can put those battery operated lights or even fairy lights and it'd shine thru both windows -- excellent idea, especially for winter. But since I wanted mine to be a birdhouse, I adapted the instructions for this tutorial.

DESIGN STEPS:
PLEASE NOTE****  I'm also typing out the text I have on my photos for those who need to translate instructions.  Not meant to confuse you!


• Start with a sheet of 6 x 12" cardstock.  
-- with the short side at top of score board, score at 3/8" & 5-1/2"
-- with long side at top, score at 2 15/16", 5 7/8", 8 13/16" & 11 3/4"


• I covered the sides of my box with decorative paper -- this is totally optional!  Cut (4) panels at 2-15/16" x 5-1/8" and glue them onto each of the front sections. (The one with the floral spray, I adhered to the 2nd panel since that will be the FRONT of my box.) 

• Die cut the 5th smallest circle from the Pierced Circle Set, leaving a li'l room to add a perch for the bird to sit on later.


• Add 1/4" Scor Tape around the circle cutout (on the back) and place a window sheet.
-- Also add 1/4" Scor Tape to the back side of the 3/8" scored flap along the top of box.


• Cut a piece of patterned paper at 2 7/8" x 5" for the inside "back" that will show thru the acetate window from the front.  Since my box is dark colored, I chose something light and pretty for the inside.


• Add 3/8" Scor Tape to the FRONT side of the bottom 1/2" flap
-- then with scissors, cut on each vertical score line, just up to the 1/2" horizontal score line.


• Remove backing of the Scor Tape that is on the backside of the top of box rim and fold it down -- all across the top.  This will strengthen the rim of your box.

• Add 1/4" Score Tape to the front side of the small vertical flap on the end, peel off the backing, and attached the other end of the box.

 • Cut (2) pieces of chipboard and (4) pcs of patterned paper at 3-1/2" square 
-- round the corners of all 6 pieces 
-- glue patterned papers to top and bottom of each of the chipboard squares.


• Peel off the backing of  Scor Tape on bottom of box flaps and adhere to the center of one of the chipboard squares.

• Cut another piece of patterned paper at 2-7/8" square to fit down inside the box & cover the tabs


• Cut a piece of cardstock at 4-3/8" square
-- score at 3/8" and 3/4" along each edge 
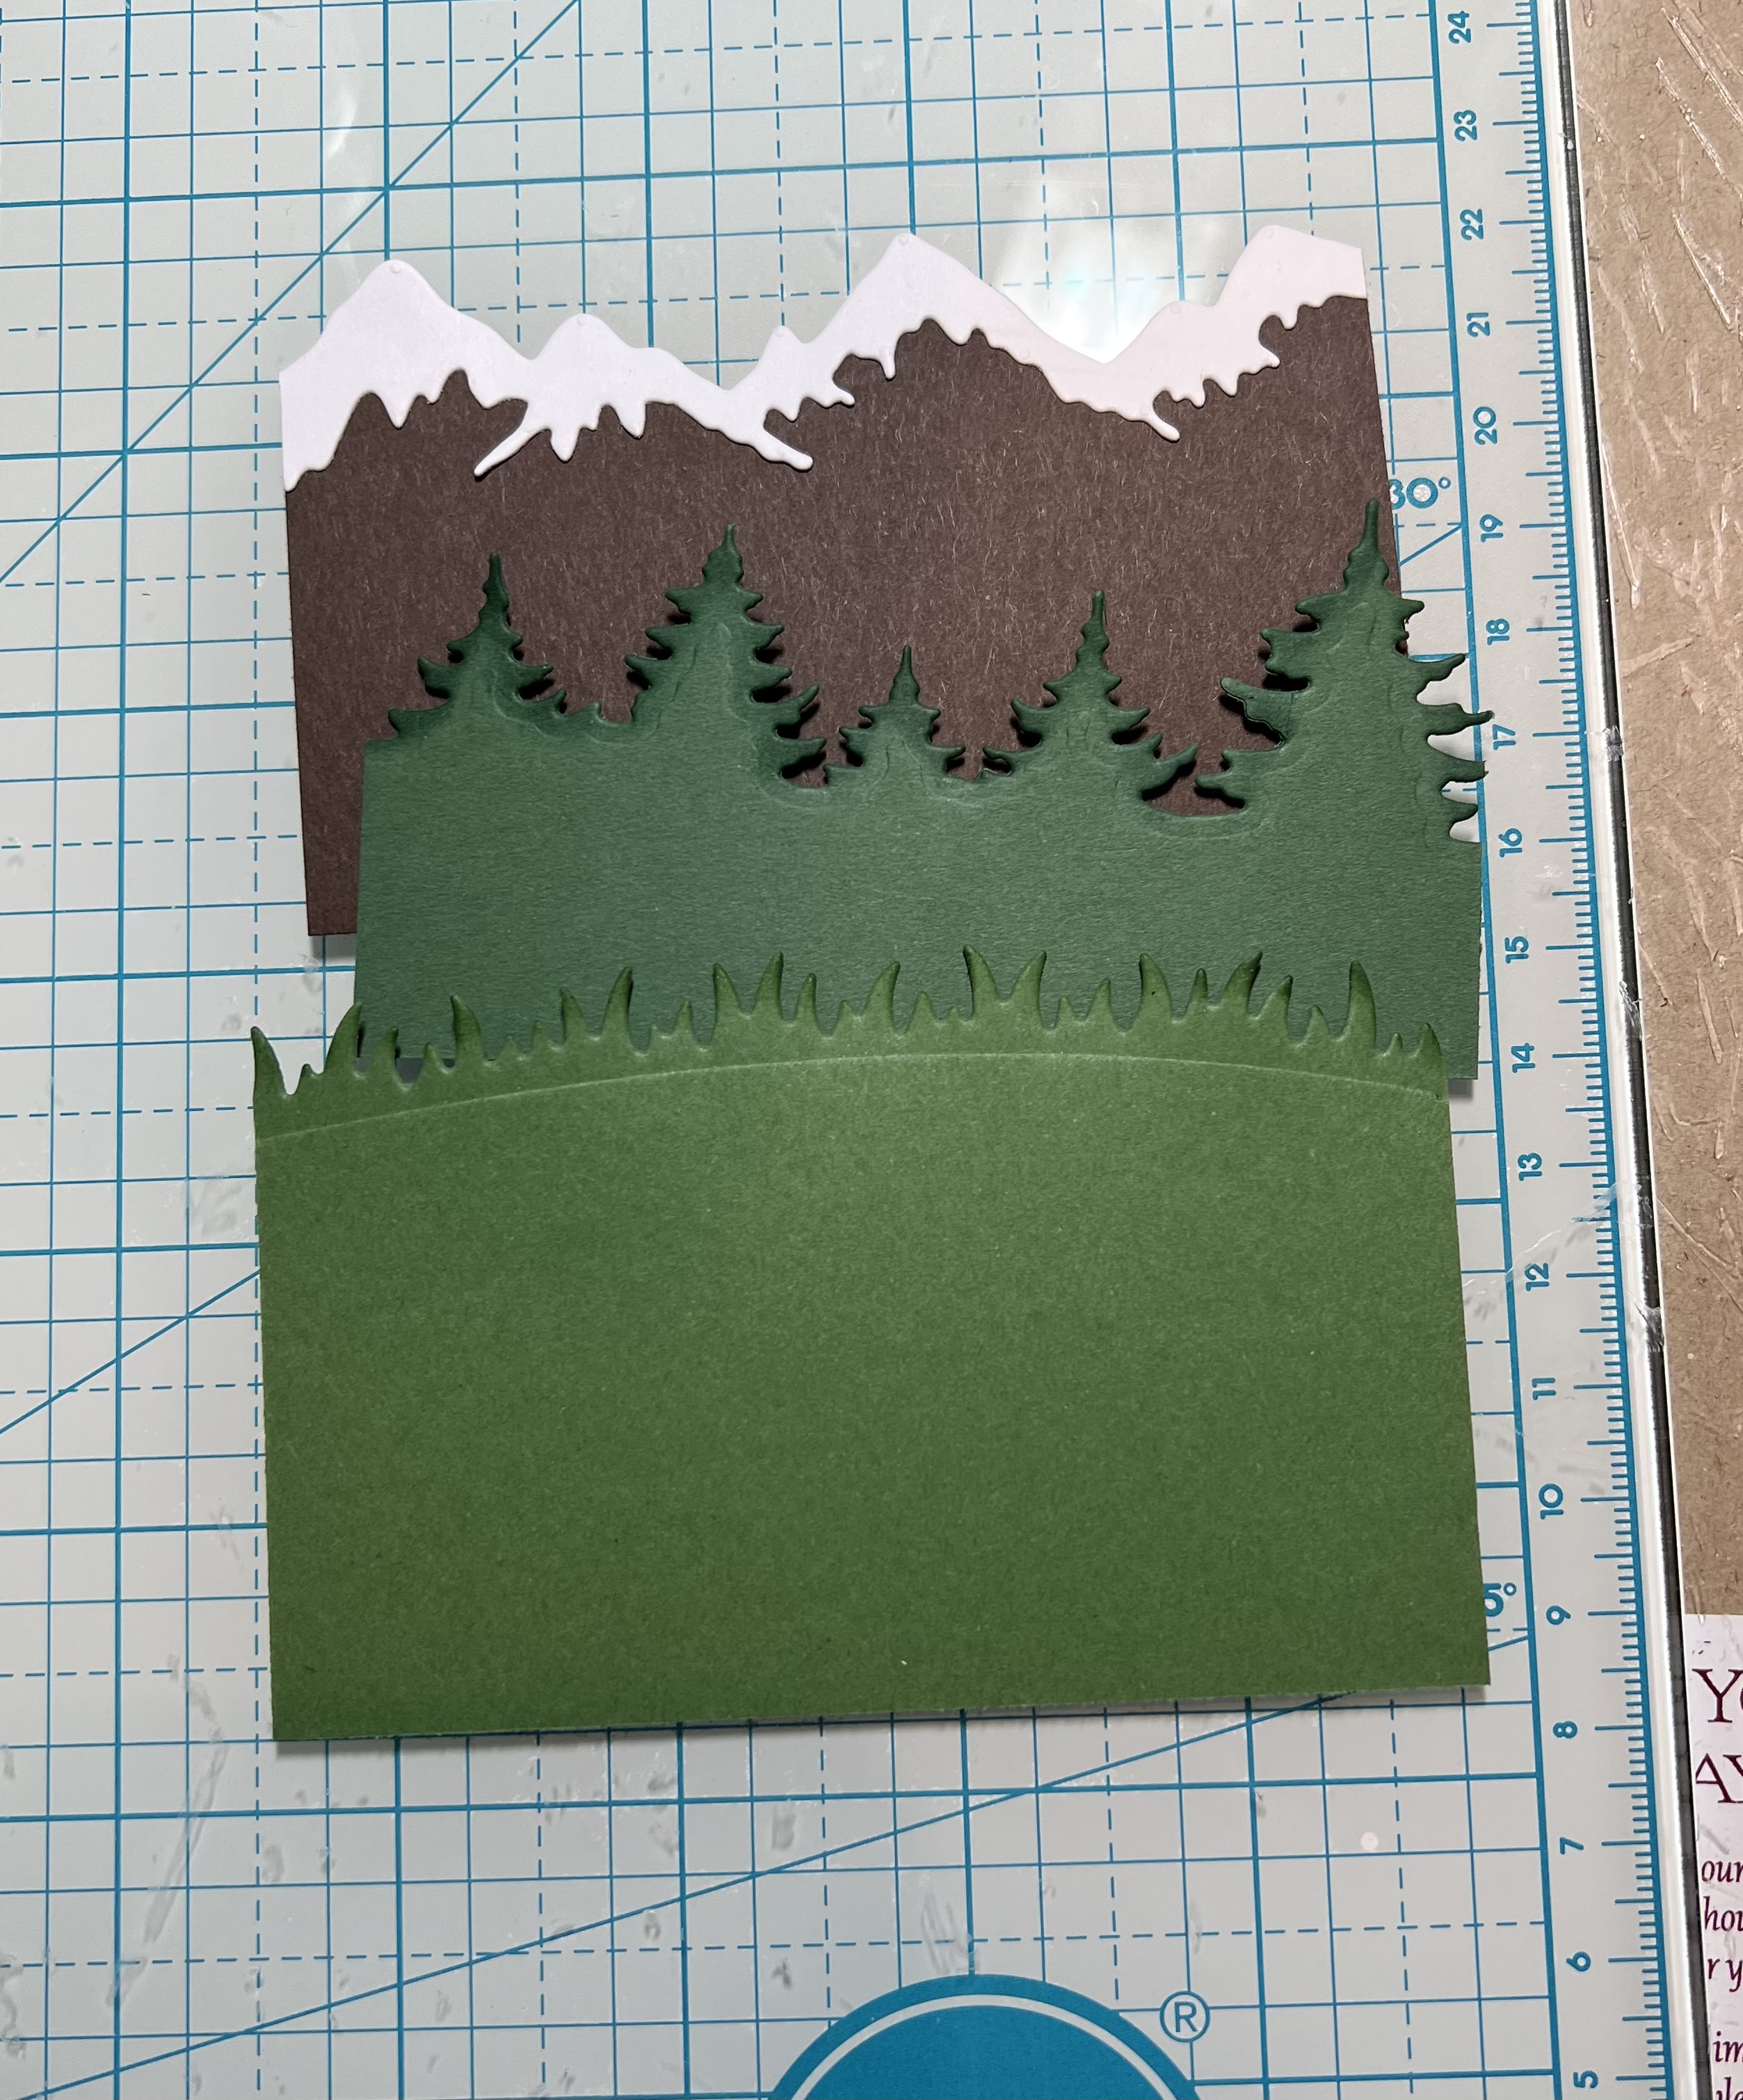
-- see reference photo above for where to make your cuts

• Add Scor Tape along the outer flaps, remove backing and adhere flaps of each side to make a box.  *There will be an opening in the center of backside. 


•  Attach to CENTER of the underside of lid (chipboard square)
--make sure it fits snug into the top of your gift box


CREATING THE ROOF:

• Cut a 6" square of cardstock
--score 1/2" in from all 4 sides.
• Measure in 1-1/2" from each corner and cut away the corner squares.


• Turn your roof over to backside and with a ruler and pencil, draw lines at 2-1/2" and 3-1/2" (from the farthest left edge)
-- turn paper 90 degrees and repeat.
• SCORE the intersecting square in the middle.
• From each corner of the middle square, make 3 score lines to the "V" and to each 1/2" score line you already made in pt. 1.
• Turn over (top facing up) and Mountain fold all the score lines that meet your pre-existing 1/2" score line and Valley fold all the shorter middle score lines.


• Once you've cut and scored the roof and mountain and valley folded it, you can add glue in between those valley folds and pinch them together.  Might be good to add binder clips to hold together until glue dries.


DECORATING MY BOX:

• I die cut (4) of the Fence w/ Flower Garland to add around the base of my birdhouse.


• I cut one of the fences down by cutting 2 of the outermost pickets from each end.  The other 3 fences I left whole ~ they fit perfectly and wrapped all the way around the birdhouse!
-- I used 1/8" foam strips to the backside of fence pcs. (just on horizontal slats) to attach to house. 


• I die cut my birds from the  Spring Bird w/ Vine 
and a smaller bird from the Spring Birdhouse Cup
-- then I water-colored all the pieces


• I created a li'l perch for the larger bird by rolling a scrap of the green c.s. around the end of my paintbrush and added glue towards the end to hold it together.  Once dried, I cut it to the length I wanted and attached with glue to the bottom of my window.


• I glued the leaves and added birds with foam strips and done!


PRODUCTS I USED:


I hope enjoyed my tutorial today!

Remember, we have a DESIGN TEAM CALL here!

More inspiration on our YouTube channel with GIVEAWAYS here!

~Kristine