Monday, October 10, 2022

Treat Yourself

... because whether we have kids at home or not, what's Halloween if you can't sneak a few treats for yourself, am I right?!  LOL


Welcome Scrapping Cottage friends!  Kris here with a simple card featuring the Candy & Bucket die and the Trick or Treat Phrase die which are both part of the HALLOWEEN RELEASE!  

These individual dies are still 30% OFF, so if you're needing to make some Halloween cards or plan to scrapbook those adorable photos of your kids/grandkids, now is a perfect time to shop!

Design Steps:

Mary, our awesome DT Coordinator here at TSC, is hosting this week's Color Challenge #916 at SplitcoastStampers, so I joined in! 
-  White Card base:  A2 top folding card 
-  Gorgeous Grape cardstock:  5-1/4" x 4".
-  Yellow star paper (Doodlebug Designs' Happy Haunting)  3" x 3-3/4" 
-  Plaid paper (from the same pack):  3-3/4" x 2-1/2" 
-  SU! Grape paper:  cut diagonally, about 1" tall


I die cut the pieces from Candy & Bucket die from orange, yellow and white cardstock and colored the white portions (handle and candy) with Copic markers.  Added some definition to the pumpkin with markers also and attached with foam dots.


I die cut the Trick or Treat Phrase from patterned paper (same Doodlebug Designs HH pack) and another from Grape cardstock to offset behind as a shadow, then mounted with foam dots.  

I printed my sentiment in white ink with an orange text box behind, then die cut and offset a Grape version behind it, then popped it up with foam dots.  To finish off my card, I added some sparkly dew drops.


PRODUCTS USED:


I hope my project today inspires you to get crafty with your CottageCutz dies!  

Kristine

Sunday, October 09, 2022

Halloween Release Design Team Samples (Part 2)


Hello CottageCutz friends! Thanks for taking the time to stop and visit today. We are sampling DT cards from the Halloween release.

There are 22 new designs in this release. So many whimsical images that are perfect for your Halloween card-making. They are currently on sale with 30% off individual dies. The sale is just for a limited time so hurry over to the online store to make your selections.

Group Posts give you the opportunity to see more card samples from the Design Team. We have 4 samples for your viewing pleasure today.

Card 1: Our first sample today is from Marla Harris. She created a colorful indoor scene that has such a fun vibe to it. Nothing scary here just cuteness overload! The dies she used are Cauldron, Witch LegsWitch Hat, Candy & Bucket, Web, and Potions Bottles. The candy phrase is from the Candy Cart die (May Sweet Treats) 

The floor was done with vintage photo and walnut stain distress oxide inks. Her wall is inked with seedless preserves distress oxide and splattered with water. The images are all Copic colored. She even added white glitter to the spiderweb for a little extra sparkle.


Card 2:  Our next sample is from Linh Van. I love the playful and whimsical appeal of her Halloween shaker card. She created it with the Witch HatWitch Leg, Jack-o-lantern WitchSpooky KittiesPotion Bottles (spider on pumpkin), Web and the Spooky Web Tree (the spider hanging on the web) dies.
 
For the shaker windows, she used solid color cardstock in bright colors that are perfect for her images. Her sentiment is stamped and embossed with embossing powder.  

Card 3: The next card is one that I (Mary Marsh) created using the Haunted Ghost House die and created a nighttime spooky scene. I used distress inks - black soot, villainous potion, carved pumpkin and forest moss for the ink blended sky. For the moon I used a circle die before sponging my background colors. 

The welcome phrase is from the Bee Phrases die (June 2022). Did you catch the bone that is holding up the side porch roof!!!
Sample 4: Our last sample for today is from Jen Hartsgrove. We know that we have scrapbookers out there that follow our Blog and purchase our dies. So, we are trying to give those crafters a way to use our dies in their layouts. Jen has done this on several of her YouTube videos - check them out here and here

For this layout she is featuring the Haunted Ghost House and paired it with some great designer papers to create a fun and not spooky layout. Her layout is all set for her to add her photos and title. 
I hope you have enjoyed the samples for today and that we have given you some ideas on ways to use these new dies. The team will be posting all week on the Blog & YouTube so make sure you check back each day for ideas. There is still lots of time to order your dies and get cards made for Halloween.

Dies used to create today's samples:


Saturday, October 08, 2022

Cute Halloween

Hello CottageCutz friends! Thanks for taking the time to stop and visit with us today. It's Mary Marsh here bringing you the Saturday edition of the Blog.

It's new release time!!! We have new dies in the online store. Our Christmas Part 2 release with 36 new designs is available and ready for shipment. There are 3 different bundles you can pick up at 50% off retail.  It's only for a limited time so don't delay.  The individual dies are on sale for 30% off. You are going to love all the whimsical designs that are available in this release. There is something for everyone. 

And we still have the Halloween release with 22 new designs. They are on a 30% off sale as well. So many fun and spooky designs that are perfect for your Halloween card-making. 

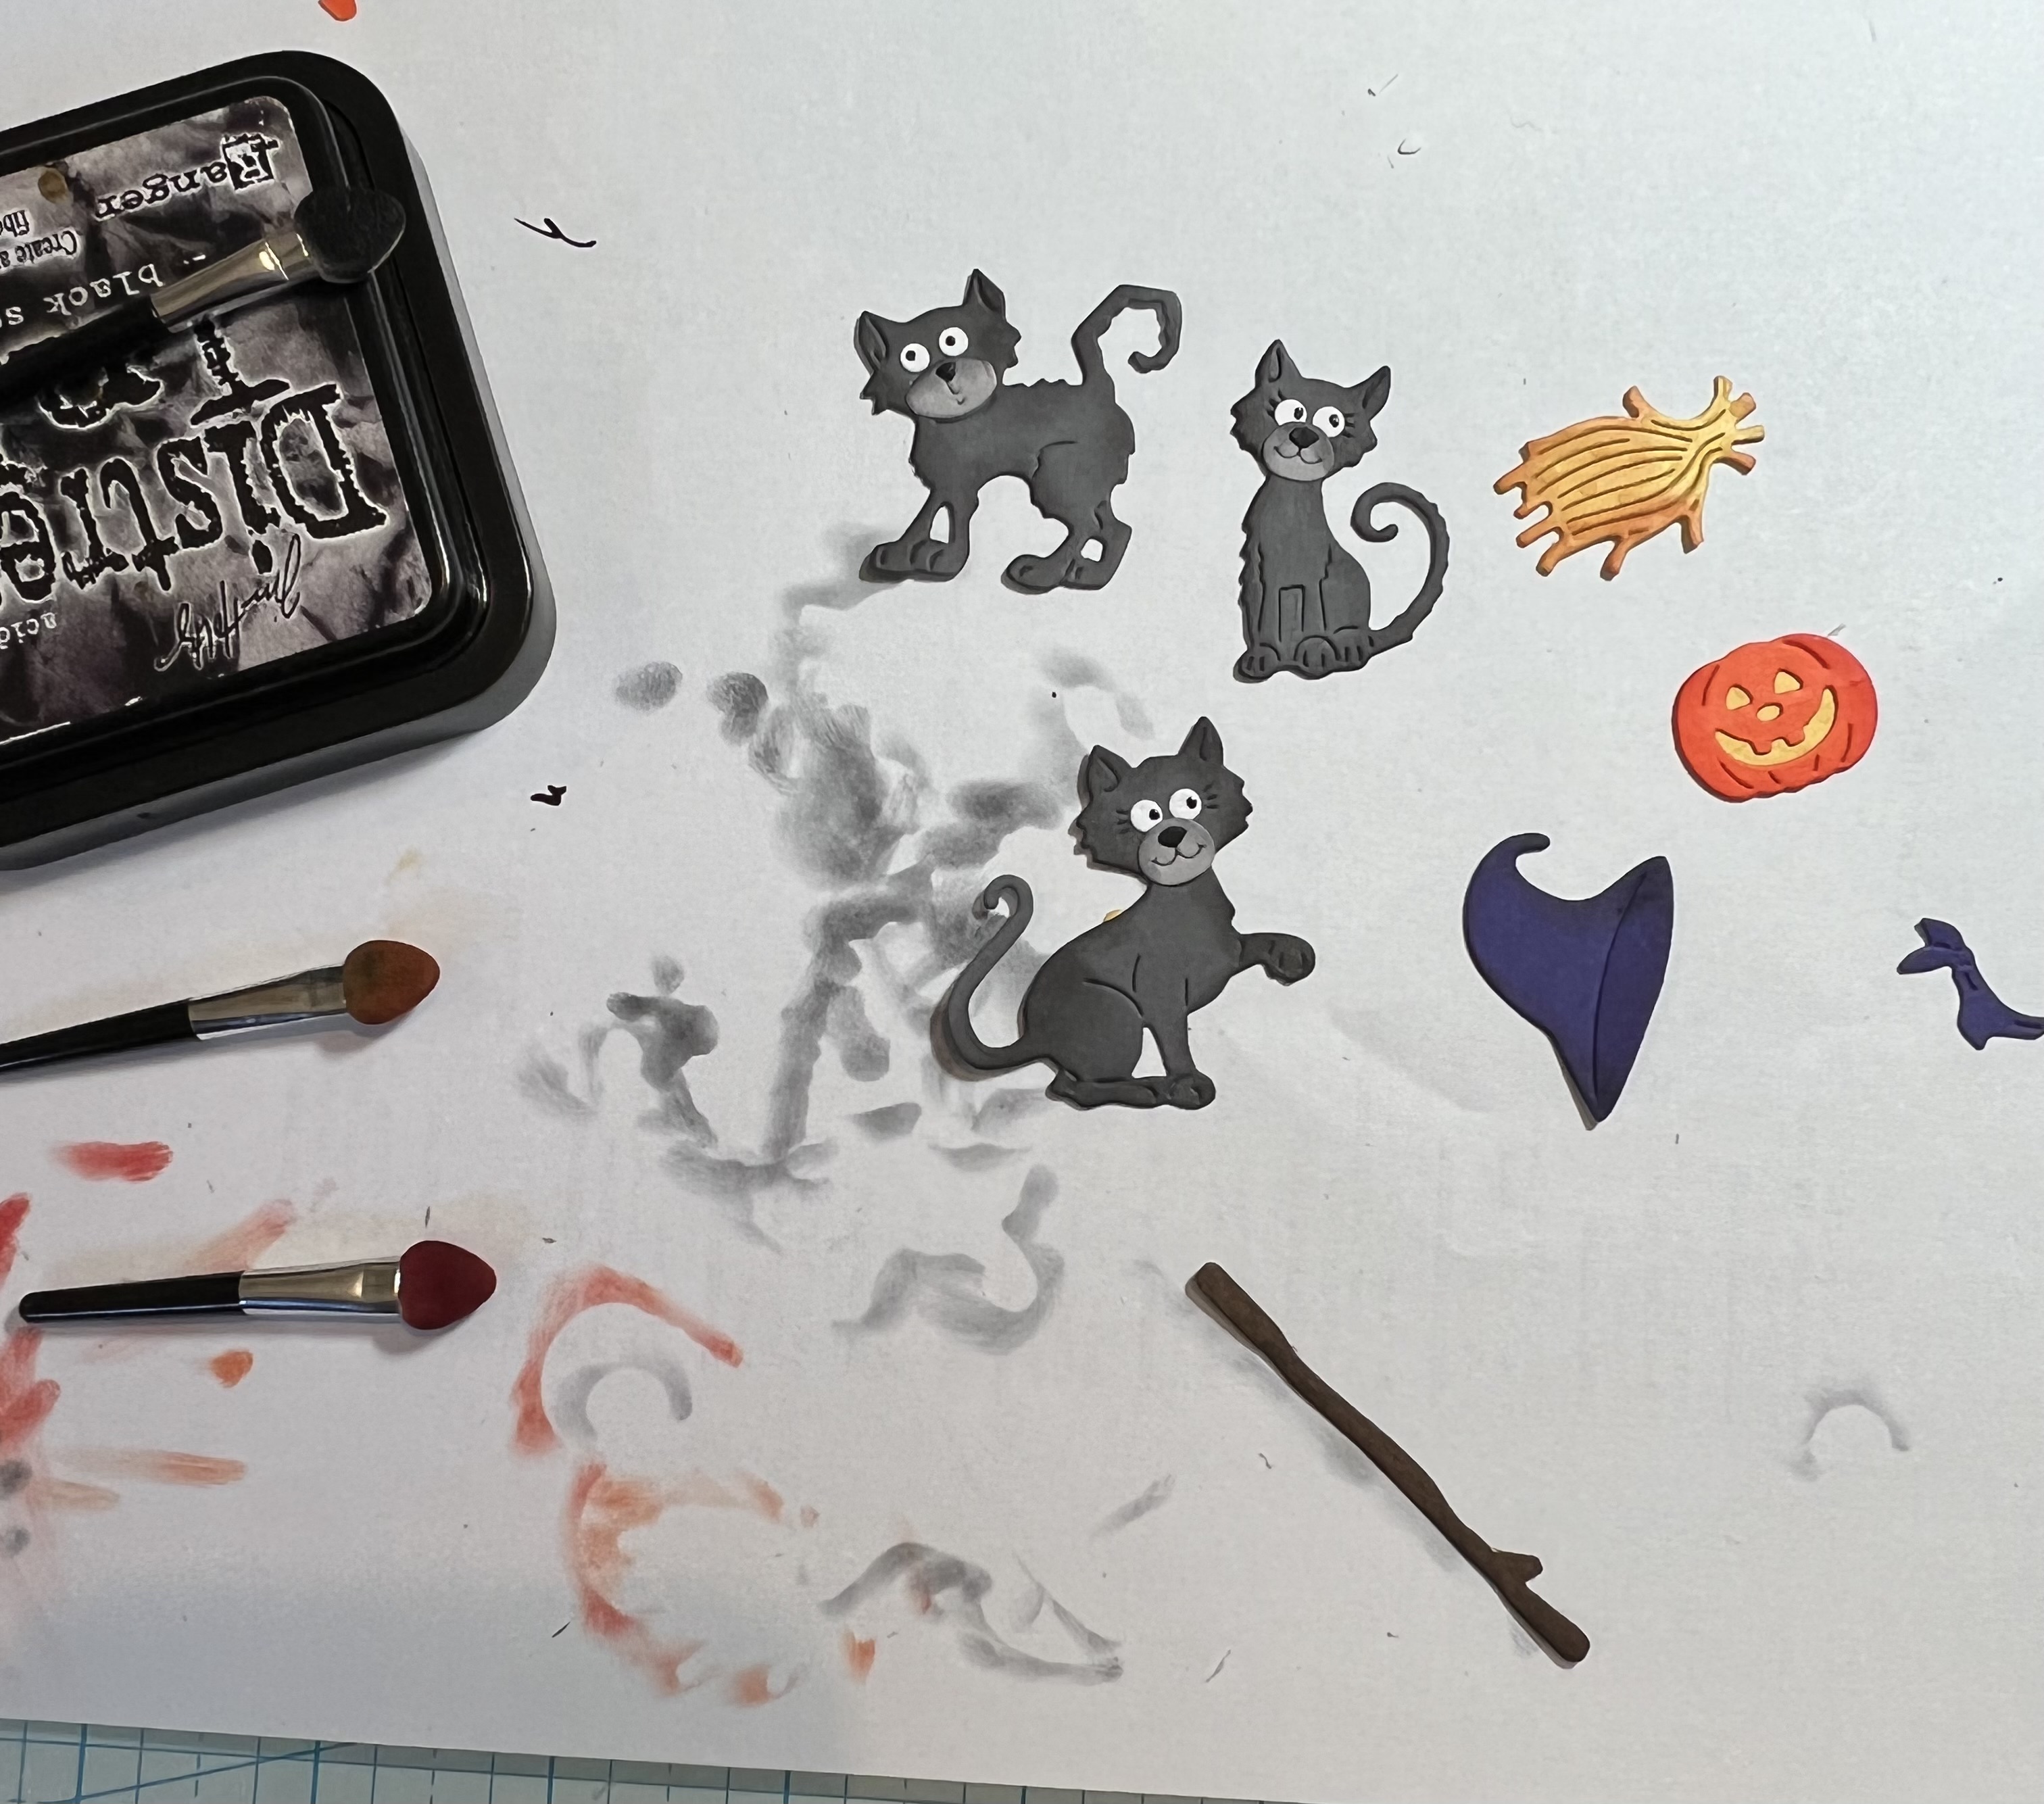
For today's card I am featuring the Spooky Kitties & Cute Witchy dies but just using the smiling pumpkins.  I wanted to make a simpler card that would be easy to make multiples of and isn't scary. Maybe you want to send a card to school with your child with a treat attached. Or maybe you're a teacher and you want to give a card to your students. Or you send out cards to your family or neighbors. There are lots of possibilities here. 

Design Steps:

I started by selecting my papers from a cute Halloween collection I had from last year. I thought the dotted designer paper would just add to the fun of the card. I paired it with the bright colors that are in the designer paper.  

Light purple card base: 4 1/4" x 5 1/2"
Pumpkin layering panel: 4 1/8" x 5 3/8"
Designer paper panel: 4" x 5 1/4"
Image Panel: purple layer - Stitched Rectangle die (2nd largest - 2 7/8" x 3 7/8") 
White Layer: 2nd largest Rectangle die (2 3/4" x 3 3/4") 
Next, I cut the pumpkin images with orange & black cardstock. 
I stamped my sentiment in a grape ink with the help of my MISTI. It did require a 2nd inking. The sentiment had some other words on it that I didn't want to use so I just masked them off and inked the part that I did want. 
Now that all my elements are prepared, I am ready to start card assembly. I attached the pumpkins to the image panel. I added my smile phrase using the Smile w/Shadow die.  
This panel was added to the card base with double sided tape. I wanted to add some ribbon to my card but since this is going out in the mail, I knew that would make it a bit bulky. So I added a 3/8" strip of purple cardstock across the panel and then cut the bow from the Halloween Wreath die. 
To finish off the card, I added a few pumpkin-colored enamel dots. 
Well, that's it for me for this week. Make sure you visit again tomorrow; we are having Part 2 of the DT group post. The team has created some great samples.

Reminder:  Our YouTube Channel has a new video featuring a princess card using the Halloween dies from Linh Van. There is a giveaway for being a subscriber, liking the video and leaving a comment. Click here.

Dies used to create card:


Friday, October 07, 2022

Princess Castle Featuring the Halloween Release!


Hi everyone! Linh here and I have a new video up on the Cottage Cutz YouTube channel. Whether you make Halloween cards or not, I hope you'll check out this latest release from Cottage Cutz! There are several sets that be easily generalized to use for any and all occasions! Today I'm using a few sets to create a Princess-themed castle scene. I hope you enjoy it!


Here's a close up of this beautiful castle & gate. I love these sets!


Thursday, October 06, 2022

Halloween Kitties

Hello Scrapping Cottage Friends

Super Excited to announce we have a brand new release just in time for all of those amazing Halloween cards everyone makes!! The collection has 22 fabulous dies that are going to make those scrapbook layouts and cards look SPOOKTACULAR!!!  The dies are currently on sale so make sure you get them while they last at this special introductory offer!!

Today, I am using the Spooky Kitties.  It has so many cute pieces.  These pieces could be used in a variety of different ways!  For this card I decided to make a slimline.

Designer Steps:

1.  Using the Spooky Kitties die cut out the following colors of card stock:  orange, purple, brown, light and dark gray, yellow and white.  Ink the various pieces with TH inks and then assemble with a fine tip, fast drying glue.  I used a black Glaze Sakura pen for the eyes

2.  Use an orange 3 1/2 x 8 1/2 card base, cut a piece of purple card stock using the largest of the Slimline Scallop Stitched Rectangle dies, Cut a piece of DP 2 3/4 x 7 3/4,  and finally cut a piece of black using the Window Slimline.  Ink the edges of the orange base in black ink
2.  Glue the purple scalloped rectangle to the orange base then glue down the DP.  Before adhereing the black window frame to the base cut two pieces of green grass using the Grass Slimline die and cut a light gray cloud  using the Clouds Slimline.  Glue the pieces to the back of the black windows as shown above and cut off the extra.  Ink the clouds with a black TH ink
3.  Glue the black windows to the card base do not glue the tops of the grass so you can tuck your cats down into the grass
4.  Arrange your kitties in each of the window glueing the pieces flat to the card base make sure you tuck the kitties feet into the grass.  Add the sentiment and your card is complete

CottageCutz Products


Please make sure to check out this amazing Halloween release right HERE!


We have more inspiration on our YouTube Channel check it out HERE

Thanks so much for stopping by!  And I will see you next Thursday.

Blessings and Take Care


Wednesday, October 05, 2022

Witching You A Happy Halloween


Hey Krafty Friends, Jen from Katahdin Krafts, back with another  CottageCutz YouTube  video on the CottageCutz Channel This week I'm using two of the designs from the latest "Halloween" release.  Halloween is one of my favorite times of the year, so I was really excited to work with these dies.  


My card features the "Cute Witchy" die, along with the "Halloween Chair."  I had so much fun coloring this adorable witch and planning out her little outfit.  


You can find my tutorial with all the details over on the YouTube Channel!

While over on the channel, make sure you like and comment for a chance to win the "Cute Witchy" die!

The winner of the "Jolly Santa Gnome" from my last video is Annette Hatcher, you can find all the details over on YouTube!  Thanks for stopping in, and happy krafting!