Saturday, August 06, 2022

Welcome to our Hive

Hello CottageCutz friends! Thanks for taking the time to stop and visit with us today. It's Mary Marsh here bringing you the Saturday edition of the Blog.

It's new release time!!! We have new dies in the online store. It's our Strawberries and Bees release with 16 new designs. You can pick up the individual dies at 30% off.

The new dies are perfect for all your cardmaking needs. They would work for so many occasions as our design team has been showing.

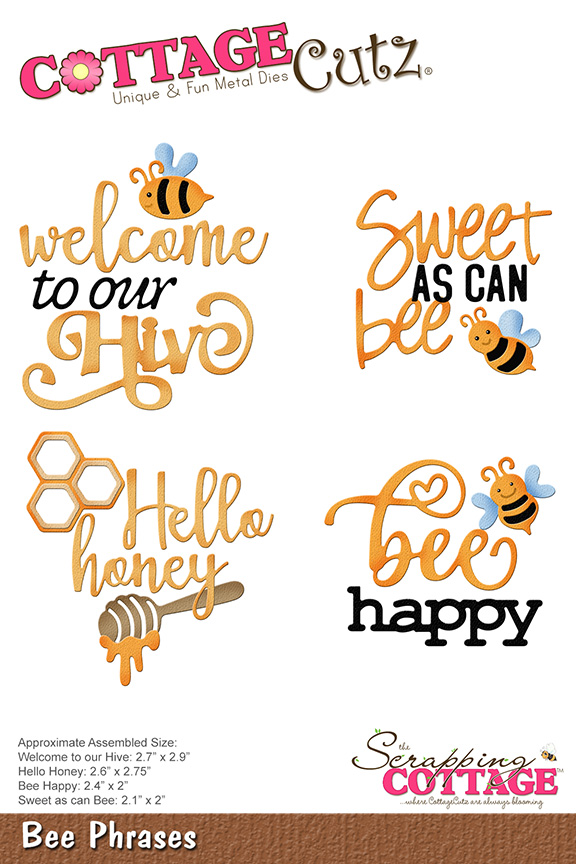
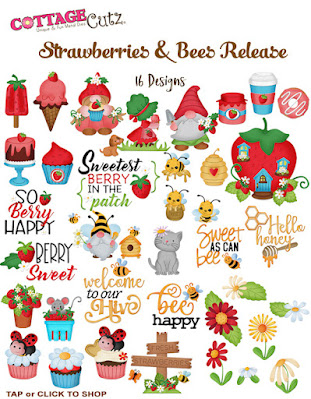
Today for your viewing pleasure, I am featuring the new Bee Phrases and Honey Bee dies. We have new neighbors and I thought I would create a card to welcome them to the neighborhood. Usually, I would make a meal or a baked treat to go along with it, but Covid changed all of that. I still send and receive meals from the neighbors on either side of me, but we have known each other for a lot of years.  

I don't know how the new neighbors would feel about a meal coming from someone they don't know. So, I decided to cut flowers from my husband's flower garden and make them a bouquet. He has at least 10-12 different varieties of flowers so I will have a nice selection for the bouquet. 

Card Details:

I didn't really have a layout in mind for the card when I started so I cut out the hive, bees and welcome phrase first. 
My design idea then went to a slimline card. I cut a panel from the Scalloped Stitched Rectangle Slimline die. I used the largest die 3 1/4" x 8 1/4". I decided to stencil some leaves on the panel with twisted citron distress ink. I added a stenciled branch with ground espresso distress ink so the beehive would have something to hang from. 
Next, I attached the "welcome to our hive phrase" with clear drying glue. 
Now I am ready for my images. They are attached with clear drying glue and glue dots. 
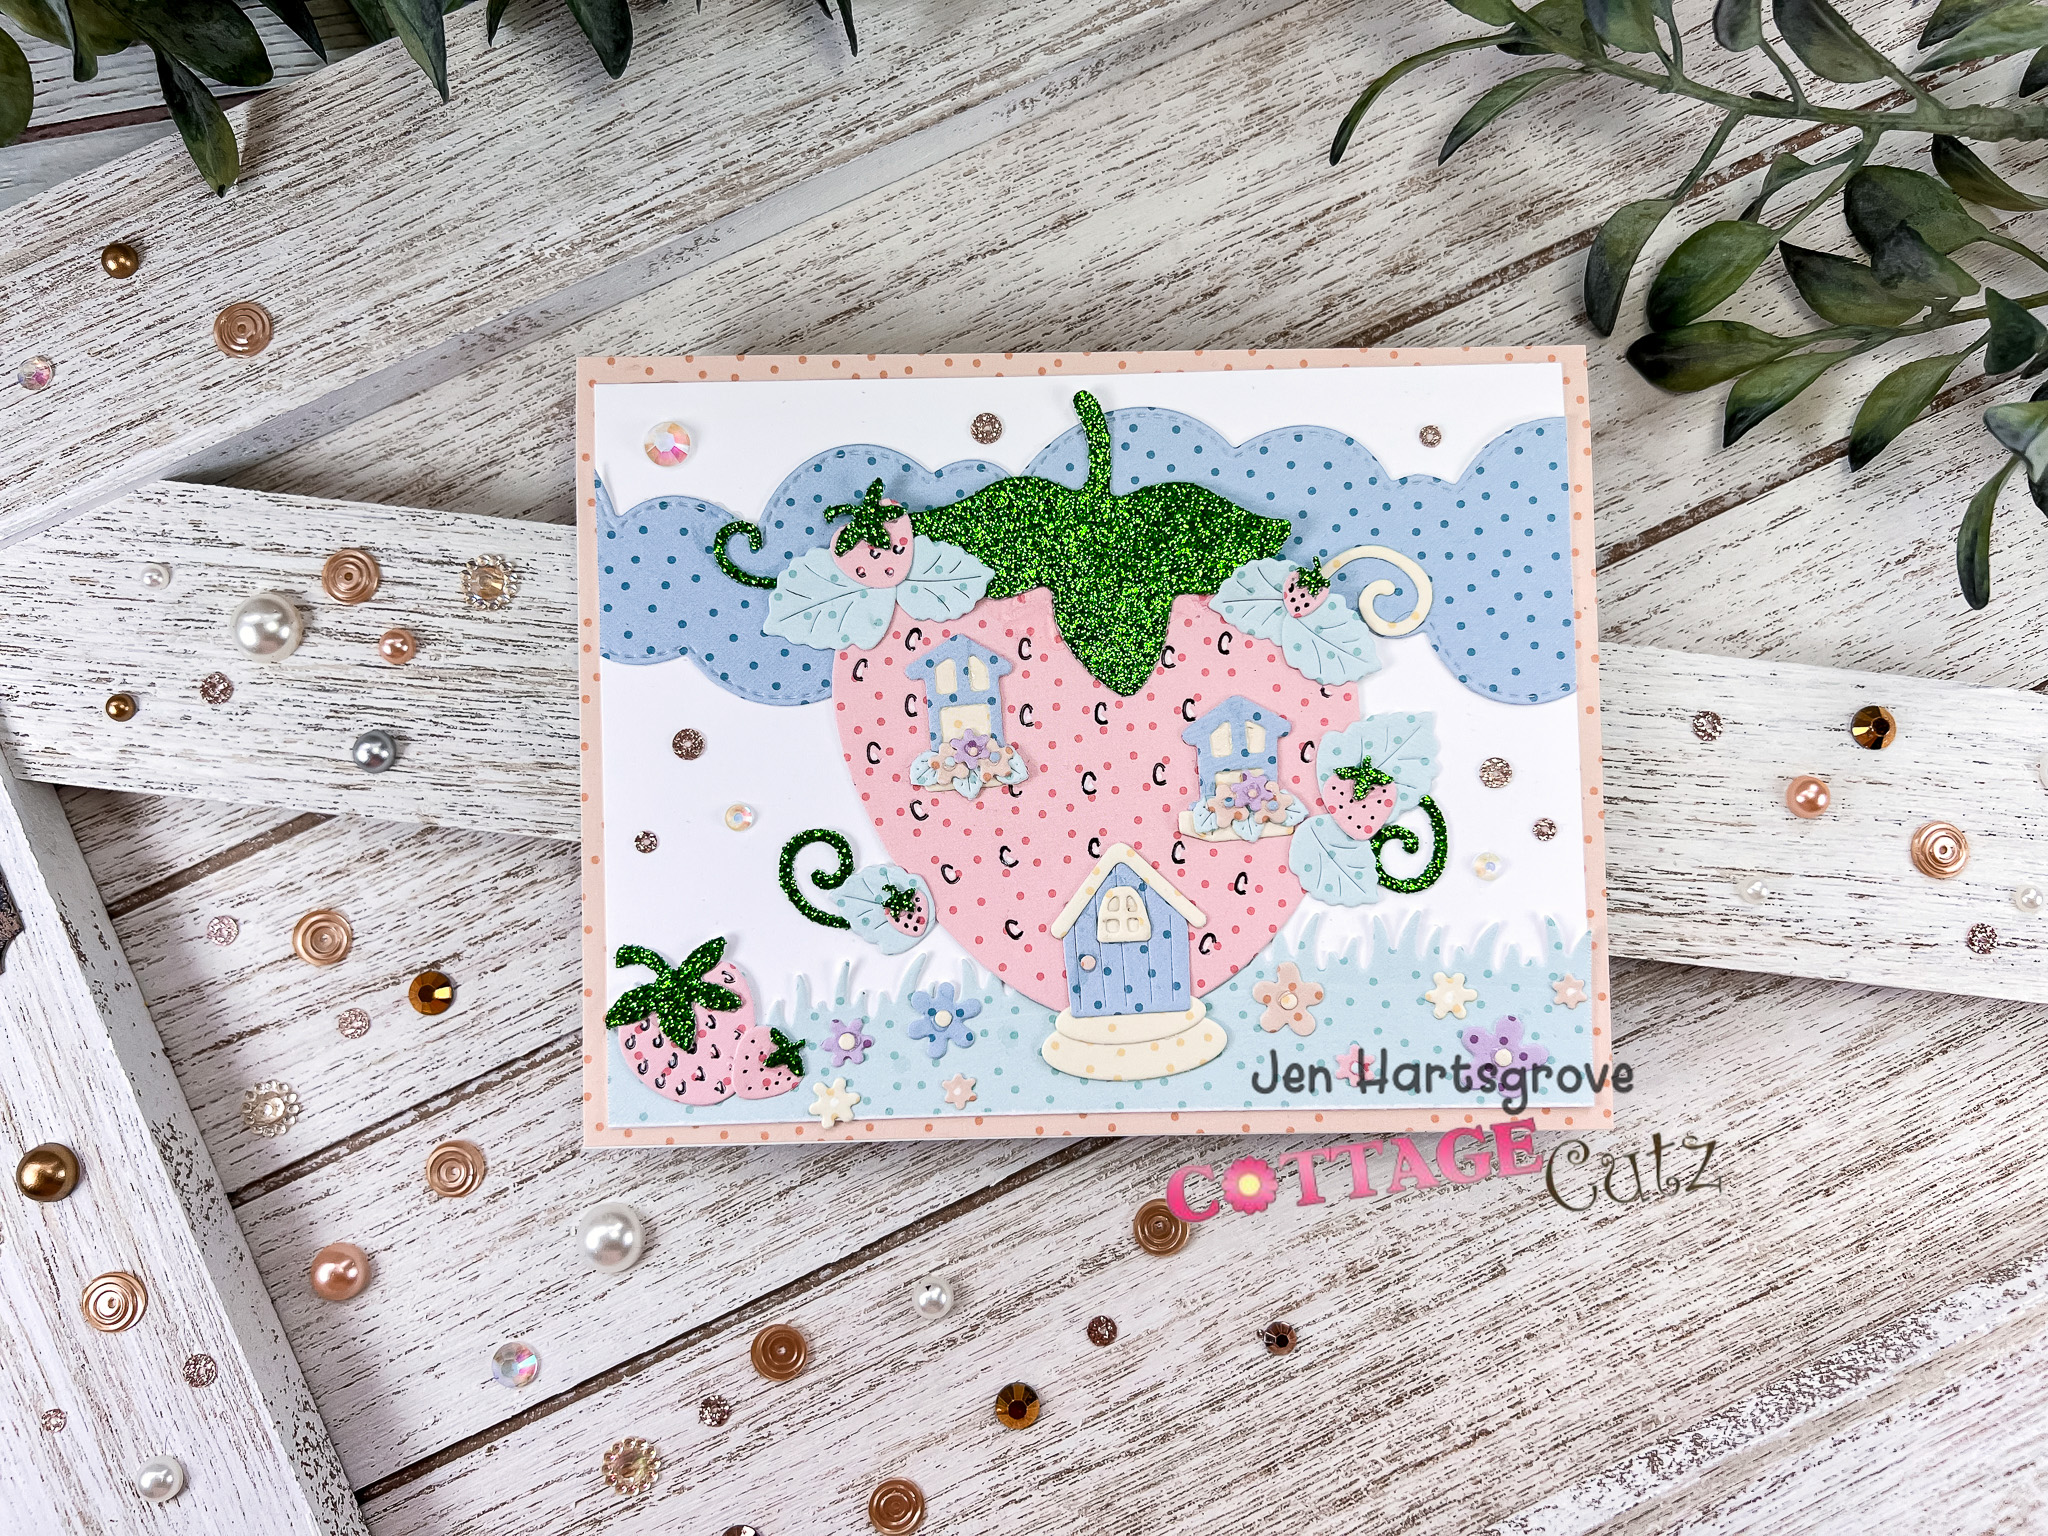
To finish off my card, I added a few flowers. these are cut from the Strawberry Cottage die. I secured the card to a base of green apple cardstock. The base measures 3 1/2" x 8 1/2"
That's my card for this week. I hope I have given you an idea for a way to use these new dies. See you next Saturday! We have a new release coming and the team will begin showing samples next week. 

Dies I used to Create card:


Thursday, August 04, 2022

Yum Donuts

Hello Friends

The new Strawberries and Bees release has so many fun dies including two of my favorite things coffee and donuts!!!  I am using both of these items which come on one die called Strawberry Treats 3

Here is my card for today!


Design Steps:

1.  Cut out all of the pieces using the Strawberry Treats 3 die and the following card stock: red, pink, white, tan, green, dark and brown.  Shade with inks and a fine tip applicator then assemble

2.  Cut a rectangle that will fit all of the donuts in white and then glue the donuts to the white rectangle

3.  For the card base use a white 6 1/4 x 4 1/4, cut a piece of brown dotted DP 6 1/8 x 4 1/8 and also cut 3 Pierced Wide Rectangle Frames 2 in white and one in light brown (which I forgot to put in the picture!)
4.  Glue the brown dotted DP to the white card base.  Glue the donuts to the front of the card as shown.  I added some metal tags spelling yum
5.  Glue the 3 frames together placing the light brown one on top.  Then add dimension tape to the frame and pop it to the card.  Final step is to add the coffee cup with a little dimension tape on one side and glue on the other

CottageCutz Products


Here is the new release so please check it out in our store today!!

We have more inspiration on our YouTube Channel check it out HERE
Thanks so much for stopping by!  And I will see you next Thursday.

Blessings and Take Care


Wednesday, August 03, 2022

Strawberry Polka Dot House


Hey Krafty Friends, Jen from Katahdin Krafts, back with another  CottageCutz YouTube  video on the CottageCutz Channel.  I can't get enough of these adorable strawberries, and had to make another house this week!  This time I changed it up with the "Strawberry Cottage" die, and some pattern papers.


Along with the cottage die, I used several dies from the "Strawberries & Bees" release. You can find all the details over on the YouTube Channel!

While over at the channel, make sure you comment and enter to win the adorable "Strawberry Cottage" die, so you can make these fun projects too!


The winner of the "Strawberry Girl" die from my last video is Linda Patterson , you can find all the details on the YouTube Channel!


Tuesday, August 02, 2022

Strawberry Box and Card

Happy TuesDIE Cottage Cutz Friends!
Melinda here with you on on another sweet TuesDIE. Can you believe it is already August? Whew, time is just flying!!!! Today I am sharing a super cute card and little treat box set I created, featuring dies from the new Strawberries and Bees release

 I used the Strawberry Cottage to create the fun treat box. For the Card I used the Berry Phrases Die set. For the card I also used the Circle Pierced Nesting Die set.

My finished card size is a standard top folding A4 size. The base is white cardstock and then I added a piece of red cardstock. To that, I added a mat of some patterned digital paper I created. I proceeded to cut out the pierced circle in the largest die in white cardstock and the next size down in green cardstock.

I then colored all my strawberries and leaves and stems. I also cut out all the phrases in white cardstock. I then assembled the words and berries onto the green mat.

To Make My Little Box

I started by cutting out a piece of white cardstock to 5.25 x 5.25. I scored it at 1.75 on all four sides. After scoring, I cut out the four corners leaving just enough for glue tabs to assemble the box. See the photo above.

Next I cut out the strawberry cottage two times in plain white cardstock. I lined up the bottom of one and used my ruler to find where up the strawberry the width was 1.25". Once I found that, I cut off the bottom. I did that for two of them. I then went ahead and colored the strawberries with my red marker.

I colored the leaves and stems of the strawberries and adhered them to opposite sides of the box. I also cut out two squares of red cardstock and then the mini strawberry patterned digital paper I created. I cut them out at 1 5/8" and 1 3/8". I adhered them to the sides of the box.

I then cut a strip of the patterned diagonal plaid digital paper. It was approximately .75 x 5.25

I went ahead and assembled the box.

Here you can see I added the strip for a handle. I also added some plaid paper mats to the inside of the box. It finished off the inside and it also helped keep the little handle securely attached to the box. I sandwiched it between the box and the extra mat.

Here's a closer look at the sweet little box. I added some of the adorable flowers, berries and foliage from the die to each side. I also lucked out and found that old-fashioned strawberry candies. I used those for the box.

Here is one last look at my project.


Dies I Used


Be sure to check it out and all the amazing creations from the design team!


Also, don't forget to head over to the CottageCutz YouTube channel and check out all of the amazing projects on there. Our video team is doing a wonderful job of filling the channel with all sorts of creative content! You don't want to miss it!


Well that about covers it for today! Until the next time, have a wonderfully craft-die day!
Melinda Beltran

Monday, August 01, 2022

Berry-Bug Cupcakes

Hello & happy Monday CottageCutz friends! Guest Designer Kris here with a yummy slimline card, fit for a sweet ladybug on your card list!  I've used the Lady Bug Cupcake die and Berry Phrases from the new Strawberries & Bees Release!  


DESIGN STEPS:

1.  I cut my card base from thick white cardstock at 8-1/8" x 6-1/4" and scored in half at 3-1/8".

2.  I die cut the Scalloped Stitched Rectangle Slimline from red cardstock.

3.  I die cut the Windows Slimline from light blue cardstock.

4.  I cut a piece of white cardstock at 7-7/8" x 2-7/8"

5.  On that single layer of white cardstock, I used a stencil and a blending brush to create clouds up top with Distress Oxide ink, and then I added Twisted Lime Distress Oxide ink on the bottom for "grass"


6.  Next, I layered that panel to the center of my red scalloped panel.  Then I taped that onto the front of my card base.


7.  I added 1/8" thick foam adhesive strips to the back of my blue window frames.

*TIP:  
To get it on straight, I peeled all the backings off my foam tape and I put it on a wax sheet (the glossy ones that separate the magnet boards from Stamp-n-Storage) --- they work super well for this!! Once I get it centered and adhered at the top, I gently slip the waxy paper out and Voila! 


8.  I die cut my pieces from white cardstock and colored with Copic markers.  Then I glued all my cupcake pieces together.  


9.  All that's left is to add the CUTE images to my card front with foam tape!


10.  I also die cut some sentiments, but in the end, I couldn't fit them onto the front so I added them to the inside.  


PRODUCTS I USED:


And here's the whole release!


I hope you enjoyed my card today!  Have a craft-astic week :) 

~Kristine