Melinda here with you on this terrific Tuesday. Today I am sharing a fun and very easy card I created featuring dies that are part of the new Christmas Part 1 Release.
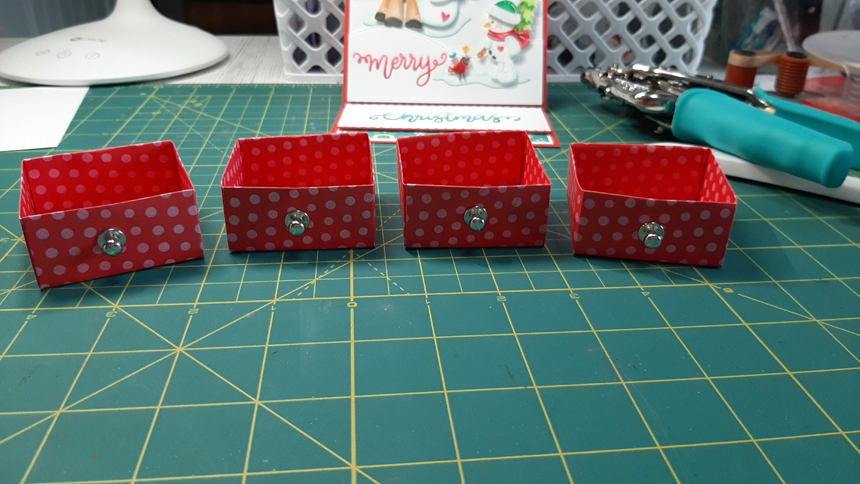
Here's a look at my completed card.
.jpg)
It is a standard A4 Top Folding card. It is so easy to make, you could easily mass produce these.

I started out with all my die cuts cut from white cardstock. This is hands down my favorite technique. I guess I like to do this because I find coloring so therapeutic. While I don't have any coloring books, coloring in these die cuts is a great alternative.

Here is a shot where I am adding some chalking details to the snowman. It gives it a nice shading effect without having to bust out the markers.

Here is a closer look at the super cute snowman and reindeer. I added them to a pierced circle die that I cut from some patterned paper. I then added all of that to a scalloped circle die cut from some basic white cardstock. In this closeup you can also see the white paint that I used for the snow as well as for the snowman's cap.

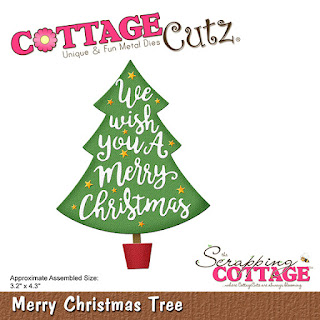
Here is a closer look at the sentiment. I cut it from the Merry Christmas tree die . I added it to two layers of patterned paper to create a border.
Don't forget to head over to the CottageCutz YouTube channel and check out all of the amazing projects on there. Our video team is doing a wonderful job of filling the channel with all sorts of creative content! You don't want to miss it!
Dies I Used

Nested Scallop Die set

Pierced Circle Set

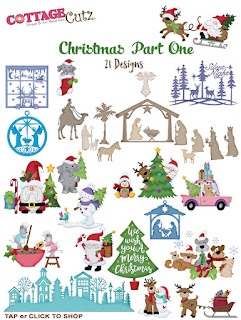
Here's a look at the entire release. Be sure to head over and grab them while they last!
Well that about covers it for today! Until the next time, have a wonderfully craft-die day!
Melinda Beltran