Tuesday, August 16, 2022

Baseball Box and Card Set

Happy TuesDIE Cottage Cutz Friends!
Melinda here with you on on another sweet TuesDIE. Today I am sharing a fun card and box set, featuring dies from the Baseball and Golf release.

Here’s a look at the set. It features an A4 top folding card and a fun circle shaped box. I made the box from some circle dies from the Pierced Circle die set. Below is a quick tutorial on how I made the little box.


I started with cutting out two each of the two largest circles in the set. I cut a strip of paper 2.5” x 11”. I then scored the strip at .5” the long way.

Next I used my ruler and “curled” the paper. The same way you would take a pair of scissors and curl ribbon for like a balloon.

Using the ruler allowed me to curl and or “train” the paper to have a curve as pictured above.

I then cut the half inch strip into little tabs by cutting thin little triangles out as pictured above. I kind of followed along with some of the creases that were created when I "curled" the paper.


Here is a shot showing you the way I cut the tabs. I didn't "measure" them or make them exact. I just cut them about every half inch or so.

I then added adhesive to the tabs and began to attach them to the bottom of the second to the largest circle from the die set.I just made sure as I was going around, that I kept the edge of the circle flush against the edge of the paper.

Once I made it all the way around, you can see I just closed up the side by adhering the two ends together.

The above white pieces were my first try. I started by making the box white. I decided that I wanted a blue base instead so I did all the above steps with blue cardstock. Once I got here, I cut out a piece of the same blue cardstock about 3/4" x 2". I scored it at the 1" mark length wise. I then glued it to the inside of the largest circle and to the outside of the box. I put it on the outside of the wall so that it would get covered by the patterned paper. 

I then added the second largest circle to the bottom of the box. Doing this allowed me to "sandwich" the tabs between the interior circle and the larger outside circle. I also added the second circle of the size smaller than the largest to the inside of the lid. Doing this covers the mechanics of the hinge.

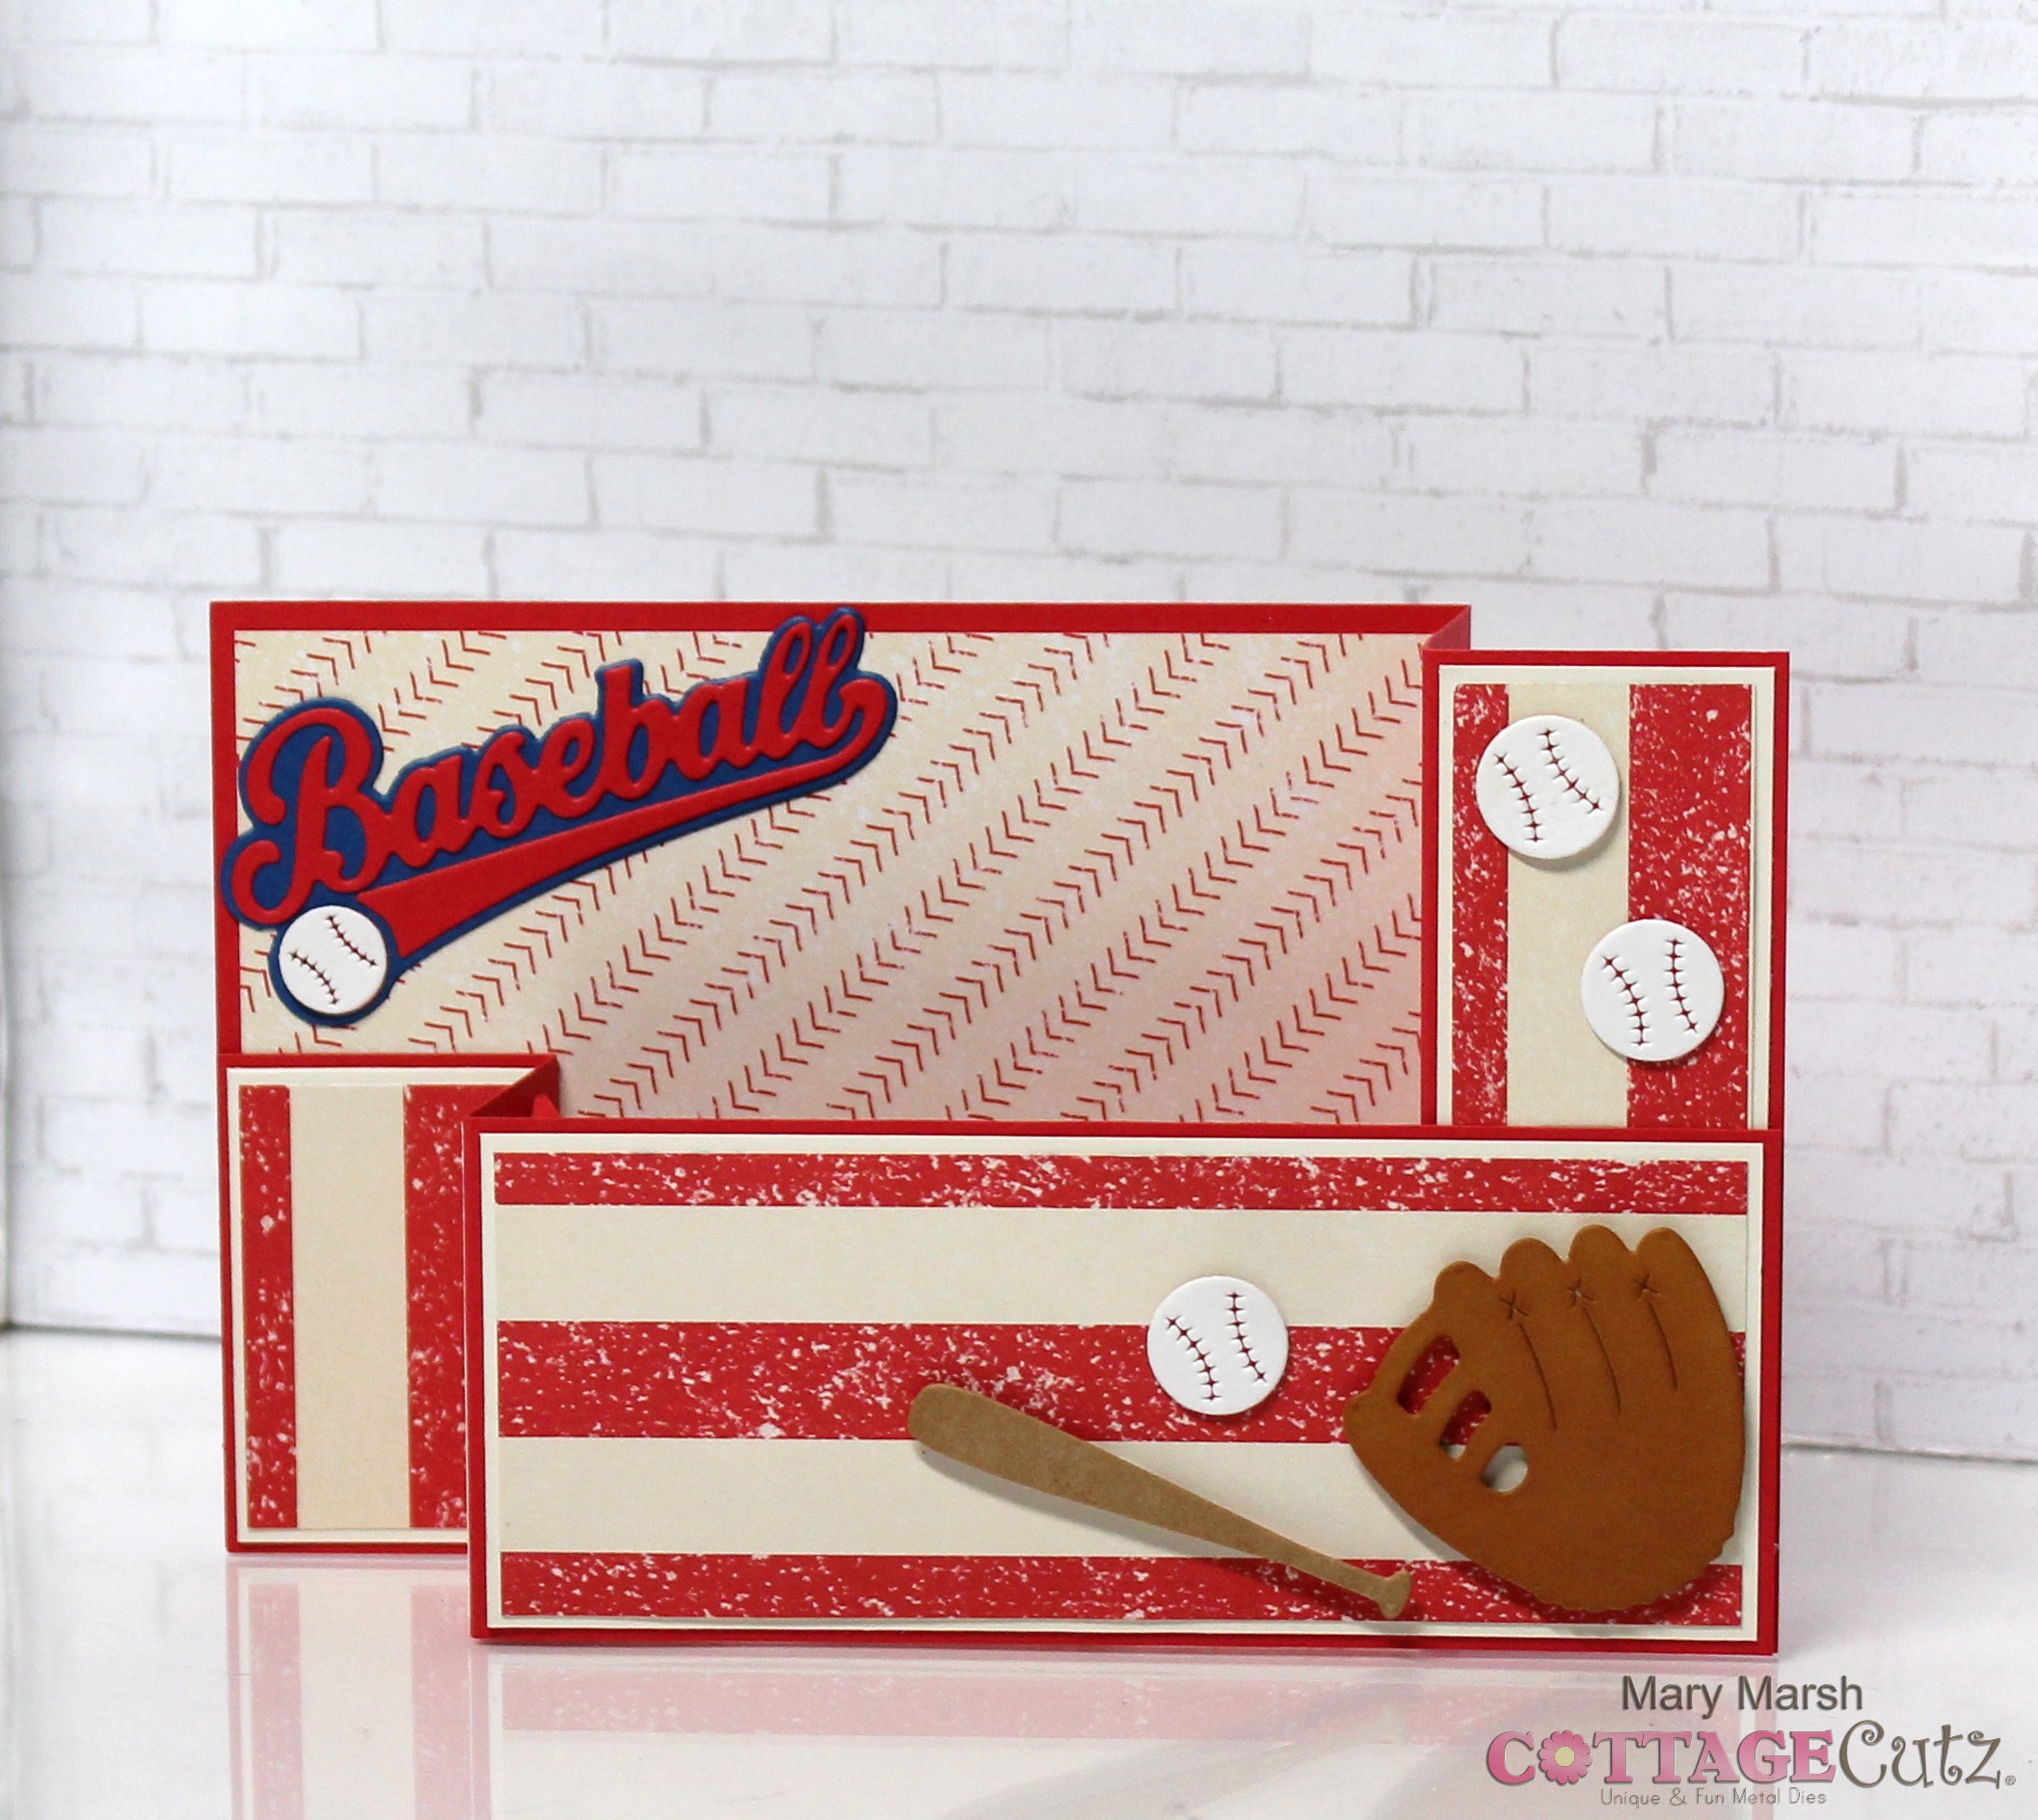
Here's a closer look at the card. I used a combination of blue and white pierced circles. To those, I added a variety of the super cute dies to them. For the hat, I used my white gel pen and did some faux stiches. It was real easy to do that as the stitching marks are already on the die.


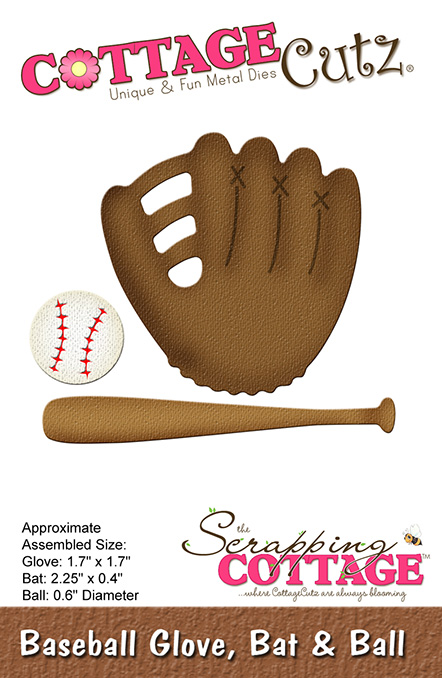
Here's a closer look at the finished top of the box. I used the large baseball die as well as the glove ball and bat. I inked the mit and the bat. I also used the scallop stitched rectangle die and added the All Stars sentiment to it. I used foam tape on the various pieces to give them a bit of lift off the top.

Here is one last look at my set. I think is turned out very cute!

Here's a link to a YT Video I made showing the set and explaining it.


The Dies I Used For This Project


I used the stitched scallop rectangle set, however this one would be a great alternative.

Here's the entire release. Head over to the shop and check them all out!


Also, don't forget to head over to the CottageCutz YouTube channel and check out all of the amazing projects on there. Our video team is doing a wonderful job of filling the channel with all sorts of creative content! You don't want to miss it!


Well that about covers it for today! Until the next time, have a wonderfully craft-die day!
Melinda Beltran

Monday, August 15, 2022

Baseball Jersey with Pop Up

Happy Monday ~ Guest Designer Kris here with a Baseball card, featuring a POP UP inside!  The new  BASEBALL & GOLF RELEASE  is so perfect for those masculine cards, and the individual dies from this release are 30% off! 

I wanted to make the front look like a baseball jersey, then when you open the card ~ SURPRISE!  A pop up feature completes the sentiment


...and here's the inside:


HOW I MADE IT:

1.  I cut a piece of thick white cardstock at 4-1/4" x 11" - then scored at 5-1/2" for an A2 card base.

2.  I cut a royal blue cardstock at 5-3/8" x 4" 

3.  I cut a blue/white/grey pinstriped card (from an old Paper Pumpkin kit) at 5-1/4" x 3-3/4"

4. I then measured to find the center of that pinstriped card and placed a mark along the top.  I then placed the corner of the largest die from the Nested Rectangles Slimline dies (but you could easily use the squares, rounded rectangles etc.)  onto the top of the card as shown below.  I counted the stripes so I had equal stripes on each side of the die to cut a "V".  


5.  On my blue cardstock, I measured in 2" and placed a pencil mark along the top.  Then I placed it behind the pinstriped layer to get an idea of what size circle die to use.  

6.  I cut a half circle using the 3rd smallest (from smallest to largest) Pierced Circles Set to cut an almost half circle from the top of the blue cardstock, using that pencil mark as a center guide.


7.  I later decided I didn't like how large the shirt opening was, so I used the 2nd smallest circle die to cut an even amount from the blue piece that was cut out from the 1st cut.  Then I inserted that smaller piece so it nested just above the rounded blue cardstock and Voila!!  It totally looks like a t-shirt hem with those pierced marks from the die!  ♥ it!!  


8. I attached the blue rectangle layer to the very top edge of my card base (centered) and glued in the shirt hem.  Then attached the pinstripe layer on top, aligning at the very top edge of card as well.

9.  Next, I cut a strip of my pinstriped card (with stripes going horizontal this time) AND a strip of the solid blue cardstock to 1/4" x 4".  I then layered them so the blue is offset to the left a bit and attached them to the center of my card.

10.  I die cut 5 (can do just 4) "buttons" which are parts of the wheels of the Ice Cream Truck die and glued them to the placket.


11.  Next, I die cut my pieces for the front & inside using the Baseball, Baseball Glove, Bat & Ball, and Baseball Phrases and attached the following to the front of my card...


12.  For the inside mechanism, I cut a piece of white cardstock that was 3/4" x 4" and scored at 1", 2", and 3" - fold and burnish.  

13.  I folded the 2 ends in so they meet in the middle.  Added glued to the 2 end sections and attached to inside of card so that the spot where the ends meet in the middle goes right over the score line of card base.  


14.  And last but not least, I added glue JUST to the section of the mechanism closest to the base of card and attached my die cut elements!  ☺


I hope you enjoyed my card today!
 HAPPY CRAFTING!

~Kristine 

PRODUCTS I USED:


Saturday, August 13, 2022

Baseball Wiper Card

Hello CottageCutz friends! Thanks for taking the time to stop and visit with us today. It's Mary Marsh here bringing you the Saturday edition of the Blog.

It's new release time!!! We have new dies in the online store. It's our Baseball and Golf release with 16 new designs and currently on a 30% off sale. These new dies are so perfect for a masculine themed card. 
Or for the kiddos (boys and girls) who are baseball or softball players.  Don't forget about the golfers either. If you are a scrapbooker and are putting together the summer season of your child's baseball season, we have you covered. 

My card today is featuring the new Baseball Glove, Bat & Ball die, Baseball Phrases die and the Baseball Phrase w/Shadow die.  I created a fun fold wiper card for my friend's little boy (9 years old) who loves baseball. His birthday is September 4 and when I saw these new dies, I thought of him immediately. He loves baseball and was the MVP for many games this season. So, let's get started with some details of how I created my card.

Design Steps:

I saw this wiper fold technique demonstrated on YouTube so if you like visuals, here is a link
I started my card by cutting all the cardstock and designer paper needed for this fun fold technique.

Red cardstock base:  4 1/4" x 8 1/2", score at 5 1/2" & 7”
Red Z-Fold:  2 1/4" x 8 1/2", score at 1 1/2" & 3”
Baseball themed Designer Paper:  4” x 5 1/4 - attached with double sided tape. 
Far Right Panel vanilla cardstock: 1 3/8” x 4 1/8” 
Striped designer paper: 1 1/4" x 4 -attached with double sided tape.  
Z-Fold Panel vanilla cardstock: 2 1/8” x 5 3/8”
Striped designer paper: 2” x 5 1/4" - attached with double sided tape. 
Now I am going to attach the z-fold panel to the card base. I only want adhesive on 1 1/4" of the long panel. I used a pencil to tick mark the 1 1/4" point and added double sided tape.  
Lined up with right side of panel and secure to card base. 
Now I am ready to cut my baseball images. I used a toffee shade of cardstock for glove and sponged with dye and rusty hinge distress inks to get more of a deeper shade. For the bat I used a kraft card cardstock and sponged lightly with antique linen distress ink for a deeper wood shade. 
Attached the images to the card base with dimensional adhesive and glue dots. 
Next, I cut the MVP and Baseball phrases word from red, white and blue cardstock. 
For the wiper mechanism I cut a piece of 1" x 2" red cardstock. Folded the right corner upwards. This is what allows the MVP phrase to move up and down. 
When attached it should be just inside the score line and make sure it doesn't extend beyond the front panel.  I used a glue dot to secure in place.  
You also need a piece of acetate (1/2" x 2") to anchor the MVP phrase. I also secured this with a glue dot. 
Now to close the z-fold bridge I used double side tape on the left panel only. You line it up with the bottom of the card base just like on the other side. I added the baseball phrase with liquid glue and a couple more baseballs to finish off my card. 
Here is photo of wiper card when it pops up. 

Here is a short video showing the card wiper card open. 
Well, that's my sample for today. I hope I have given you an idea for a baseball themed card. See you next Saturday!

dies I used to create card: