Thursday, April 14, 2022

G'day mate!

 Hello CottageCutz Friends

We have a new release and it is on sale!!

for a limited time...
Australian Friends Release

Save 30% on Individual Designs
14 New CottageCutz Designs

Today, I am using 3 of the new release dies: KangarooKoala Bear w/Floral, and the Cockatoo.
Design Steps:
1.  Using the following dies cut out the little critters KangaroosKoala Bear w/Floral, and the Cockatoo.  Using the following colors of card stock: Three shades of green, brown, tan, gray, black, white, light and dark pink.  Shade the pieces with a variety of ink colors and a small applicator
2.  Use a slimline white base 8 1/2 x 3 1/2.  Cut a piece white card stock 8 1/2 x 3 1/2 with the Circle Window Slimline die.  Cut a piece of DP blue 8 1/4 x 3 1/4
3.  Tape the edges of the blue DP to the back of the white slimline circle piece.  I just taped the edges so I can slip in the little critters and leaves
4.  Arrange your leaves and critters inside each circle and then glue them down
5.  Stamp your sentiment and layer it onto a piece of green card stock.  Then glue your slimline panel to the white card base and your card is complete

CottageCutz Products


We have more inspiration on our YouTube Channel check it out HERE
Thanks so much for stopping by!  And I will see you next Thursday.

Blessings and Take Care


Wednesday, April 13, 2022

Bridge Card Featuring Australian Friends


G'Day my crafty friends, Marla here today.  The new Australian Friends release is filled with adorable critters from down under. These sweet animals are so inspiring that I needed to create a card that would allow me to really showcase them properly.  

I am sharing this fun bridge card over on the CottageCutz YouTube Channel and I am giving away the adorable Kangaroos die.  I hope you head over to watch and find out how to enter to win this new die.


Tuesday, April 12, 2022

Have Faith Easy Easel Card

Happy Terrific TuesDIE Scrapping Cottage friends!
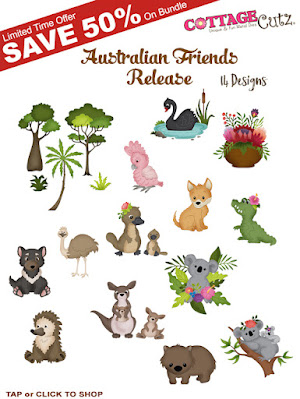
Melinda here with you for another fun Tuesday. My project today features some dies from the fabulous new Australian Friends Die Release!!! Here is what I created.

This super cute and very easy easel card!


To create the base:
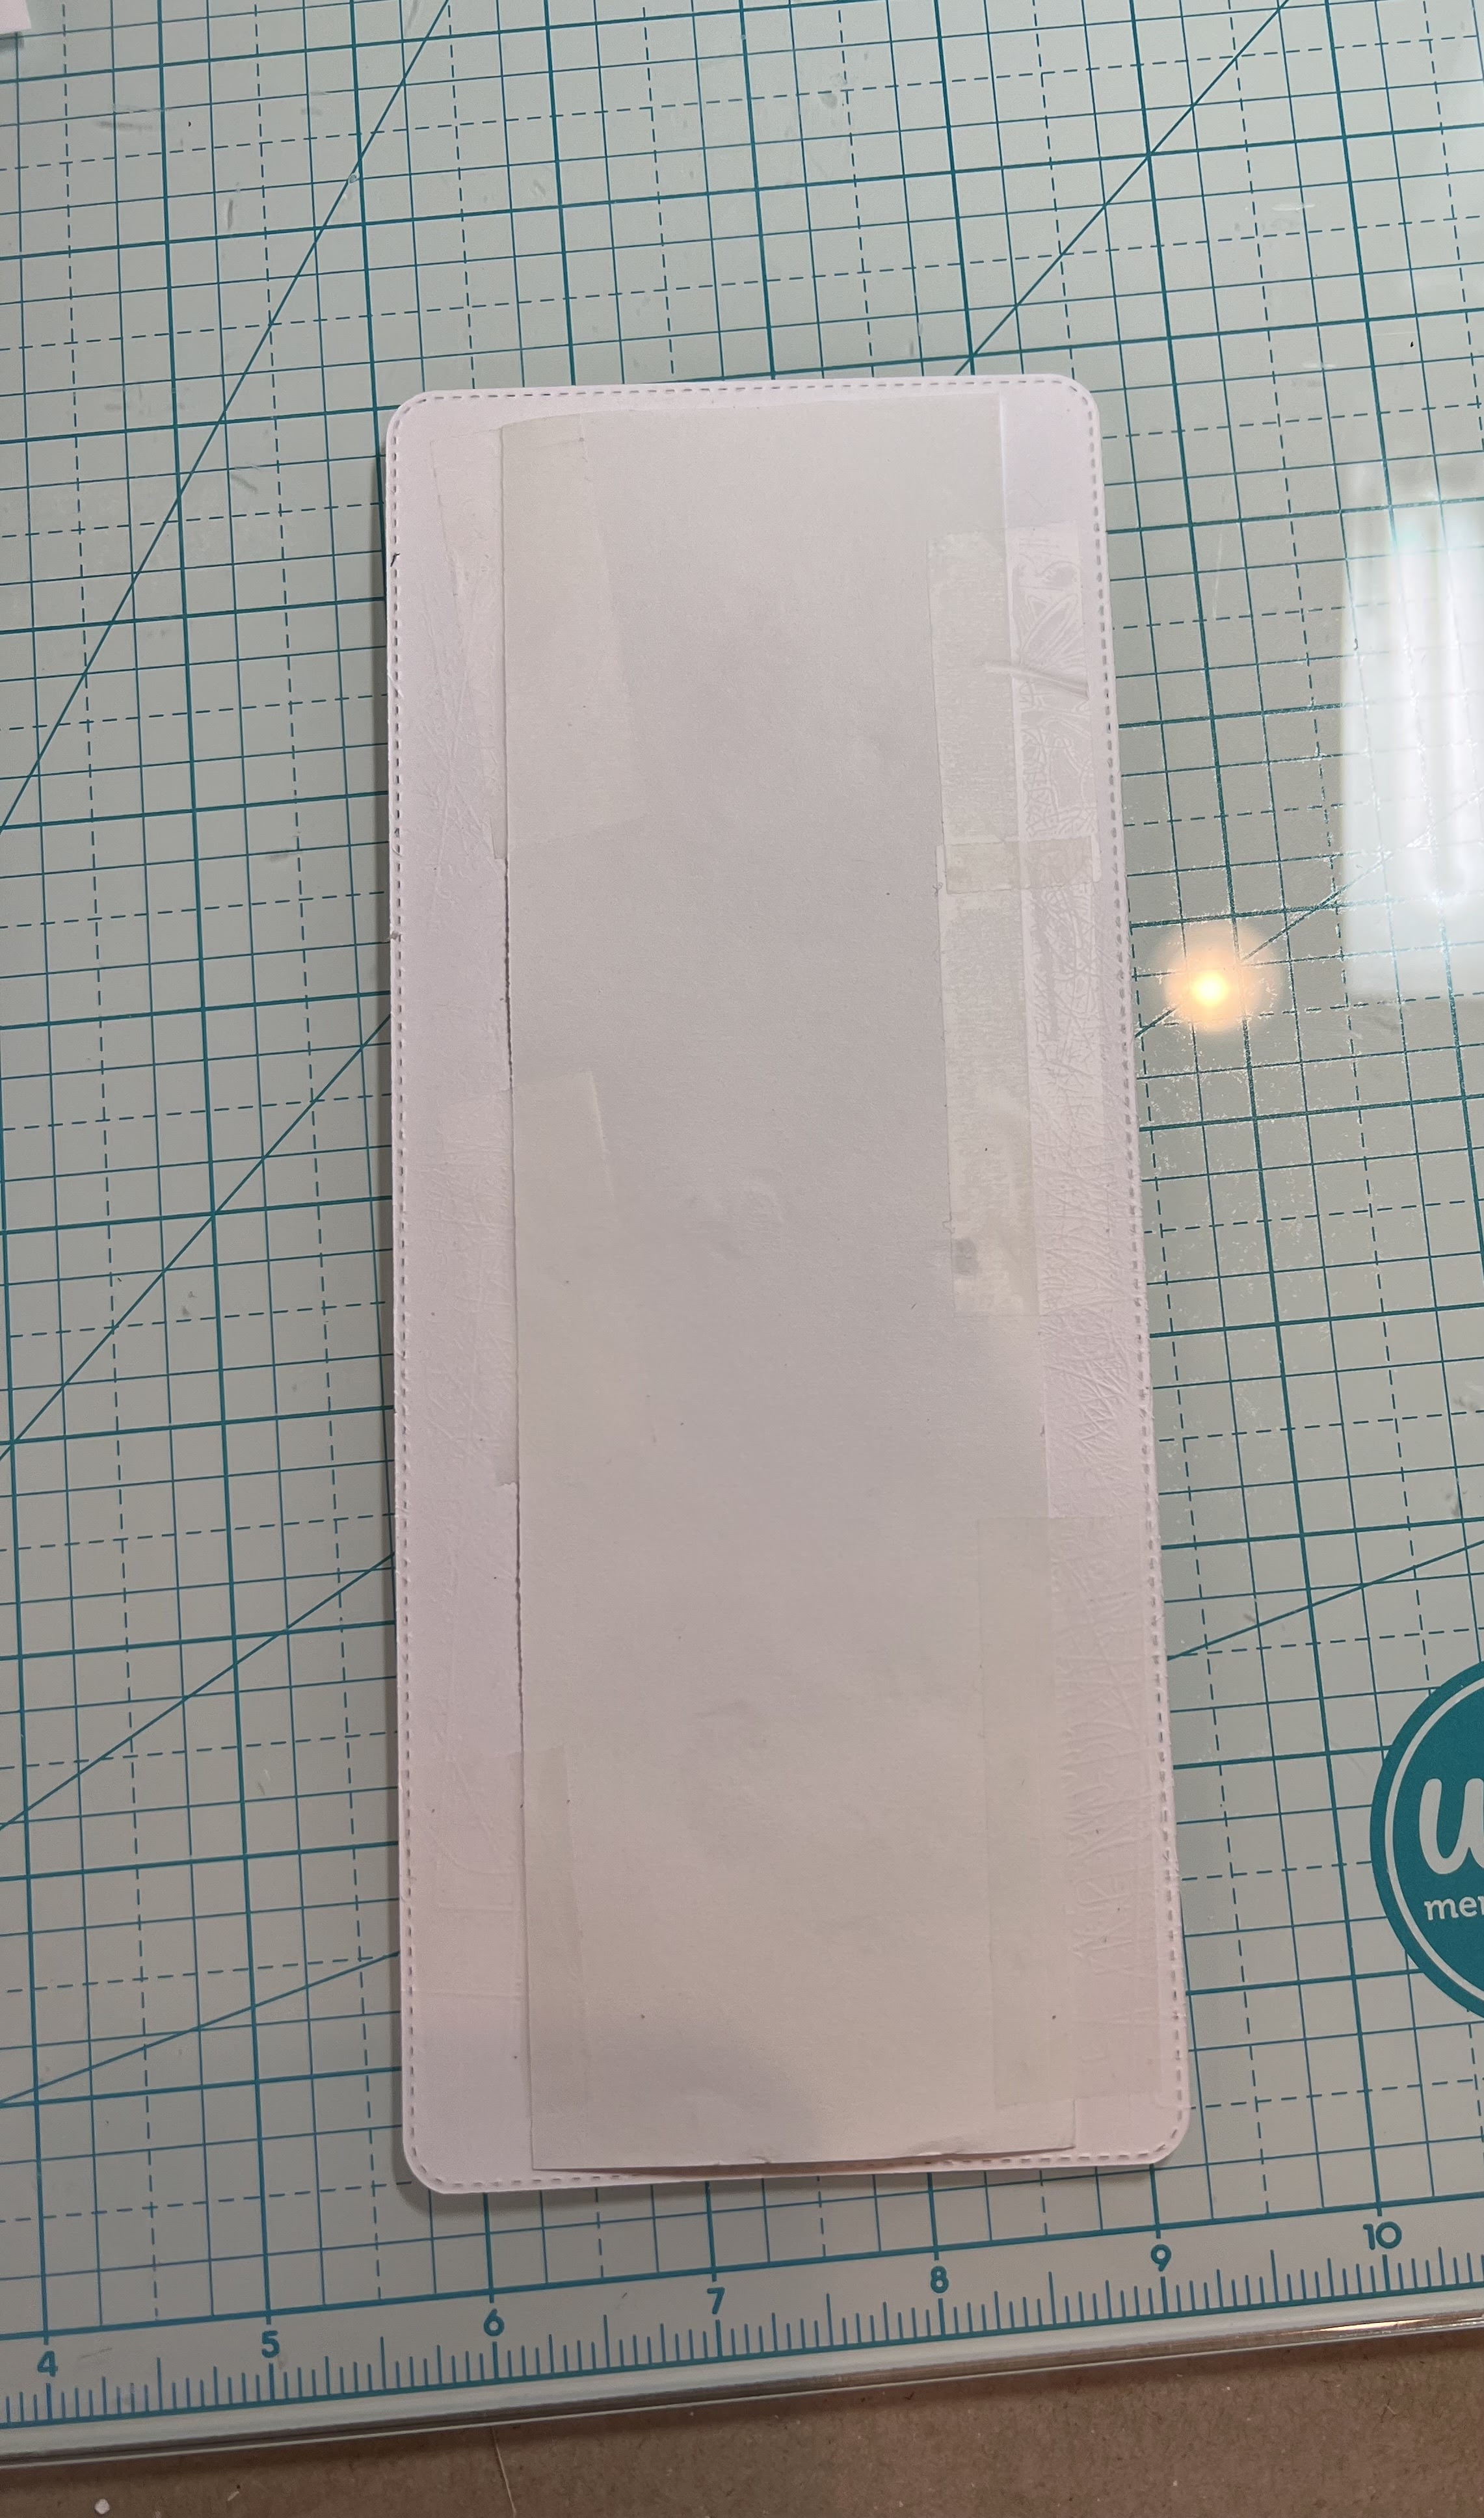
I started with a piece of 4.25 x 11 white cardstock. I folded that in half at 5.5"

I then folded the right half, which would be the "top" in half again. I just folded that half to the 5.5 fold I made first. I burnished it with my bone folder.

Here is what the base looks like once you have made the two folds. EASY PEASY!

I then cut a separate piece of 4.25 x 5.5 and that became the "top" of my card. I simply attached it with some adhesive to the bottom half of that top fold.... tent if you will in the picture above.

Here is a side view to show how I attached it once it was done.


To make a "ledge" where the top can "stop" and be held in place I used the double stitched rectangle die set to create this sentiment. I hand wrote the word "Have" and then die cut faith from the 
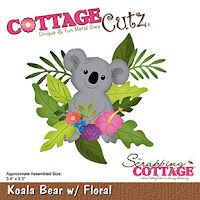
Faith Sentiments die set. I cut out a couple of sets of that adorable Koala die from the new release and added some flowers to the corner of the sentiment. I added some foam tape under the rectangle when attaching it to the base. That gives it just enough lift to allow the top to catch

Here's a closer look at that sweet Koala. I nestled her among all the pretty foliage and flowers that come with the die. To finish off, I added a few hearts from the hearts slimline die. I love all the hearts that come out of the negative space of that die in just one pass! I added all of that to one of the double stitched rectangles. I used some fun and super colorful patterned paper from Paper House Productions.

Here's a view of the front finished.

Here's a view of the side of the card. You can see that I added a piece of white cardstock to the top half of the base. This is so I can write a note to the recipient. 


Here is the fantastic new collection 
FROM DOWN UNDER!
Hurry for a limited time...
New CottageCutz 
Australian Friends Release
Save 30% on Individual Designs
14 New CottageCutz Designs

PLUS FOR A LIMITED TIME....

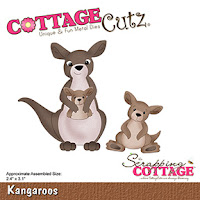
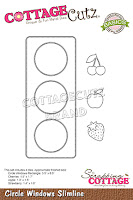
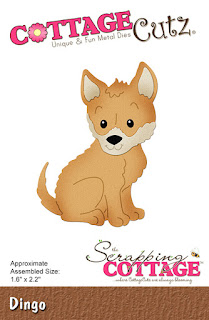
The Dies I used to create this project:
In case you didn't hear, The CottageCutz YouTube channel is filling up with beautiful projects and great how-tos!  Head over and check out the latest video! 

Well that about covers it for today! Until the next time, have a wonderfully crafty day!
Melinda Beltran

Monday, April 11, 2022

A Trip Outback


Hi everyone and Happy Monday today I am excited to share our Australian dies which reminds me of Down Under and Outback and not the restaurant.  When I saw these dies it brought memories of a television show I watched “The Crocodile Hunter” with Steve Irwin I could hear his accent as I created lol I loved that show and how cute!
Here are all the amazing dies in this release


I used the circle slimline die to create a sort of collage of all these outback critters on some desert sand cardstock
I then diecut the parrot in pink and added a touch of color with my copics
I diecut the Outback Trees in various shades of green show I could add a tree to each opening and it blended so well with the tan
I used the Koala w/Floral as my focal point and used the baby from the Koalas set to hang from ine tree.
I had so much fun with this release I hope everyone enjoyed a trip down under…😆
Products Used:


Saturday, April 09, 2022

Protea for Mother's Day (new die)

                           New CottageCutz 
                   Australian Friends Release

14 New CottageCutz Designs


They are currently in the store and on sale at 30% off the individual dies. 
Hello CottageCutz friends! Thanks for taking the time to stop and visit with us today. It's Mary Marsh here bringing you the Saturday edition of the Blog.

Today for your viewing pleasure, I am featuring the new Protea die. I created a Mother's Day card for a friend. I usually send a lot of cards to my friends for Mother's Day, so this is my first one for this holiday. So, let's get started on some details of how I created my card.

Design Steps: 

I started my card by cutting the protea images. I used different shades of bright cardstock. I somewhat followed the coloring on the packaging. That's always a big help if you're undecided on what colors to use. I attached the protea image to a white square. It's the largest (3 1/2") of the Stitched Square dies.  
The card layout I used is an older sketch I had saved on my Pinterest page. Having a layout in mind is a big assist for me with cardmaking.  
Next, I selected the card colors and designer paper. I wanted something with stripes, and I found this blue pattern. I thought it works well with the shades of pink I used for the protea. I decided to use a blue ribbon to act as a divider between the panels. 

White Card Base: 4 1/4" x 5 1/2"
Designer Paper Layer: 4" x 2 1/2"
I stamped my Mother's Day sentiment directly on the flower vase. 
Now that my elements are prepared, I am ready to start card assembly. I attached the designer paper and the ribbon with double sided tape. I took the ribbon to the inside of the card, and I will add another layer of cardstock inside to cover the ribbon. 
I attached the image panel with double sided tape. I layered this panel with a bright pink cardstock. It measures 3 5/8" square.  I also scattered a few bright pink enamel dots.
I decided to add another sentiment to finish off my card. I used the Wishes w/Shadow sentiment and cut it in 2 shades of pink. I decided to rotate the enamel dots from squares to diamond shapes. I moved them around and added to additional to highlight the wishes phrase. 
  
Well, that's it for me for this week. I hope I have given you an idea for a way to use this new die. See you next Saturday. 

dies I used to create card: