Saturday, June 05, 2021

Hey Chick

Hello Scrapping Cottage friends! Thanks for taking the time to stop and visit with us today. It's Mary Marsh here bringing you the Saturday edition of the Blog.

IT'S NEW RELEASE TIME! The collection is called COUNTRY FARM! It has the most delightful dies from Tractors to Cowboy Chicks! Each die is just full of awesome details and can be used for so many different occasions. All of the new dies are on sale at 25% off.

Today for your viewing pleasure, I am featuring the new Cowgirl Chick die. She is just the cutest little thing and even a bit sassy.  I thought it would make a great birthday card for a gal! So lets get started with some details on how I created my card. 

Design Steps:

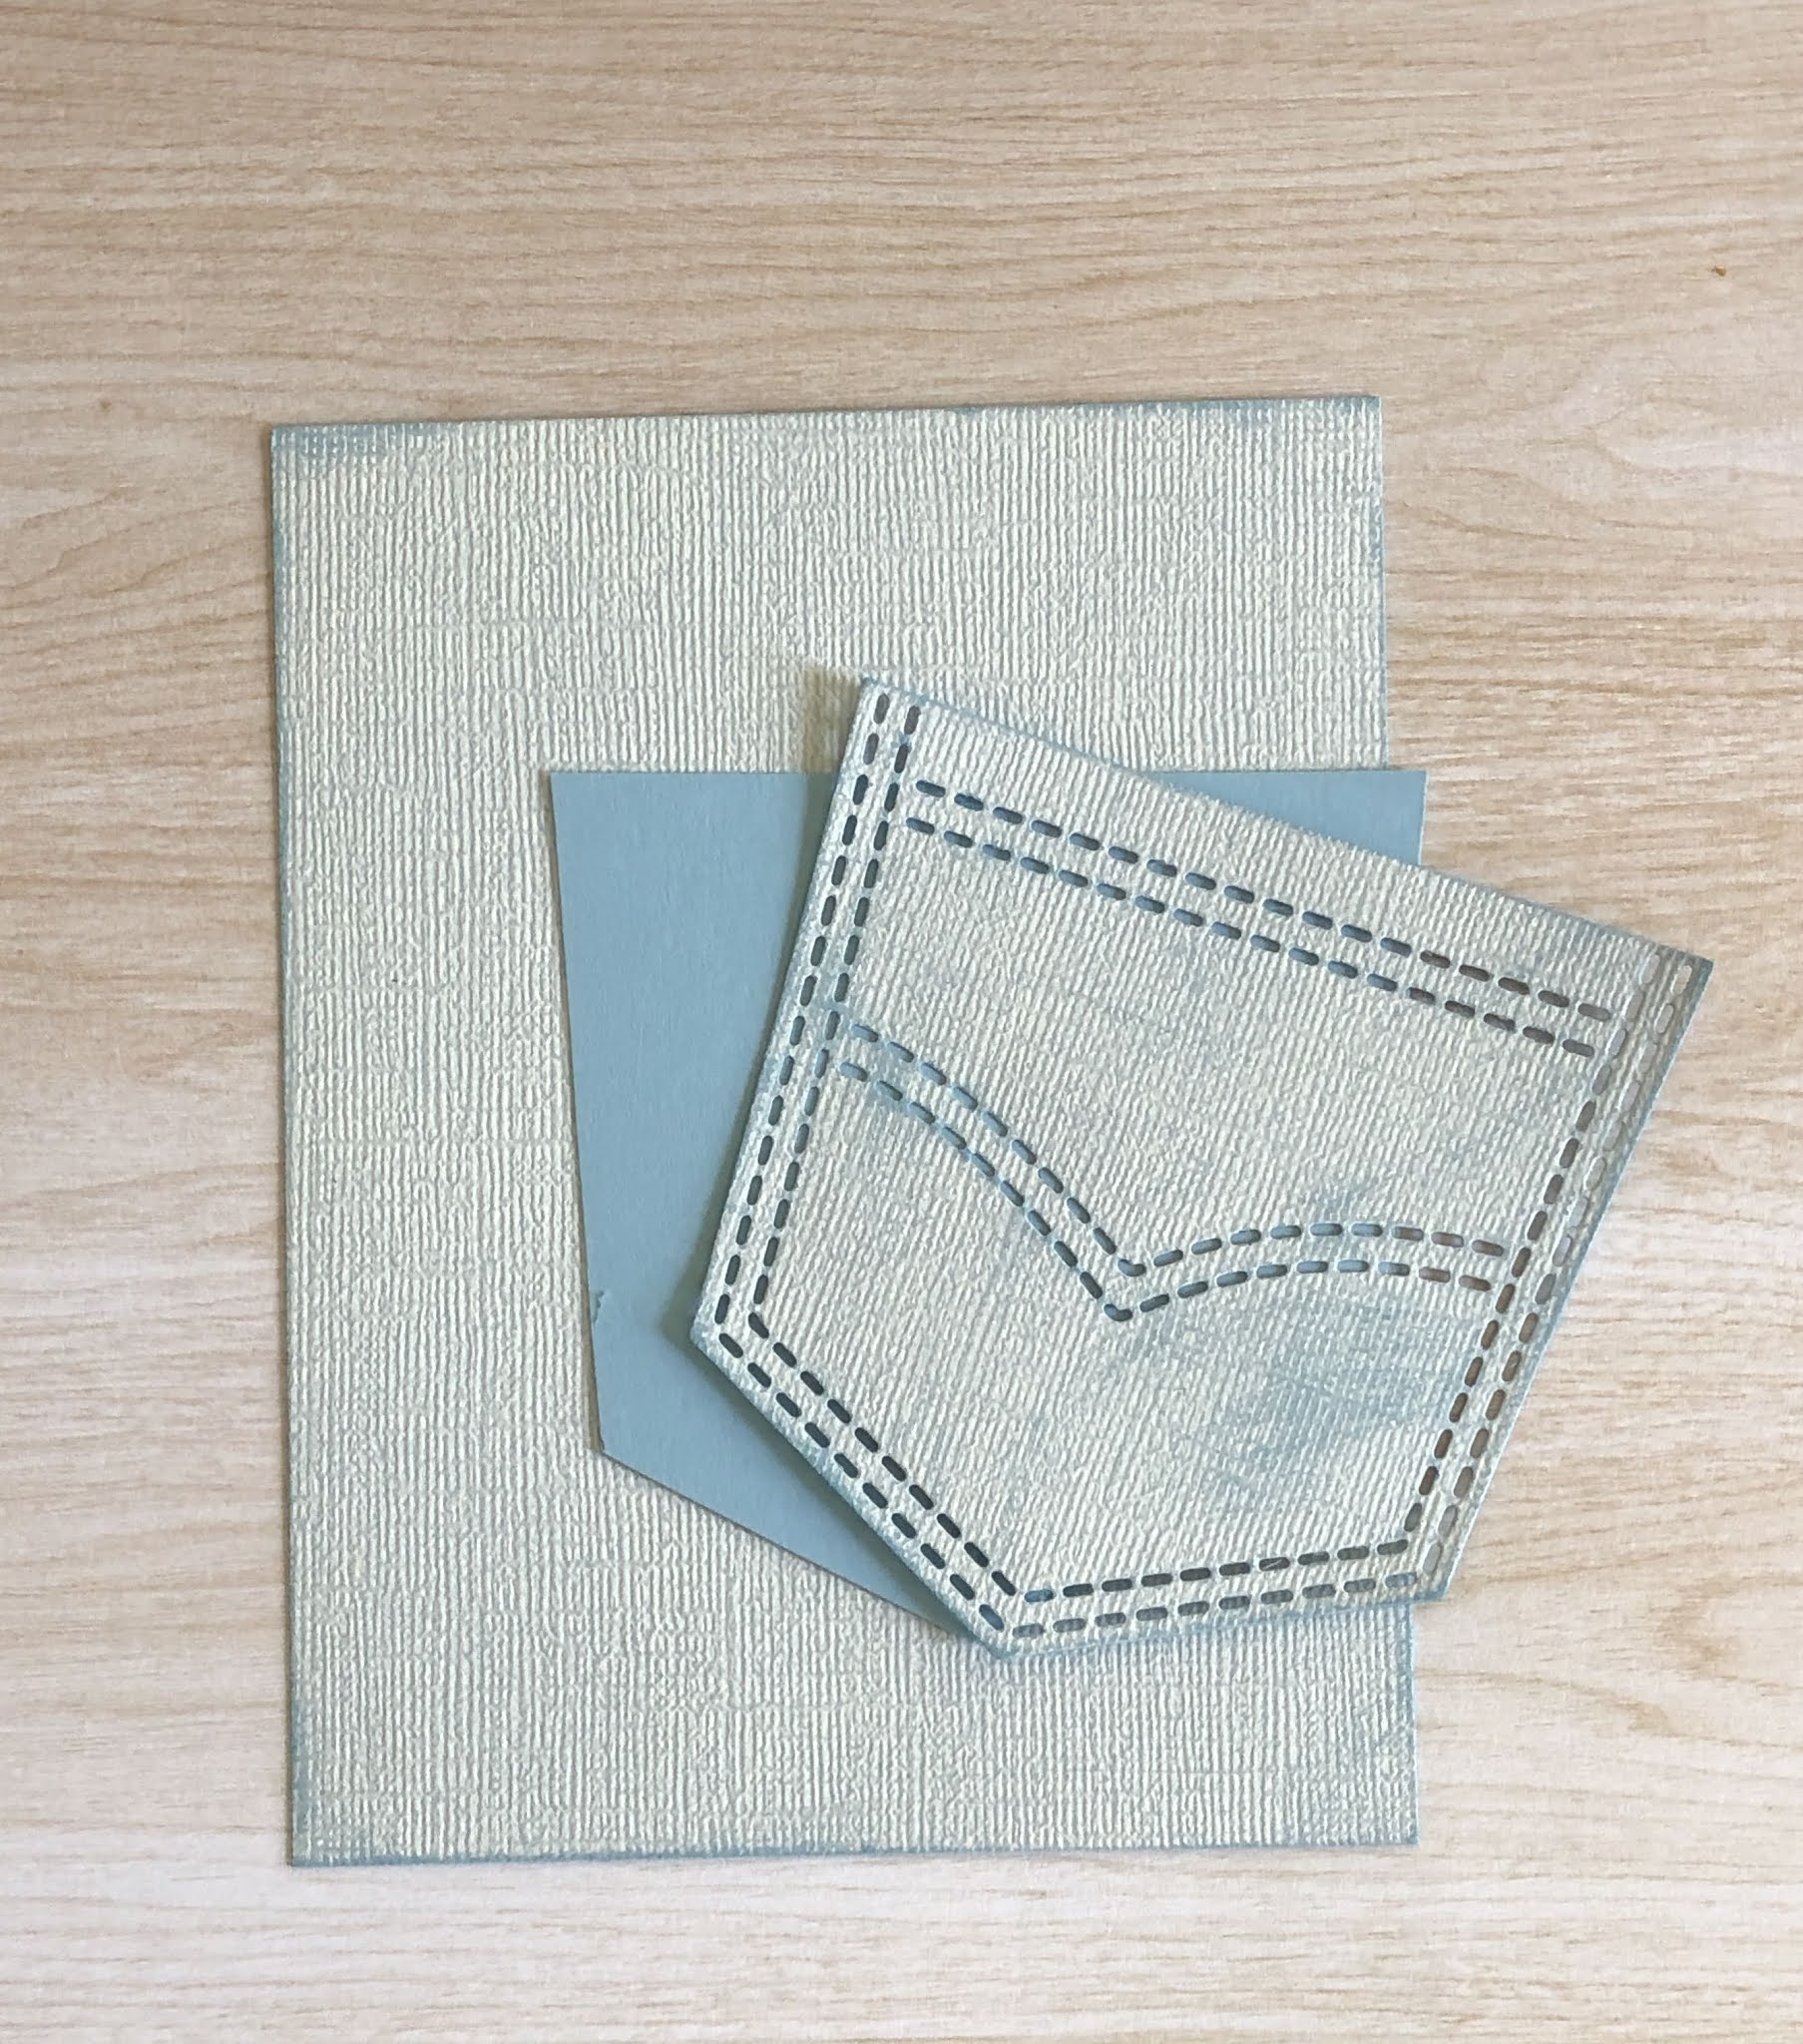
I started my card by cutting the Cowgirl Chick die. For her hat and scarf I used the packaging colors because it's a perfect western look.
Next, I looked through my designer papers and found this one that already has an outdoor scene as part of the paper. I decided to make a square card because I didn't want to cut to much of the designer paper. 

Card Base: 5 1/2" square
Designer Paper layer: 5 1/4" square
Stamped my sentiments on both the clouds. I wanted the words to be a bit sassy like the chick. The "hey chick" sentiment has an exclamation point at the end. The clouds are from the Stitched Sun, Clouds & Umbrella die. 
Now I am ready to start the card assembly. I used dimensional adhesive to lift the image and clouds off the background. 
 
To finish off my card, I attached the image panel to the card base. I scattered a few red enamel dots just for some added interest. Well, that's it for me for this post. I hope I have given you an idea for a way to use this new die. See you next Saturday!

dies I used to create card: 


Friday, June 04, 2021

Hogs and Kisses

Happy Friday!  It's Jeanne today and IT IS NEW RELEASE TIME! The collection is called COUNTRY FARM! It has the most delightful dies.  Everything from Tractors to Chicks to Cows!  Each die is just full of awesome details and can be used for so many different occasions.  Today, I am using the Farm Pig Peeker as a gift card holder / card.

This little gal is adorable with her floral headpiece.

I first started by coloring her with Distress Oxide inks.  I used Copic markers for the smaller floral pieces. (There is a sneak peek here of a card I'll have later this month for you!)

 I cut my A2 base and pocket from a Co'Ordinations cardstock which gives a weathered look when sanded.  I wanted it to have an "old jeans" look.  The Pocket was cut from the Peeker Pocket die which is currently out of stock.

I traced the pocket onto a piece of light blue cardstock and cut it slightly smaller than the pocket.  I glued this to the back of the pocket.

The pig peeker is glued to the pocket NOT the card to make a gift card holder. 

The front view.

I added her flowers and glued the pocket to the card panel.  When adhering a gift card pocket I insert the card while gluing so I know that I have enough room for the card. If I don't, I have at times, glued the pocket piece so tightly to the card that I can't insert the gift card! 

I stamped the sentiment and used the smallest of the Stitched Rectangle Slimline dies to cut a banner.  The excess I trimmed with scissors.

Finally I added a small daisy in the corner to match the daisy in this little piggy's headdress.  This panel can be used alone as a gift card holder or as the front for an A2 card!

Dies used:


Thanks for visiting today!  Be sure to stop by the online store where the new Farm Realease is on sale for a limited time!

I hope you have a fun and creative weekend!


Thursday, June 03, 2021

Best of Cluck!

Hello Scrapping Cottage Friends 

It is Pam creating with you today!

IT IS NEW RELEASE TIME! The collection is called COUNTRY FARM! It has the most delightful dies.  Everything from Tractors to Cowboy Chicks!  Each die is just full of awesome details and can be used for so many different occasions.  Today, I am using the Farm Tractor w/Trailer as a best of luck z-fold card.


Design Steps:

1.  Using the Tractor w/Trailer die cut all the pieces.  I used red, black, silver, brown and acetate for the window and head light.  I also used the Stacked Farm Animals for the additional chickens.  And the Grass, Tree and Vine die for the background tree.  Shade and assemble all pieces
2.  For the base of the z-fold card I used a white piece of card stock 4 x 11.  Fold it in half and then fold the front fold in half again.  For the little z-fold white strip I cut a 1 x 11 inch strip.  This strip is scored at 2 3/4 x 5 1/2.  

3.  Before attaching the strip glue down your cloud DP 2 panels at 2 5/8 x 3 7/8 and 1 panel at 5 3/8 x 3 7/8.  Next use your Grass Slimline die and cut 2 pieces of green grass about 1 inch high.  Also cut 4 pieces of white fence using the Victorian Fence die.  Glue the fence to the back of the grass and then glue to the z-fold strip.  Using the Stitched Sun, Cloud and Umbrella die cut out a sun in yellow
4.  Pop up the Tractor and Trailer to the card as shown.  Add the sun to the upper left corner
5.  Glue the tree flat to the back panel as shown.  Glue the 2 additional chickens and bags of grain to the card as shown.  Add the sentiment and your card is finished

CottageCutz Products


Thank you all for stopping by and be sure to check out this adorable new release!

Take Care and Blessings
Pam


Wednesday, June 02, 2021

Have a Roaring Birthday

Hello!  This is Sukie and today I'm sharing an interactive card for my design team day!  The new Slimline dies certainly made it easy to create this fun card.

I used the Lift Flaps Stitched Rectangle Slimline die set to cut out the double stitched rectangle and the lift flaps.  I cut out an extra lift flap in white card stock and cut it off on the attached end.  I also cut out the Safari Lion, Safari Rhino, Safari Giraffe, Safari Zebra and Safari Camel.  The grass border is from the Grass Slimline die set.

The safari animals were cut out in both white and colored card stock and shaded with some inks.  The first step in my design process was to layer the lift flap die cut on top of the the grassy background.  This piece was then adhered onto my card base.
Next, the sweet animals were nestled inside of the lift flap frames.  I trimmed the giraffe slightly so that he would fit.
The lion and rhino were adhered on top of the right and left side flaps. 
I stamped a couple of sentiments along with a lion image on the white card stock flap and adhered it to the other flap adding a fun element to my card.
Here are the die sets used on my card, available in the store:

Tuesday, June 01, 2021

Ho Ho Ho

Hello Scrapping Cottage Friends

It is Pam on the blog creating with you today!

Today is Throw Back Tuesday so I am taking advantage of this fun day by getting a head start on my Christmas cards!!  I am using a super cute die from the 2019 Christmas Release Part 2.  It is called Ho Ho Friends.  I decided to make two versions one horizontally and one vertically.  Not sure which I like better maybe you can help me decide!!


For the vertical card I used a green slimline base and for the horizontal card I used a white slimline base.  For both versions I used the Hills Slimline die for the snow which is cut out of glitter paper.  For the top card after I glued the hills to a piece of white card stock (only glue down the very bottom of the hills so I could tuck in the Ho Ho Ho). I ran it through my die cutting machine using the Scallop Stitched Rectangle Slimline. For the bottom I just glued the layers directly to the card base and added some DP for sky.

After I got the base done I cut out 2 of each of the reindeer, penguin and Santa shaded them with inks and glued them together.  I also cut out 6 of the holly and lettering using the Ho Ho Friends die
I added the holly to the letter H and tucked them into the snow.  Next I added the characters to the letter O and tucked them into the snow.  The last step is to add glossy accents to the holly berries, penguin beck and reindeer nose stamp the sentiment and glue to card and it is complete

CottageCutz Products


Thanks so much for stopping by for our Throw Back Tuesday.  I hope I was able to jump start your Christmas card ideas!
Blessings
Pam