Saturday, February 13, 2021

Safari Birthday

Hello Scrapping Cottage friends! Thanks for taking the time to stop and visit with us today. It's Mary Marsh here bringing you the Saturday edition of the Blog.

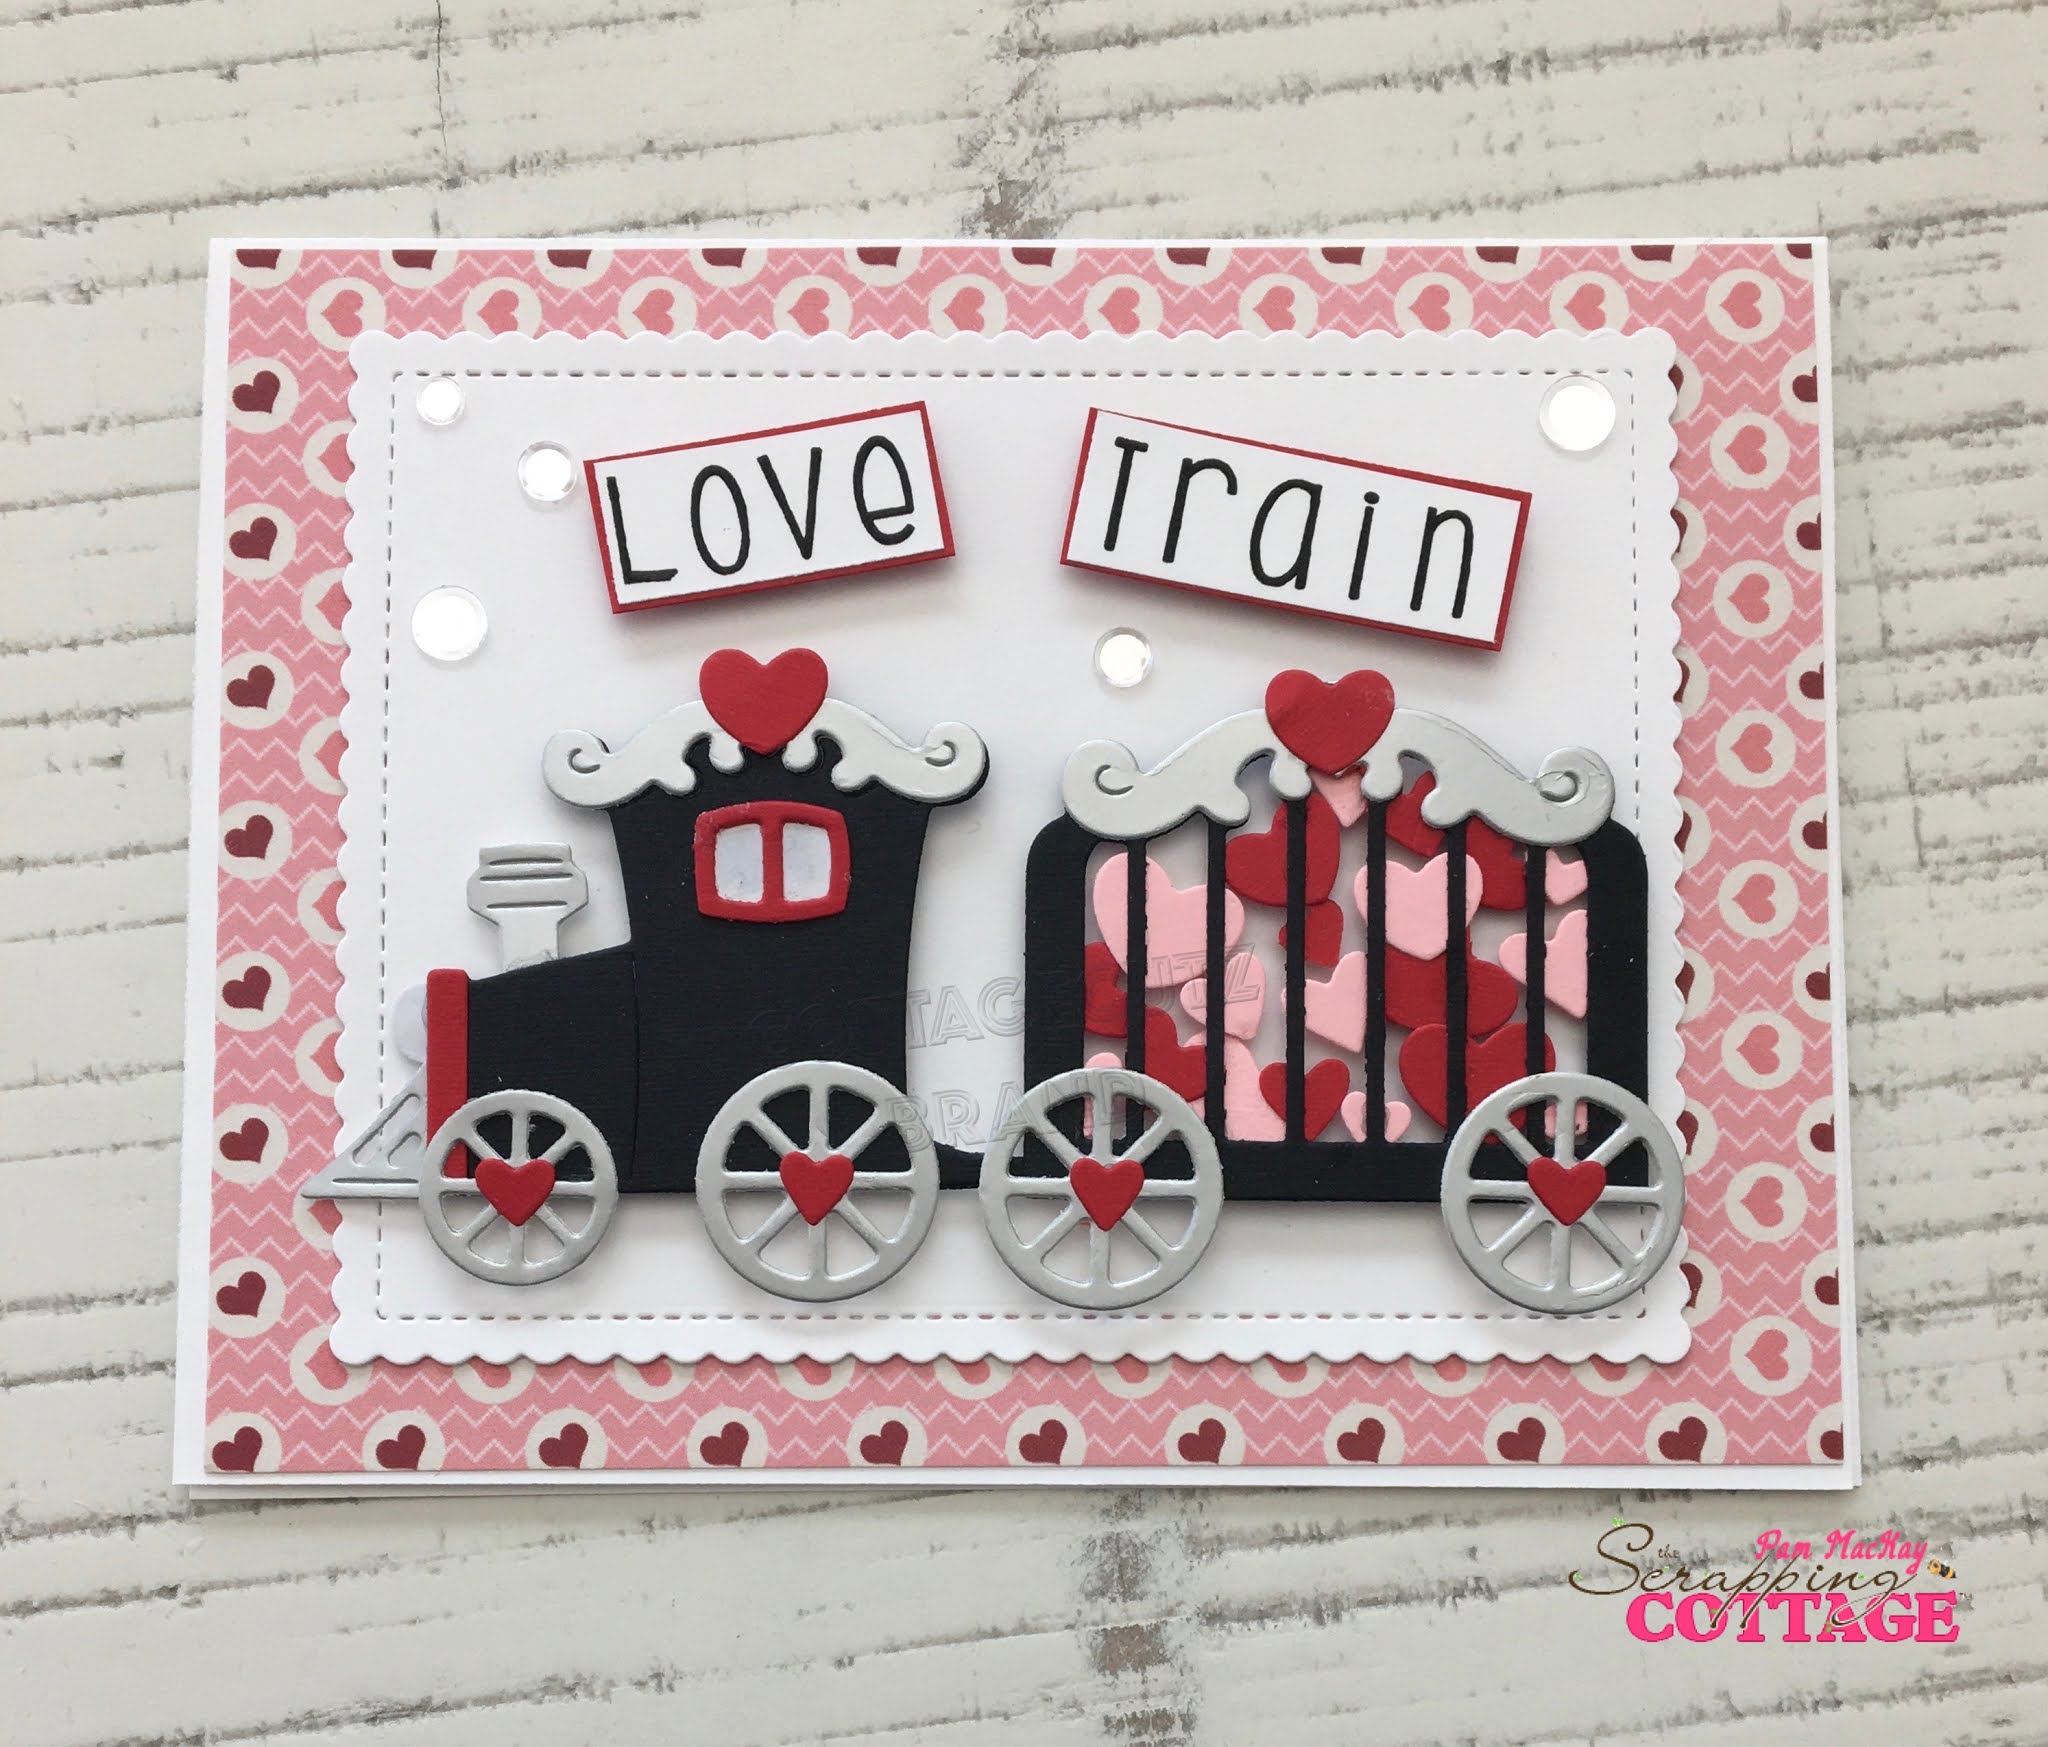
We have a brand new release of dies in the online store. It's our Circus release with 16 new designs. They are currently on sale at 25% off individual dies. The Safari release dies are also on sale at 25% off individual dies. This was our Black Friday release.

The Circus & Safari dies are so cute for Birthday, Valentine, Thinking of You or even Father's Day cards. Just let your creativity soar. The DT has been showing some great ideas & techniques for ways to use these dies. So if you missed any check back on the Blog. 

Today for your viewing pleasure I am featuring the Safari Zebra, Safari Hippo and the Safari Monkey dies and I created a whimsical birthday card. This would work for either a young boy or an adult man. 

So let's get started with some details on how I created my card.

Design Steps:
I started with the colors this week. Our own Jeanne was the hostess for the Splitcoaststampers color challenge #830. She chose blueberry bushel, honey bee and bermuda bay for her color trio.  
The colors had me stumped for a bit and then I decided to stencil a confetti like background using the 3 colors. I used distress inks for my stencil work. 
This is the finished work. 

Next, I cut my Safari images in the neutral shades of white, black, brown and gray. For the vine that is part of the monkey die I used bermuda bay cardstock. 

I stamped my birthday sentiment on a flag banner. Just so the animals would have something to stand on. 
Now I am ready to start card assembly. I attached the stenciled panel to the card base with double sided adhesive. 
I attached the flag with double sided tape. The Safari animals are all attached with dimensional adhesive. I decided to give the monkey a little balloon to hold onto. The balloon is from the 2019 Ballerina Mouse die set. I stamped the hb2u phrase. 

Well, that's it for me for this week. I hope that we are showing you that even though the dies are named Safari or Circus they are so easy to convert to any type card. Like the one I have created here today. See you next Saturday!

dies I used to create card:


Friday, February 12, 2021

Big Top Birthday

Happy Friday!  It's Jeanne sharing today and I have a fun-fold birthday card using dies from the new Circus release.  This release has quickly become one of my favorites because the dies make such bright, festive cards.  The card I have today is an easy fun-fold and goes together quickly.

I used the Circus Tent die but any of the Circus dies would work just as well.  I picked three bright colors to use for the card - yellow, blue and red.

 I cut all my pieces from the Circus Tent, Circus Signs, Stitched Ovals and Scalloped Stitched Ovals dies and assembled them.

The fun-fold is called a Front Flap card.  I'll give you instructions here, but you can also find a video on Splitcoaststampers.

I cut a 5 1/2 x 4 1/4 inch base panel from blue and a 5 1/4 x 4 inch panel from striped paper.  Then I cut a 3 1/4 x 8 1/2 inch panel from red cardstock and scored it at 4 1/4 inches so I could fold it in half.  I cut a 3 x 4 inch panel from red dot paper that will be glued to the front of the folded panel.

After gluing the blue paper to the card base, I glued the red folded panel to the card about 1/2 inch from the left.  (Because I used striped paper I just aligned it with a stripe.)  Then I adhered my dotted panel to the flap.

Next I glued  my white oval to the yellow scalloped oval and adhered it to the right side of the front flap.

I had a fun sentiment that I stamped on a 3 x 4 inch piece of white cardstock and glued it to the inside of the front flap.

Finally I adhered my sign and tent.  This front-flap card is very easy to make and really showcases your image.  It's one of those cards that looks like it takes a lot of time and effort, but really doesn't.  For me that is about perfect!

Be sure to visit the online store where this fantastic release is on sale for a limited time!

Dies used:


Thanks for stopping by today! I hope you have a fun and creative weekend!


Thursday, February 11, 2021

Love Train

 Hi To All My Crafty Friends!

It is Pam sharing with you on the blog today.

I don't know if you all are old enough to remember the song Love Train By the O'Jays.  It was an R&B hit back in 1972!  Now I am really dating myself! Anyway it is now playing in my head and that was the inpiration for this fun Valentine card.


Design Steps:

1.  Using the Circus Train die cut out the pieces on silver, white and black card stock. The little window and headlight I cut in white then colored with an C1 copic marker.  Next use the Be My Valentine Puppy die and cut out the pink and red hearts several times.  Turn the cage car over and glue down the hearts, add hearts to the wheels and car tops as shown
2.  For the base use a white A2 card, heart DP 4 x 5 1/4 and cut a white retangle using the second from the largest Stitched Scallop Rectangle die
3.  Glue the heart paper to the white card base then center and glue down the rectangle
4.  Pop up the train using dimensional dots or tape
5.  Add the sentiment layered on red card stock and finally add the sequins

6.  I decided to decorate the inside with some leftover paper and a little pink heart and your card is complete

CottageCutz Products


I hope you enjoyed this little trip back in time and I will see you next Thursday!  Remember to check out all of the wonderful dies in our online store HERE!

Blessing and Take Care
Pam


Wednesday, February 10, 2021

Love You Bunches!

Hello!  This is Sukie and today I have a sweet Valentine's card to share for my design team day.  I'm having a blast showcasing the latest Circus die sets which are perfect for almost every occasion! 

When I saw this adorable Juggling Monkey die set I couldn't wait to create a whimsical card with him.  I used basic card stock for all of my die cut pieces.  I also cut out a tiny heart from the Stitched Heart Set in some red card stock.
I found this patterned card stock in my stash and thought it would be perfect for a Valentine's Day card with a bit of a masculine look.  I hand cut out 3 different banners for my card.
I stamped a fun sentiment onto the large banner and affixed it in the center of my card base.
Next, the juggling monkey was placed in the empty space on the right side of the banner with his tail slightly over the sentiment.
The bananas were randomly adhered above the monkey's head as if he were juggling them in the air.
To finish off my card, I layered the smaller hand cut banners in the corner and added the heart on top.
Here are the die sets that I used on my card, available in the store:

Monday, February 08, 2021

Love U

Hi!

It's Anja here again today. I made another Valentine's Day card for today's post. It's a simple and clean card with bright yellow car. 

For this car used: 

- Cottage Cutz dies (Safari Peekers, Forest Peekers Beaver & Dog, Ballerina Mouse),

- Distress Inks,

- white card base (15x15 cm),

- white card stock for die cuts,

- silver pigment ink,

- black pigment ink,

- sentiment stamp,

- acrylic block,

- black pen,

- white pen,

- brush,

- adhesive foam pads,

- paper glue. 

First I cut and colored all the pieces. Next I glued the dog and the balloon to the car. Then I colored the background. I colored with a brush directly on the card base. Next I added the sentiment. Again I stamped it directly on the card base. And last I added the car. This time I used adhesive foam pads to add some dimension to the card. 


 That's my short post for today. Have a nice week and see you again on Sunday. 

Anja Z. 


Cottage Cutz dies I used for this card: