Thursday, April 23, 2020

New Release!! Gardening Mouse!

Hello Scrapping Cottage Friends!

It is Pam sharing with you on the blog this fine Thursday!

It is new release time again!  This collection is so fantastic for spring through summer and especially wonderful for those who love to garden.  Check it out in the online store because right now it is being featured with a FABULOUS discount!!

I am using the Gardening Mouse and it is just the cutest mouse ever!!


Design Steps:
 1.  Cut out all of the pieces using the Gardening Mouse die.  The colors of card stock I used where gray, brown, pink, green and metallic silver
 2.  Shade the pieces with a variety of inks and then assemble using a fine tip glue
 3.  Use a white A2 card base, cut a piece of light orange slightly smaller then the card base, and a piece of DP 4 x 5 1/4.  Using the Victorian Fence die cut out a white fence.  Using the second from the largest Pierced Rectangle die cut out a red rectangle and then layer it onto light orange card stock

4.  Glue the orange to the card base and then glue down the DP

 4.  Glue the garden base to the bottom of the red rectangle leaving the top of the garden base unglued so you can then slip the white fence behind it

5.  Pop up the mouse into the garden and then pop up the little shovel.  Add the sentiment and your card is complete
CottageCutz Products


Thanks for stopping by!  Please check out this new release it is so adorable and has so many uses!  Plus it is on sale now!!

Blessings
Pam

Wednesday, April 22, 2020

New Die Release - Meow are You?

Hello!  This is Sukie and I have a sweet card to share for my design team post.  There's a brand new die release with 19 new dies as part of the Gardening Bundle which are currently on sale!
I used the Garden Cat w/Wagon and the Gardening Hat & Gloves at the focal point of my card.  I also inked up a die cut circle from the Double Stitched Oval Set.  The yellow gingham paper is from my stash and provides a cheery background for my card.
I used a combination of inks and card stock for my die cut pieces.  I found the perfect sentiment in my stamp collection from the Scrappy Moms (retired) Party Animals stamp set.
I created my card by layering the oval on top of the gingham card base.  The Garden Cat w/Wagon was nestled inside the oval.
The Gardening Hat was added as an embellishment.  The sentiment strip was snipped off into a flag and adhered as the finishing accent on my card.
Here are the dies used on my card, available in the store:


Tuesday, April 21, 2020

Sweet little baby

Hi Janja here. Welcome to the blog.
For today’s post, I made two newborn baby cards.


- CottageCutz dies: Bear On Cloud and Moon, Stitched Sewing Notions (buttons)
- card blank: 4 1/4 x 5 1/2" (10,8 x 14 cm), folded
- white cardstock: 3 x 5 1/2" (7,6 x 14 cm)
- patterned papers
- white and brown cardstock
- embossing folder - dots
- glue, double-sided adhesive tape, self-adhesive foam pads

Cut out both small bears and put all the pieces together with a glue.


Trim two white cardstock. Use the embossed dots folder to add some texture.


Then trim the selected patterned paper to the size of the card bases. Attach backgrounds to the front of the cards.


Cut two buttons out of patterned paper. Stamp the sentiment on the white strips.


Now we have everything ready to complete the cards.


We have a new Gardening release of dies in the online store. All new designs are discounted for a limited time!

Thank you for stopping by.
Janja

Sunday, April 19, 2020

Hello Tags

Hi!

It's Anja here. For today's post I made cute little hello tags. I used different "bugs" dies to make a trio of Spring tags.


For this project I used:
- Cottage Cutz dies (Busy Bee, Doodle Bugs, Mail Tag Set, Dogwood Branch),
- patterned, colored (black, red, yellow, green, turquoise) and white card stock for die cuts, 
- black pen,
- Wink of Stella glitter brush,
- liquid pearls (black and yellow),
- pieces of ribbon,
- embossing mat,
- embossing tool,
- paper glue.

First I cut the tags. I used white cardstock for smaller tags and patterned card stock for bigger tags.


Next I cut hello phrases and the bugs.


I used black pen for the eyes and glitter brush for the wings to add more interest.


Then I cut the branches and the flowers. I cut two bigger and two smaller flowers of each color.


Then I embossed the leaves and the flowers using the embossing tool and mat.


When I had all the pieces ready I assembled the tags together. When flowers were on its place, I added a bit of liquid pearls in the center of each flower. I let it dry.


When the tags were finished I just added the ribbon. I used two types of ribbon for each tag.


Before I go, I just want to invite you to the store to check out all the new dies from the Gardening release. Can't wait to start using them.

Have a nice Sunday and see you again next week.

Anja Z.


Cottage Cutz dies I used:


Saturday, April 18, 2020

Garden Wheelbarrow (new die)

Hello Scrapping Cottage friends! Thanks for taking the time to stop and visit with us today. It's Mary Marsh here bringing you the Saturday edition of the Blog. Hope you are doing ok in the midst of the pandemic. It's a great time to make some cards. I find it so relaxing being able to create and have my mind off all that's going on. 

We have a brand new release of dies in the online store. This one is garden themed and has 19 new designs. For a limited time, each individual die is 25% off or you can get the entire bundle for only $99. That's 69% off the retail price of each die. These new dies are perfect for birthdays, Mother's Day, Father's Day or even a thinking of you card for the person who loves to garden.

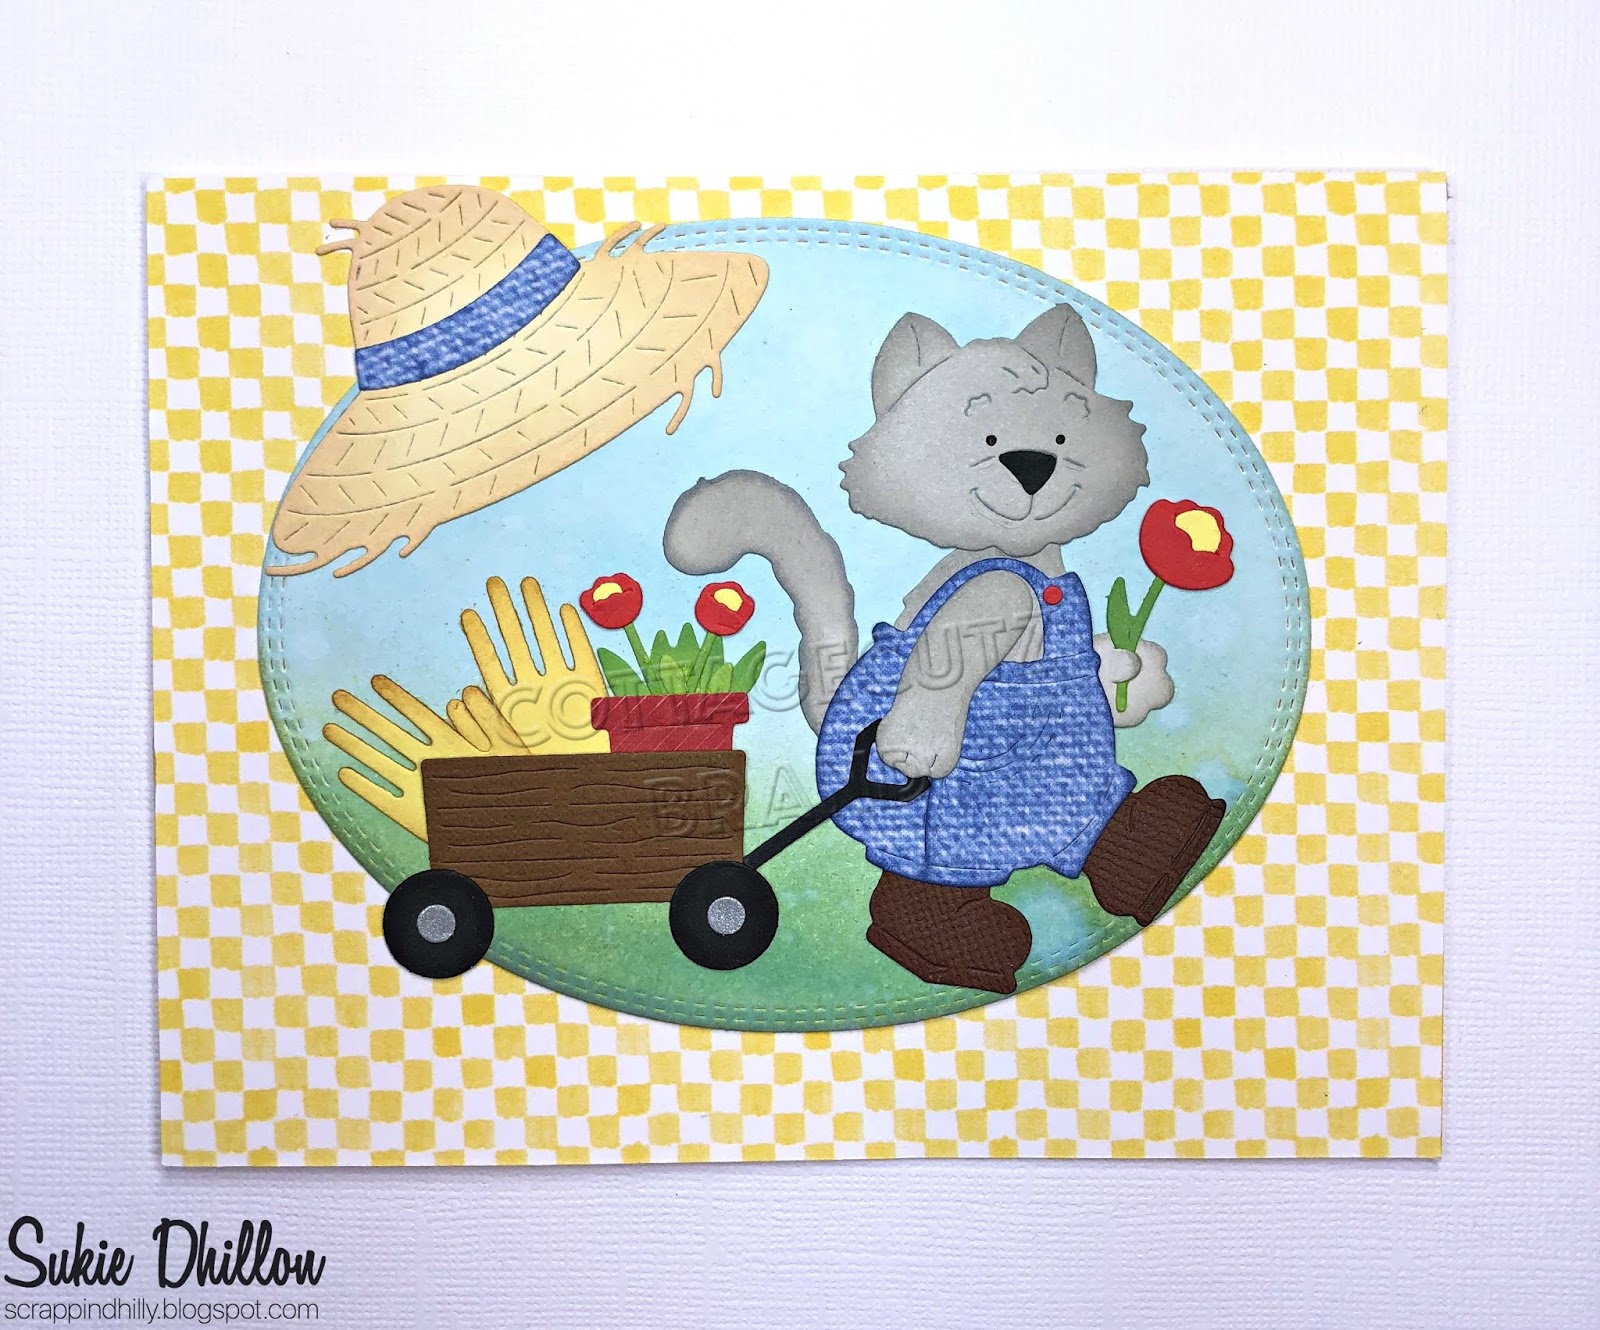
For my card today, I am featuring the new Garden Wheelbarrow  and the Garden Phrases dies. So let's get started with some details on how I created my card.

Design Steps:

This was a work in progress for me this week. I had a basic idea of what I wanted to do, but I would have to lay it all out to see how it would look. I started by cutting the wheelbarrow and flowers. I used various colors of cardstock for the die elements. You could also use white cardstock and color with your choice of medium. Either way will produce a beautiful image.
Next, I cut a phrase from the Garden Phrases die. I couldn't decide which one to use but eventually settled on the Live life in full bloom phrase. But any of the three would have worked for my card. I am going to use this as a birthday card with the birthday sentiment on the inside.
I wanted the wheelbarrow and phrase to have a fence as the backdrop. I first used an embossing folder but I didn't like that look. So I pulled out this stamp and used it to stamp my fence background. I used a light gray cardstock (smoky slate) and the matching ink. 

I didn't like the look of the fence without a bottom border of grass. So I cut a grass layer using the Spring Grass die.  It gave a more finished look to my fence.
Now that everything is cut, I can start the card assembly. I attached the wheelbarrow first using dimensional adhesive. I lifted it off the fence background slightly.
Next up, I attached the phrase using Ranger multi matte adhesive. I cut it 2x to give the phrase a bit more dimension. That's just my preference, because it looked ok with just a single cut.
To finish off my card, I attached the image panel to the red (lovely lipstick) card base. I also scattered a few lovely lipstick enamel dots.

Well that's it for me for this post. Our DT will be posting additional samples next week with these new beautiful dies. I will see you next Saturday.

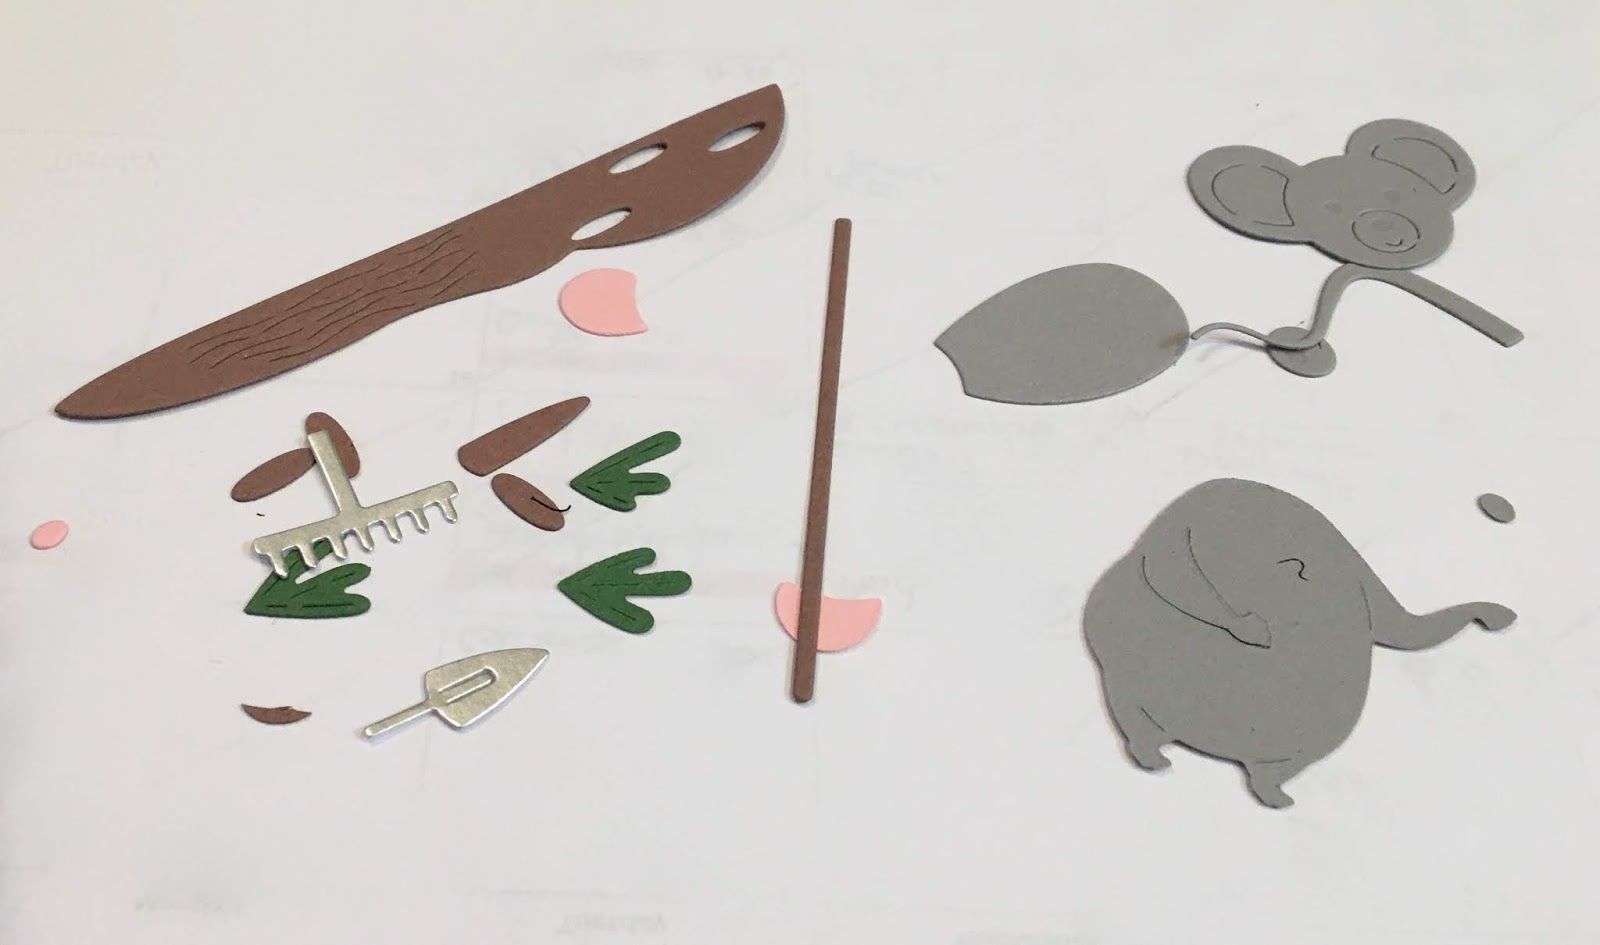
dies I used to create card: