Thursday, December 12, 2019

Polar Bear Fishing

Hi Everyone!

We are less then 2 weeks from Christmas and I am finishing up a few more cards.  I have mailed most of my cards out because they go cross country!!  As soon as I finish up a few things we pack up and head up to Ohio for Christmas.  We spend most of our Christmases there because my brother and sister still live in my home state.  I have one other sister who lives in New York and I am hoping she will make it down to Ohio for our celebration!

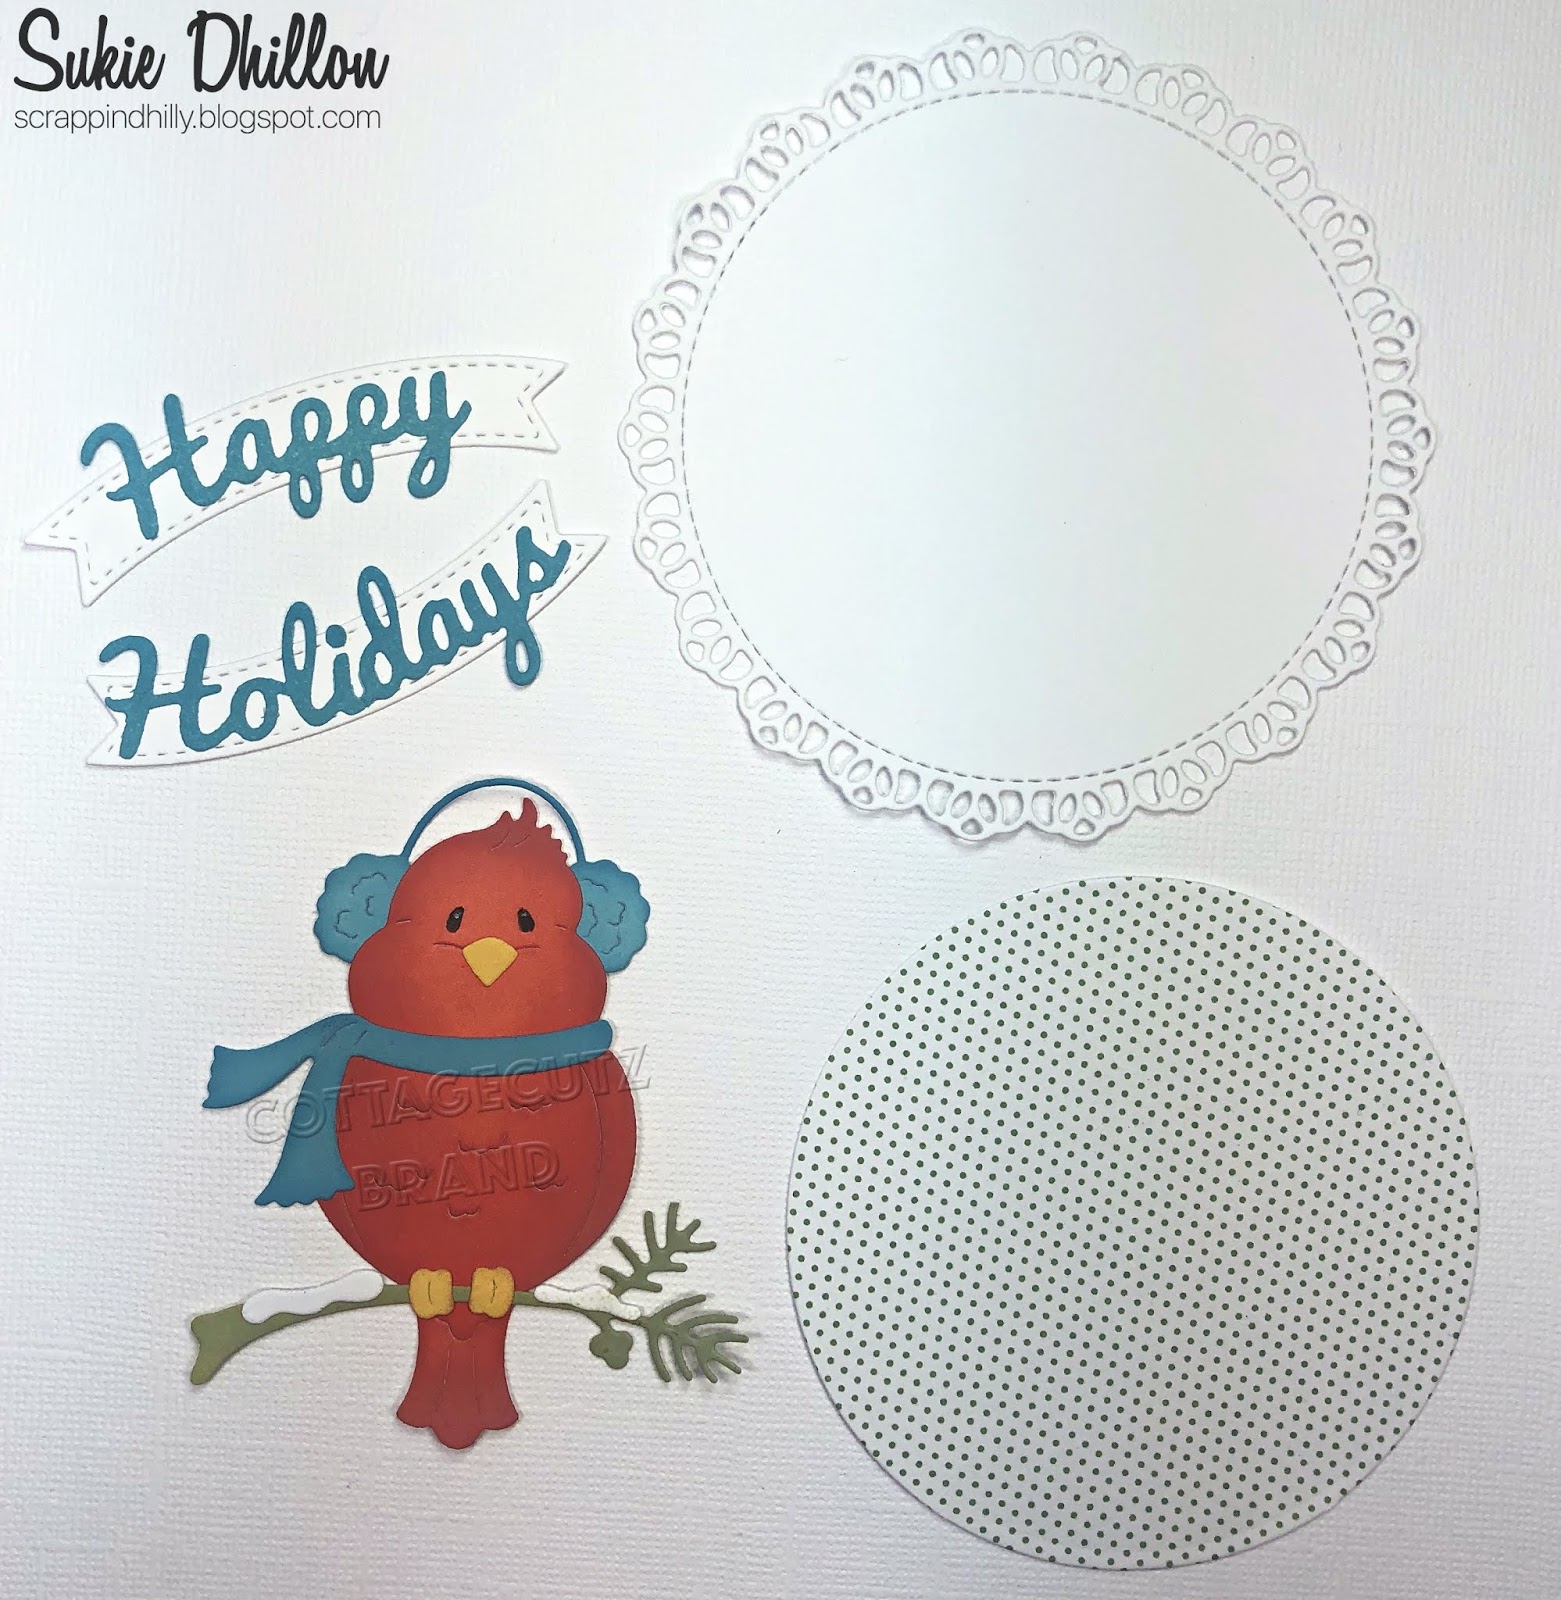
Today,  I am continuing to use our little critters from the Arctic Animals release.  They can be used in so many different ways.
Design Steps:

 1.  Cut all of the pieces out of white card stock using Polar Bear Fishing die
2.  Color the pieces using your favorite markers.  I used my Copics
3.  Assemble the pieces using a fine tip quick dry glue such as Combo
4.  Place dimension square on the back or you can use dimension tape also
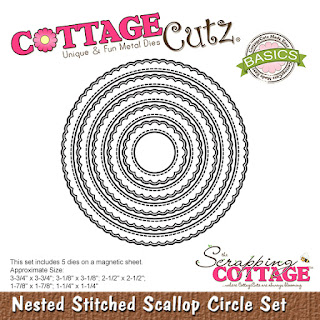
5.  Using the Nested Stitched Scallop Rectangle die (the largest one) cut out a piece of glitter blue card stock and a piece of water DP 3 x 4

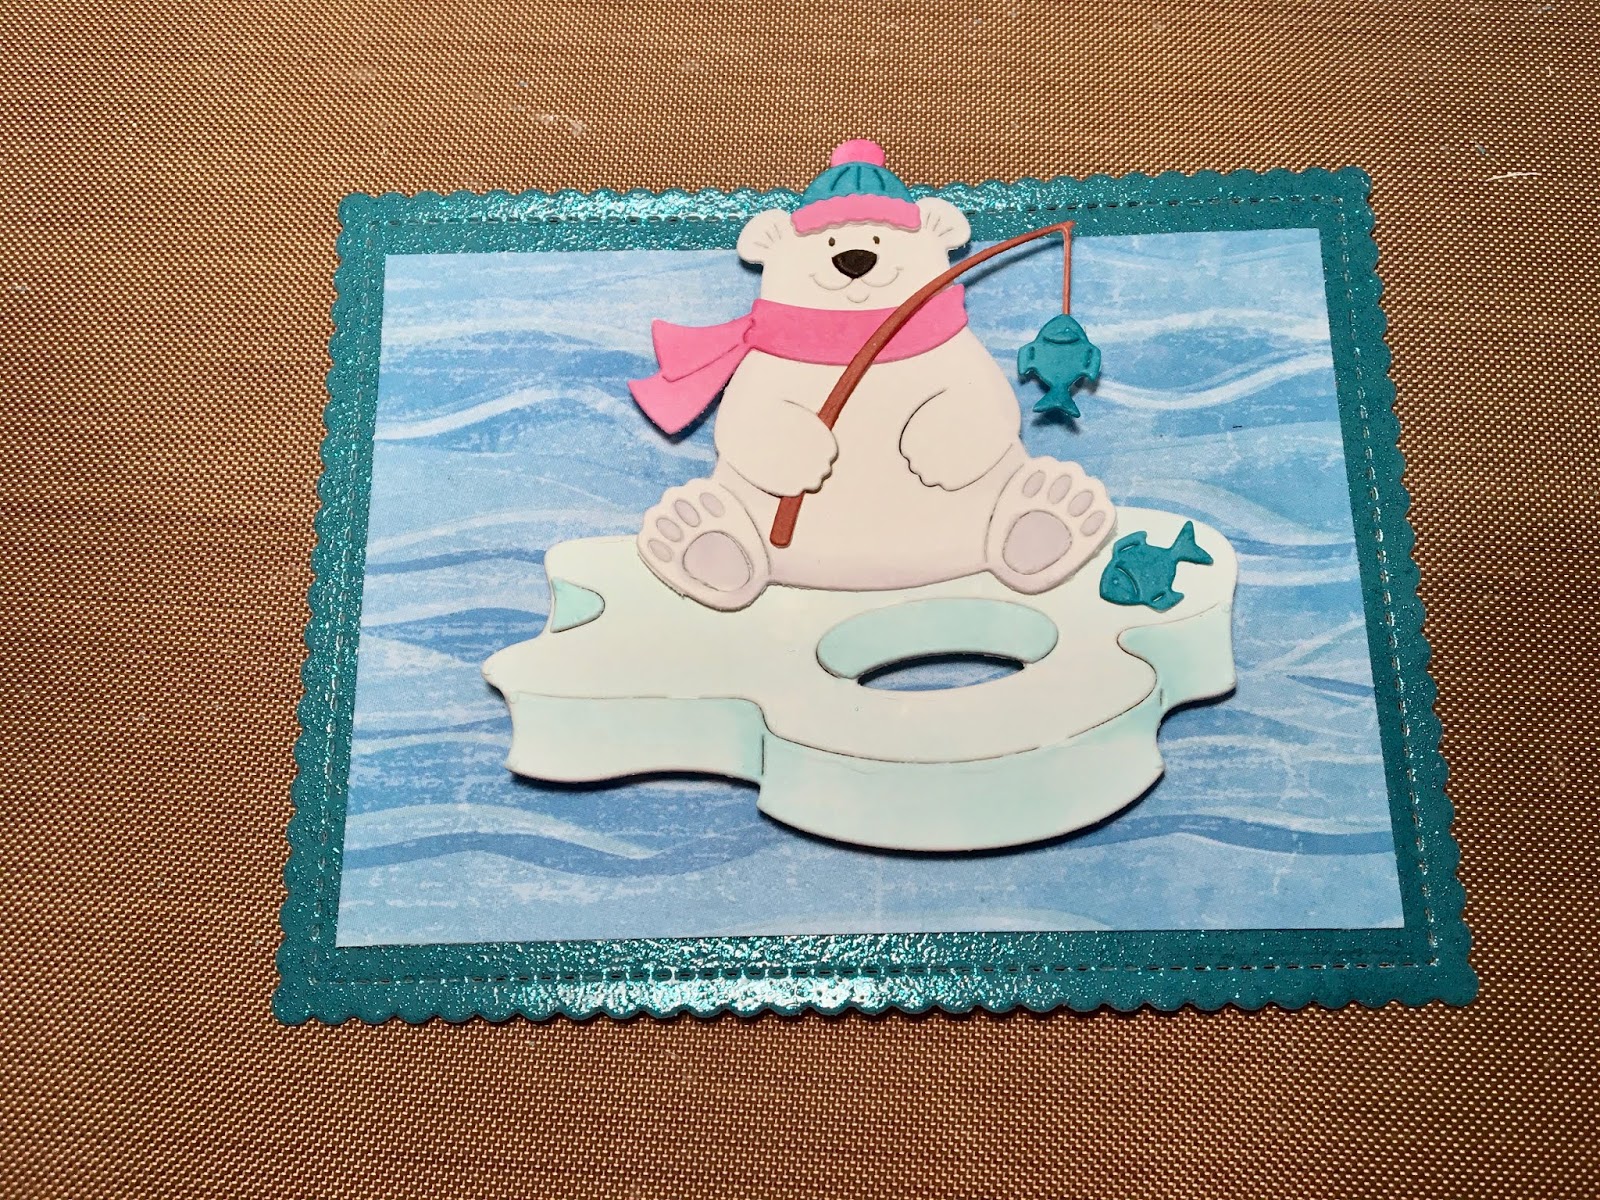
6.  Glue the water DP to the glitter rectangle and then pop on the fishing polar bear
7.  For the base use a white A2 piece of heavy card stock and cut a piece of snowy DP just slightly smaller then the base.  Add the scalloped rectangle with the polar bear plus your sentiment and your card is complete
CottageCutz Products


I hope you are enjoying the days before Christmas and not letting it get to stressful.  Remember crafting is a wonderful way to relax!!

Blessings
Pam

Wednesday, December 11, 2019

Happy Holidays

Hello!  This is Sukie and today I'm sharing this adorable Christmas card.  This sweet bird sitting on the snowy branch is the cutest!
The cardinal is from the Jolly Cardinal die set and inked with my Oxide Inks.  I cut out a circle from the Circle Set and a doily from the Nested Stitched Doily Set.  The sentiment is from the Happy Holidays die set which was adhered on a flag from the Retro Tag Toppers die set.
I went with a Christmas plaid background for my card base and layered in with the doily and circle cuts.
The cardinal was centered inside the layered doily.  I placed the first sentiment flag directly above the doily.
The second flag was added to the bottom edge of my card finishing off the curved sentiment design.
Here are the dies used on my card, available in the store:

Tuesday, December 10, 2019

Adventure Awaits

Hi! Janja is here today with a card for all adventure travel lovers.


- CottageCutz dies: Arctic Whale & Narwhal, Snowy Mountains, Seal & Walrus Pals, Camping Phrases, Woodland Pine Trees
- white card blank: 5.5 x 5.5" (14 x 14 cm), folded
- light blue paper: 2.2 x 5.3" (5,6 x 13,5 cm)
- blue paper: 3.4 x 5.3" (8,6 x 13,5 cm)
- colored cardstock
- colored pads
- glue, double-sided adhesive tape, self-adhesive foam pads

First, start making a card by cutting out all of its elements.
I cut all my pieces out of colored cardstock. You can also use white cardstock, and color all the pieces with any color media.


For both islands I used floating ice sheets and for different conifers only their upper parts.


Use colored paper in two shades of blue for the sky and the sea.
Cut the mountains from white cardstock. Use them as a stencil to shade the sky behind the mountains. Now paste the mountains to the shaded spot.
Shade a part of the sea with a bit darker ink pad.


Paste both papers with a double-sided adhesive tape to get a 5.3 x 5.3 inches (13.5 x 13.5 cm) background.
Cut or tear off a strip from the same paper as the sea.
Paste a white "Adventure" cutout on the right.


Paste the forest to both islands and all together on the background. Paste the Arctic Whale on the back of the strip.
Finish the card by attaching the strip to the bottom edge with foam self-adhesive pads.


Have a nice day.
Janja


Sunday, December 08, 2019

Husky With Presents

Hi!

It's Anja here. I used another adorable die for today's project. You can combine this cute husky with all kinds of dies. I used the presents from one of the older releases.


For this card I used:
- Cottage Cutz dies (Husky w/ Sled, Holiday Reindeer),
- Distress Inks,
- craft card base (13x18 cm),
- white card stock for die cuts and background (7x17 cm),
- craft cardstock for background (8x17 cm),
- patterned paper (12x17 cm),
- black pen,
- white pen,
- clouds plastic stencil,
- red ribbon,
- jingle bell charm,
- tape,
- paper glue.

First I cut and colored the husky and the presents.


Next I started on the background. I used craft card base and trimmed the patterned paper first.


Next I used a strip of white and craft cardstock.


I adhered both together and made the clouds using the plastic stencil and blue Distress Ink.


I adhered this piece on the patterned paper and made a bow using red ribbon and bell charm. I taped it with the tape on the other side.


When I had the background done, I glued it on the card base and added the husky. And my card was done.


That's all from me for today.

Have a nice day and see you again next week.

Anja Z.


Cottage Cutz dies I used for this project:


Saturday, December 07, 2019

Vintage Rudolf

Happy Friday Cottage Cutz fans!  It's Jeanne today with a card that reminds me of the style of Christmas cards around when I was a little girl.  This card is also quick to create and would be easy to make in multiples as we get down to the wire in the holiday cardmaking season!
I cut the reindeer from white and Crumb Cake cardstock using the Reindeer and Penguin die. 
I used Copic markers to color the hooves, nose and collar, and Distress oxide ink in Vintage Photo to shade the deer; then I assembled Rudolf.
 I cut a 5.5 x 4.25 inch panel from a vintage look paper and a circle from white cardstock using the largest of the Scalloped Stitched Circle die.
Using the same DO ink, I antiqued the edges of both and glued the circle in the center of the panel.
Next, I cut Merry Christmas in Real Red cardstock that I had backed with an adhesive sheet.
I assembled the pieces....
and adhered the panel to an A2 card base.  I added gold glitter dots as jingle bells on Rudolf's collar.  This card is quick to make for a fun vintage look.

Dies:
http://www.scrappingcottage.com/cottagecutzreindeerandpenguin.aspx
http://www.scrappingcottage.com/cottagecutznestedstitchedscallopcircleset.aspx
http://www.scrappingcottage.com/cottagecutzmerrychristmaswfriends.aspx

Thanks for stopping by today!  Be sure to stop by the online store to see all the latest dies!