Hi!
It's
Anja here. I made another card using new
Magical Fantasy Designs. I combined it with a few older dies and made a card for a little princess.
For this card I used:
- Cottage Cutz dies (
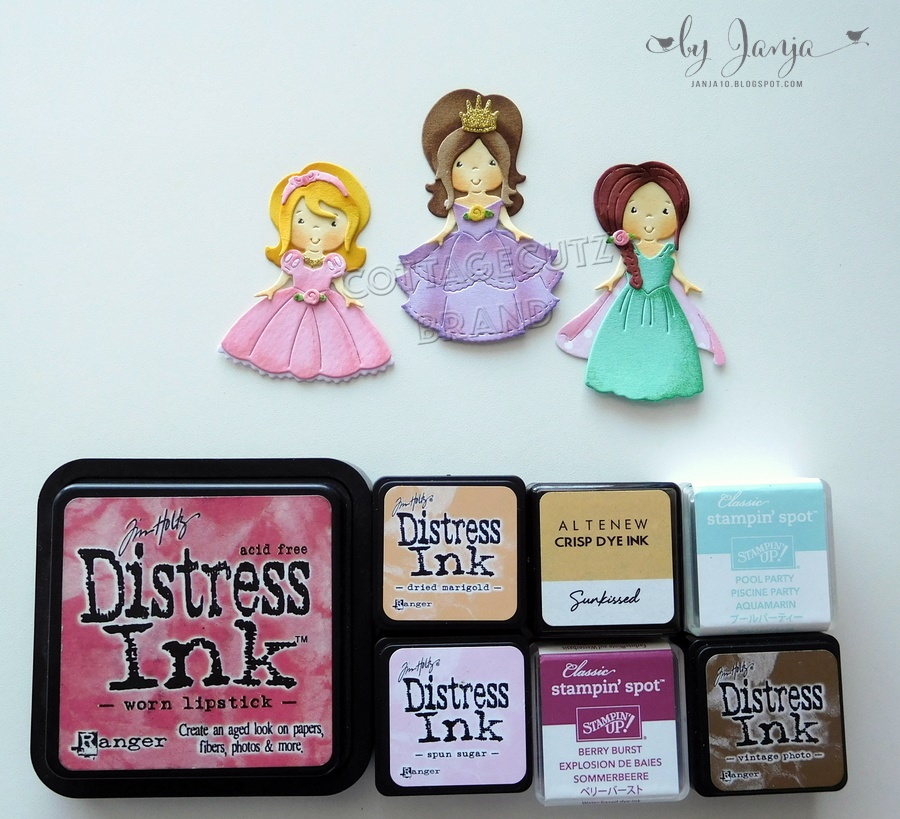
Little Princess & Roses,
Princess Dress-Up,
Springtime Window,
Ivy,
Dogwood Branch),
- Distress Inks (Pumice Stone, Vintage Photo, Mustard Seed, Spun Sugar, Peeled Paint, Worn Lipstick, Mowed Lawn, Tattered Rose, Shabby Shutters),
- white card base (21x10 cm),
- white card stock for die cuts and background,
- grey card stock for background,
- bricks embossing folder,
- white pigment ink,
- gold pigment ink,
- black pen,
- cutting knife,
- paper glue.
First I cut and colored the window.
Next I cut and colored the sentiment.
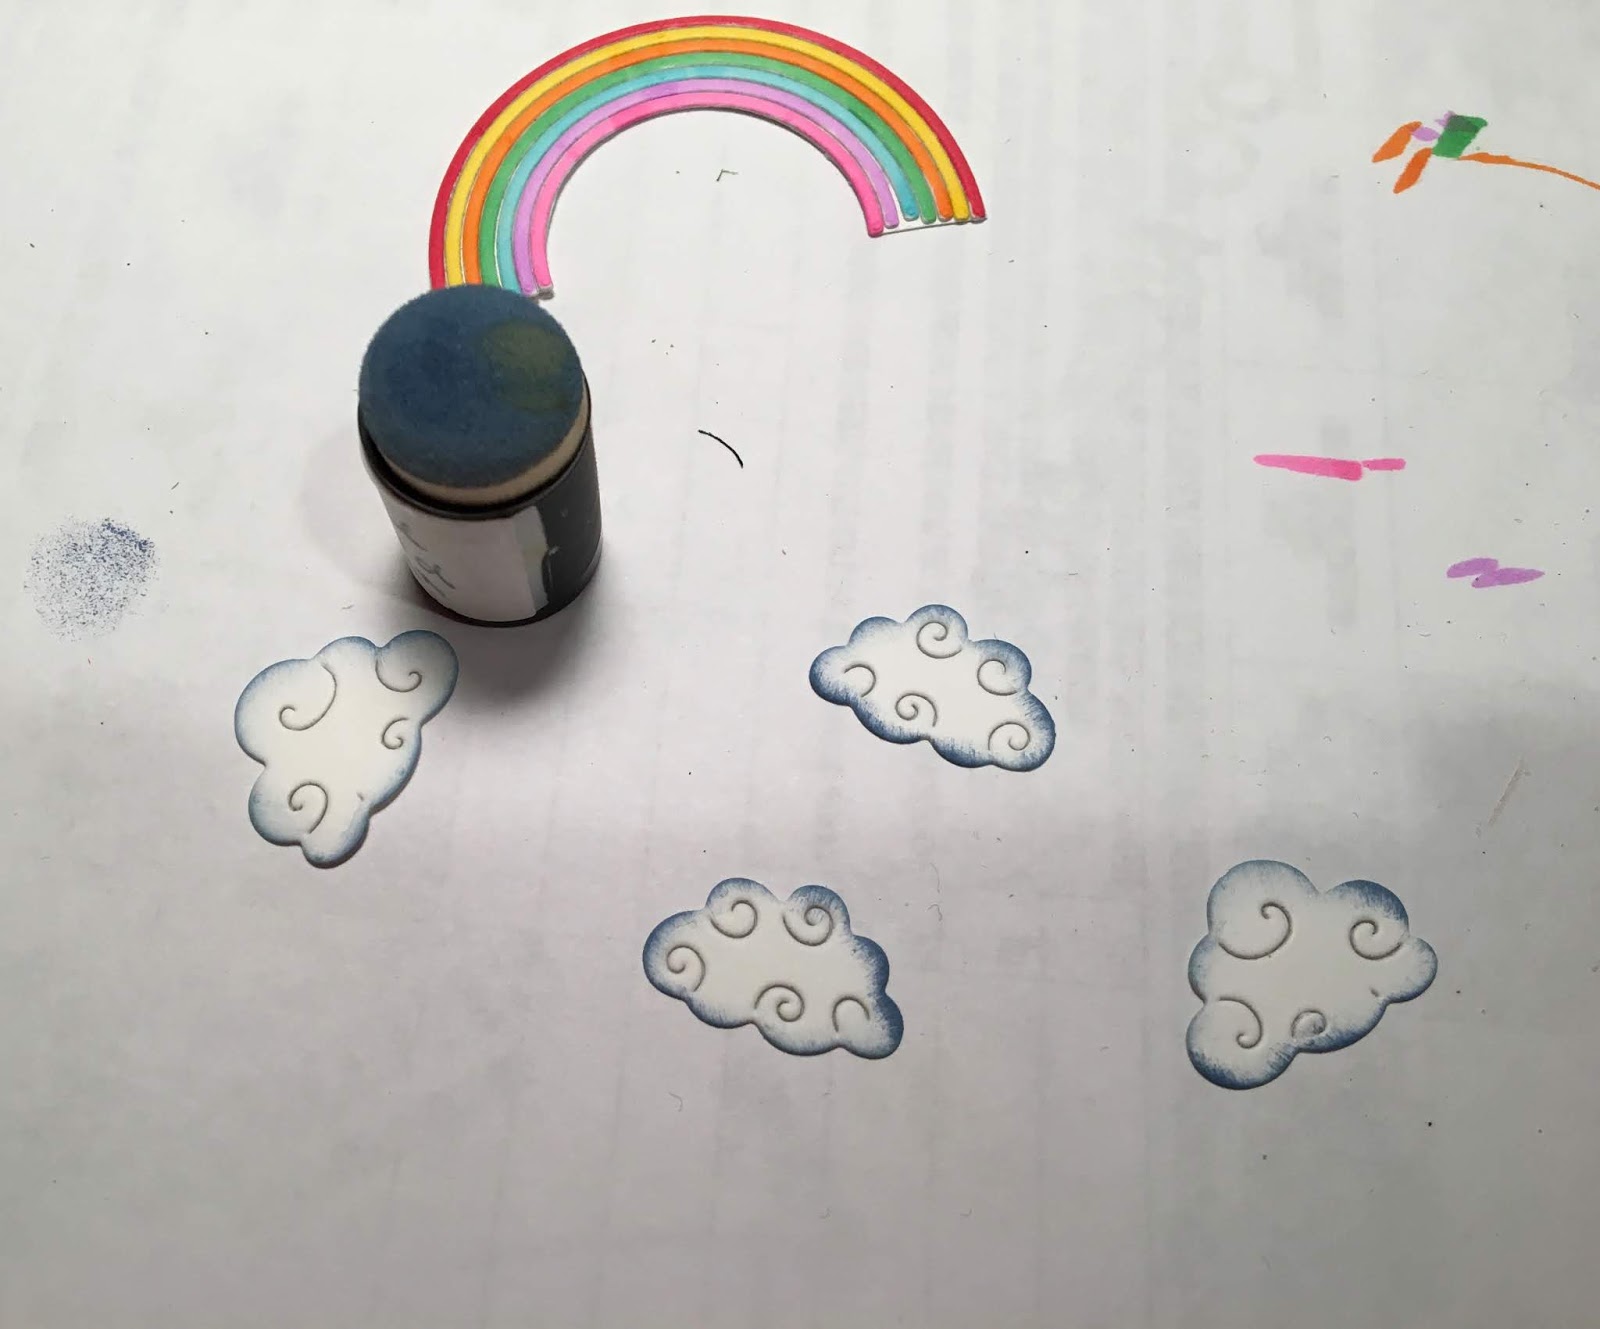
Then the flowers and the princess.
And last ivy leaves ...
... and two branches with flowers.
Next was the background. I cut and embossed two pieces of grey paper (10x3,5 cm). I used white pigment ink to color the bricks.
Next I cut and embossed white piece of paper (10x14 cm). I cut a square out of it using a cutting knife.
And when I had everything cut and colored I arranged all the pieces and glued it on the card base. And my card was made.
This is all from me for today.
Have a nice Sunday.
Anja Z.
Cottage Cutz dies I used: