Saturday, January 05, 2019

Birthday Sweater

Hello Scrapping Cottage friends! Thanks for taking the time to stop and visit with us today. It's Mary Marsh here bringing you the Saturday edition of the Blog. Happy New Year and welcome to my first Saturday blog post of 2019.

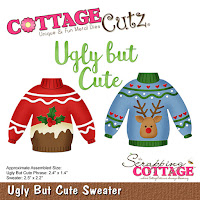
I am in need of some masculine birthday cards this month so that's my theme for this post. Since it's January and sweater weather I thought I would use the Ugly but Cute die for my card. It's part of our Christmas 3 collection but my card shows you a way to use it for other occasions. Helps you get more mileage out of your dies.

Let's get started with some details on how I created my card.
Step 1: The sketch #720 from Splitcoaststampers was a perfect layout for a masculine card. It's simple and I think that always makes for a great  male themed card.
I chose this designer paper from my stash. It has a variety of colors that will help me build my card. For the angled panel, I cut a piece of turquoise cardstock 4" x 5 1/8" and cut it at an angle. I did the same with my designer paper.
I wanted some texture on the turquoise panel so I embossed with an argyle embossing folder. 
I cut my sweater from cardstock to match the colors on the designer paper. Used a purple (rich razzleberry) and pumpkin cardstocks.
Step 2: Now that the card elements are cut, I can start my card assembly. I attached the angled panels to the white card base with double sided tape. 
I wanted a cover up where the 2 panels meet. I thought of ribbon or twine but eventually decided on just a strip of rich razzleberry cardstock. It's 1/2" wide and 4 1/4" long. It kept the masculine appeal of my layout.
White card Base: 4 1/4" x 5 1/2"

The sweater was attached with dimensional adhesive. I always like the look of the image being lifted just slightly off the image panel. 
Step 3:  To complete my card and add a sentiment, I used the Celebrate Phrase and cut in turquoise cardstock.
Well, that's it for me for this week. I hope I have given you an idea for another way to use this sweater die. See you next Saturday.

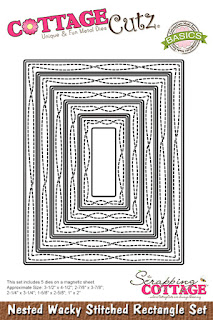
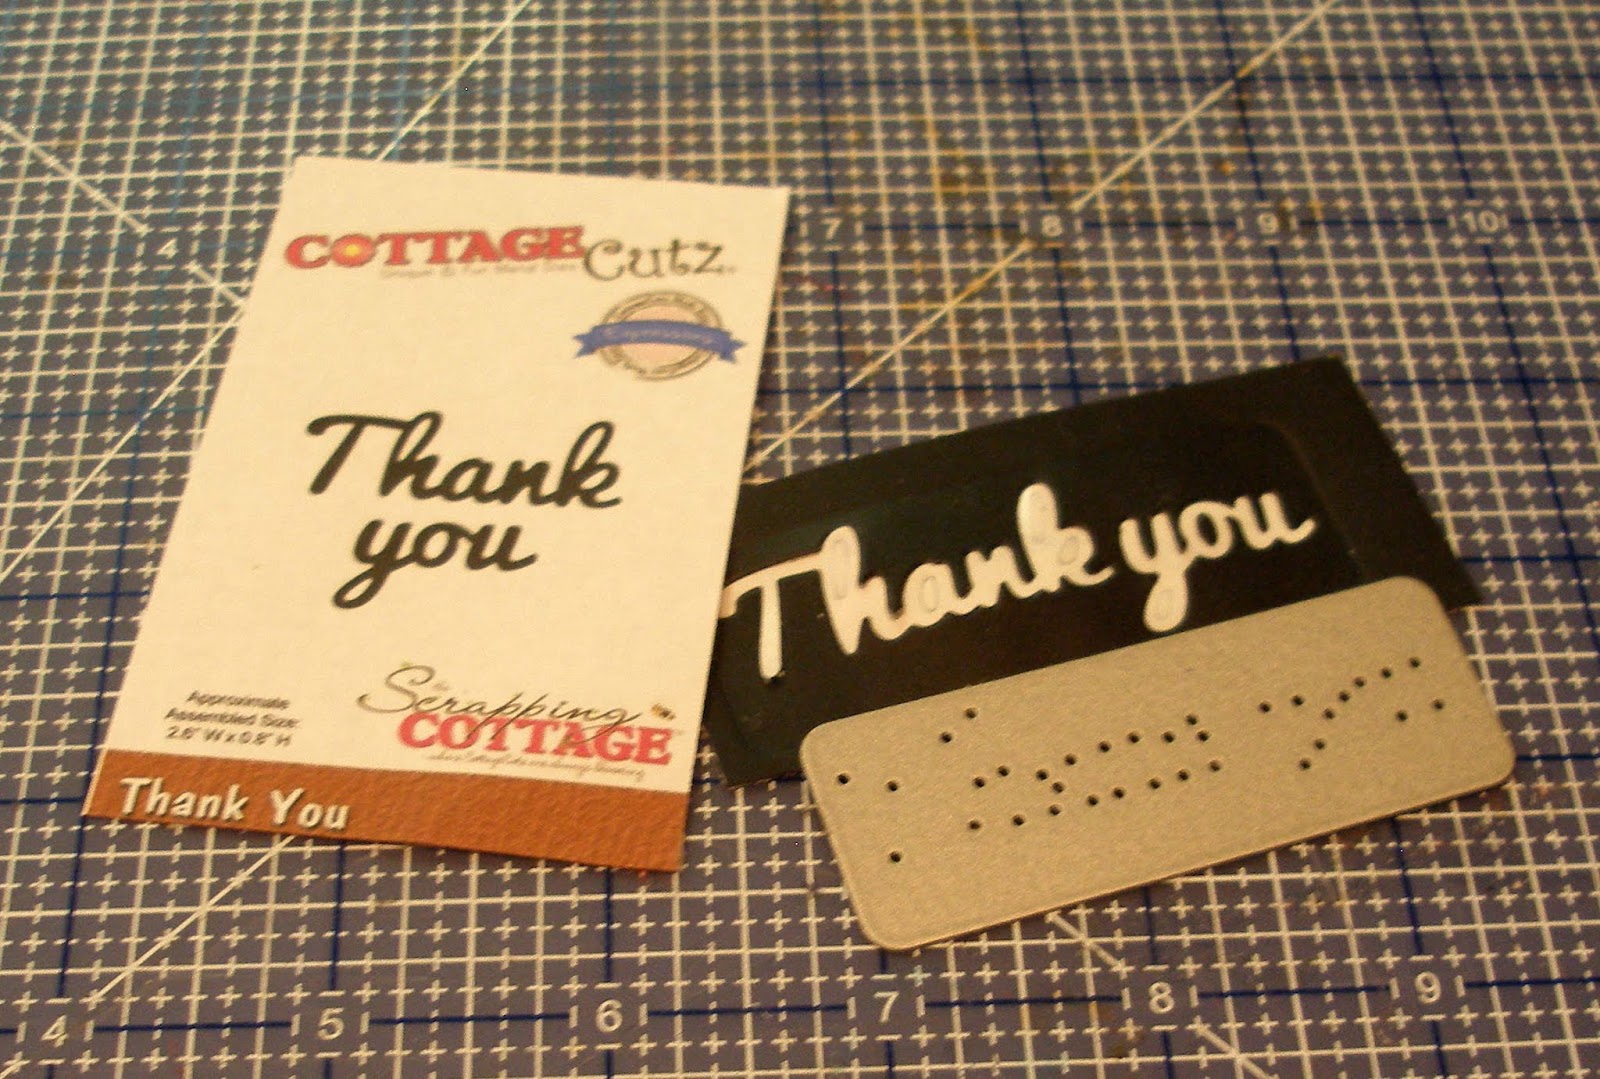
dies I used to create card: 
http://www.scrappingcottage.com/cottagecutzuglybutcutesweater.aspx

http://www.scrappingcottage.com/cottagecutzexpressionspluscelebratephrase.aspx


Friday, January 04, 2019

Woofing you a Happy Birthday

Happy Friday!  It's Jeanne posting today with a fun birthday card using a die from the Pets release.  This release is one of my favorites - probably because I'm a pet lover but also because all the dies are so cute!
This card is fast to make and can easily be adapted to fit the recipient.  I wrote FIDO on the dog house sign but you could print the name of the recipient's pet.  I also decided to keep the card relatively clean and simple so I resisted the urge to add shading with a sponge and some ink.  I think it would also look lovely shaded.
To start I cut all pieces from various colors of cardstock.  I chose the Bermuda Bay as my accent color because I decided to use a Bermuda Bay ribbon.  The rest are neutrals.
I cut an A2 top fold card base from Bermuda Bay and two panels - one 5 3/8 x 4 1/8 from white cardstock and one 5 1/4 x 4 from  patterned paper.  I used the second largest Wacky Stitched Rectangle to cut another white panel.  I stamped my sentiment on this panel.
I cut the ribbon to 30 inches - a bit too long, I could have used 20-24 inches but I sometimes have trouble with bows so I always err on the side of too much ribbon!  I glued my patterned paper to the white panel, wrapped the ribbon around it about one inch up from the bottom and tied the bow.  I placed the stitched panel on top to see how it looked.
The ribbon was a little high, but since it wasn't glued down I could nudge it down to about 3/4 inch from the bottom.  Then I used foam tape to adhere the stitched panel at an angle.
Finally I added all the other pieces, popping the puppy off the card using foam dots.

I hope you enjoyed my card today.   Don't forget, there is an after Christmas sale at the Scrapping Cottage but it ends tonight so be sure to visit the website today!
http://www.scrappingcottage.com/cottagecutzdoghousewpupandhydrant.aspx

http://www.scrappingcottage.com/cottagecutznestedwackystitchedrectangleset.aspx

Thanks for stopping by.  I hope you have a fun and creative weekend!


Thursday, January 03, 2019

Penguin Love!

Good Morning!

It is Pam on the blog with you today!

Happy 2019 to you! I hope your new year is filled with happiness, joy and lots of crafty fun!  And before I get to my project I wanted you to know we are having a fabulous sale in our store.  So make sure you check it out especially if you got some Christmas cash!  On to today's card I am continuing to make my Valentines.  I am using the Christmas release Hugging Penguins!

Designer Steps:
 1.  Cut out the penguin using the Hugging Penguins die.  I used black and white card stock for the penguin body and red for the heart which I cut out with Fancy Heart die
 2.  Color the feet and the beck with your favorite markers
 3.  Shade the white part of the bodies with grey markers.  Assemble the penguin and add a small black rhinestone for the eye
 4.  Use an A2 black card base cut a piece of DP slightly smaller then the card base.  Use the Pierced Rectangle Frame die to cut out the frame then edge with black
5.  Glue the frame to the DP add a ribbon and then glue to the card front.  Use the Mr. & Mrs. with Hearts die and cut out the small red hearts.  Stamp the large heart with I love you.  Pop up the penguins and heart then glue the smaller hearts to the corners of the frame
CottageCutz Products


Blessings
Pam


Wednesday, January 02, 2019

Fur You Card

Hello!  This is Sukie and today I'm sharing a card for my guest designer post.  This is the type of card which can be kept on hand for any occasion.  It's perfect for sending a note to the pet lover in your life.
Once I cut out the Cat & Dog Border, I used some white ink along the edges for a shadow affect. The Picket Fence Mini die set was used for the multiple fence and grass pieces.  I also cut out a basic circle with my Cricut Explore and sliced off a portion of it.
The bottom portion of the card was taped off to keep it a solid white. The night sky was created with a mixture of Oxide Ink colors and spritzed with some water.  I also inked the edges of the half circle to replicate a moon.
The next step was to splatter the background with some white paint for a starry night appearance.  I layered the moon, fence and grass on my card.  A sentiment from the Scrappy Moms (retired) "Little Critters" stamp set was stamped on a strip of polka dotted paper which was attached along the edge of the grass.  The patterned paper adds some interest to this simple card.
I popped up the Cat & Dog border on some foam pop dots for a bit of dimension and anchored it along the fence.
Here are the die sets I used on my card, available in the shop:

Monday, December 31, 2018

Thank You So Much!

Hi, Lois here with my regular Monday post.  Here it is -- the last day of 2018!  Be sure to check the After-Christmas sale in the Scrapping Cottage store.   You can save up to 80% on CottageCutz dies.
  
Before I share my card with you, I must tell you that this is my last card for the CottageCutz design team.  I have so enjoyed these last several years on this team and working with some very talented people.  My card today is two-fold.  First, of course, it is my weekly post; but secondly (and maybe most importantly) it is to say thank you to Joanne and Mary for their support.  And now, my card!

After Christmas we all have a need for Thank You cards, and that's what I have for you today.  I used a really cute CottageCutz die -- Hugging Penguins.


I started my card by cutting the die pieces from white cardstock.


Using the packaging for inspiration, I colored the pieces with my Copic markers and constructed the penguins.


I then cut the pieces for my card base:

White - 8 1/2" x 5 1/2", scored at 4 1/4" and folded in half
Red - using the largest die in the Cross-Stitched Rectangle Set
Cream - using the 2nd largest die in the Cross-Stitched Rectangle Set


After shading a line for placement of the die-cuts on the cream panel, I constructed my card base.  This shaded line will "anchor" the penguins.


I cut the "thank you" sentiment from a scrap of adhesive-backed black cardstock.


I then added the die-cuts to my card, and it was finished.


CottageCutz dies used on my card are:

http://www.scrappingcottage.com/cottagecutzhuggingpenguins.aspx

http://www.scrappingcottage.com/cottagecutzcross-stitchedrectanglesetbasics.aspx

http://www.scrappingcottage.com/cottagecutzexpressionsthankyou.aspx

Once again, thanks to everyone with whom I have worked during my tenure on this remarkable design team!