Hi,
Janja here!
We are already in the middle of October, and it's time for my monthly post on the Scrapping Cottage blog.
Before starting to create with the new Christmas dies, I would like to show you two stamps from the new release of
CottageCutz - Birds.
Supplies:
- CottageCutz stamps and dies:
Sparrow on Post,
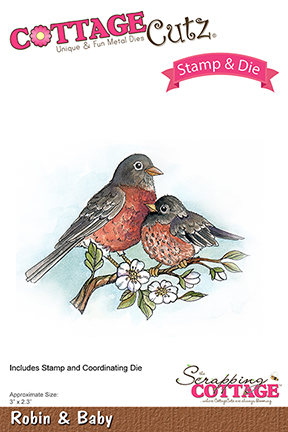
Robin & Baby,
Nested Stitched Scallop Square Set,
Square Set,
Circle Set (8th die from the middle),
Stitched Circle Set (7th die from the middle)
- brown card base: 4.1 x 5.4" (9,5 x 12,7 cm), folded
- white card base: 5.3 x 5.3" (13,5 x 13,5 cm), folded
- white natural paper: 3.8 x 5" (9,6 x 12,7 cm)
- red cardstock: 4 x 5.2" (10 x 13,2 cm)
- patterned paper: 5 x 5" (12,6 x 12,6 cm)
- watercolor paper
- watercolor brushes
- red satin ribbon
- string
- glue, double-sided adhesive tape, self-adhesive foam pads
- Distress ink pads: Spiced Marmalade, Worn Lipstick, Barn Door, Aged Mahogany, Broken China, Twisted Citron, Peeled Paint, Vintage Photo, Hickory Smoke, Black Soot
Stamp both birds on a watercolor paper and color them.
For coloring I always use Distress ink pads, watercolor brushes and water. I used a white ink pen for finishing.
Stamp only branch with flowers one more time on a watercolor paper.
When we finish with coloring, stamp the sentiment.
Cut out two frames from patterned paper and white cardstock with two largest dies from the sets. Glue them to each other.
With the matching die cut out a bird. For a trunk in the background, use the die -
Grass, Trees & Vines.
Add a string at the bottom.
For a second card, cut out round holes in the middle of natural paper and brown cardstock. Apply a few light blue drops on a white natural paper with a brush.
Both papers are glued together.
Attach the red ribbon with the Dior Bow at the bottom.
Now everything is ready to assemble the card.
Thank you for coming over. Have a lovely day!