Wednesday, May 17, 2017

CottageCutz Gladiolus Flower & Hello Phrase

Hello, Scrapping Cottage Friends!  So glad you took time to stop by and enjoy my card share today. I am Beverly Polen, Guneaux Designs, and I am serving as a guest designer today.  My card share showcases one of the newly released Expression Plus Designs dies (i.e., word dies), and the beautiful CottageCutz Gladiolus Flower.


The new Expression Plus Designs dies are fantastic!  I love the script design, and the die cuts are a great size.  If you have not checked them out, you can by visiting the Scrapping Cottage On-Line Store.  For a limited time, these wonderful dies are 25% off!  Don't miss out!!

My color selections of card stock and coloring were selected to coincide with the Splitcoaststampers Color Challenge for yesterday.  These are the colors:  shades of peach/orange and dark green.


I created my card by first stamping with black ink the CottageCutz Gladiolus Flower image onto white card stock and coloring it with copics that are close to the above colors.  I used the matching die to cut out the floral image.


Afterwards, I decided I wanted to create an inlay with the image, so I used the negative of the floral image and a die from CottageCutz Cross-Stitched Rectangle Set to cut a rectangle.  Additionally, my butterfly from the same floral stamp and die set was on this panel and I wanted to include it.


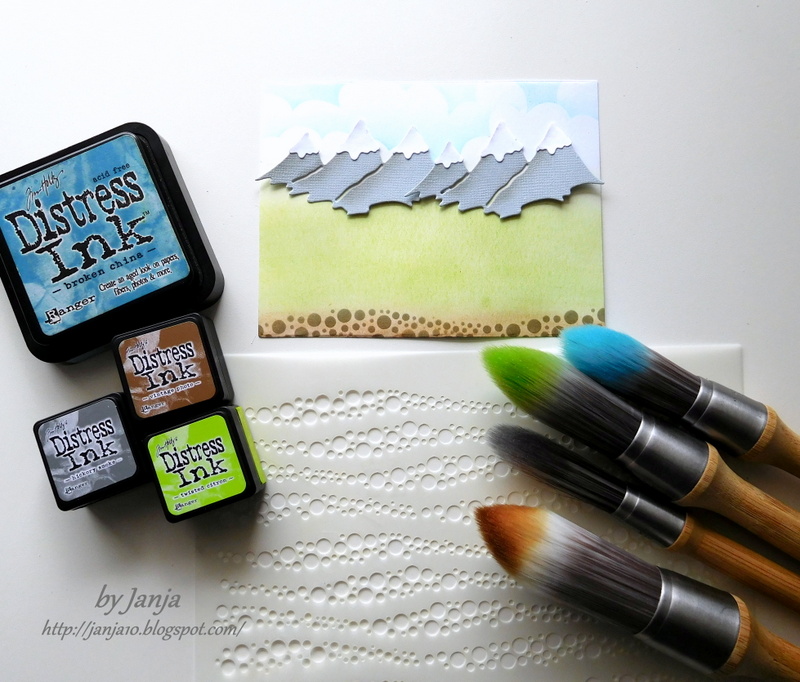
My next step was to use a stencil and oxide inks to create this panel from white card stock.


I decided I wanted a piece of designer paper for a mat for the panel.  I attached the mat to the panel and adhered it to my card base.


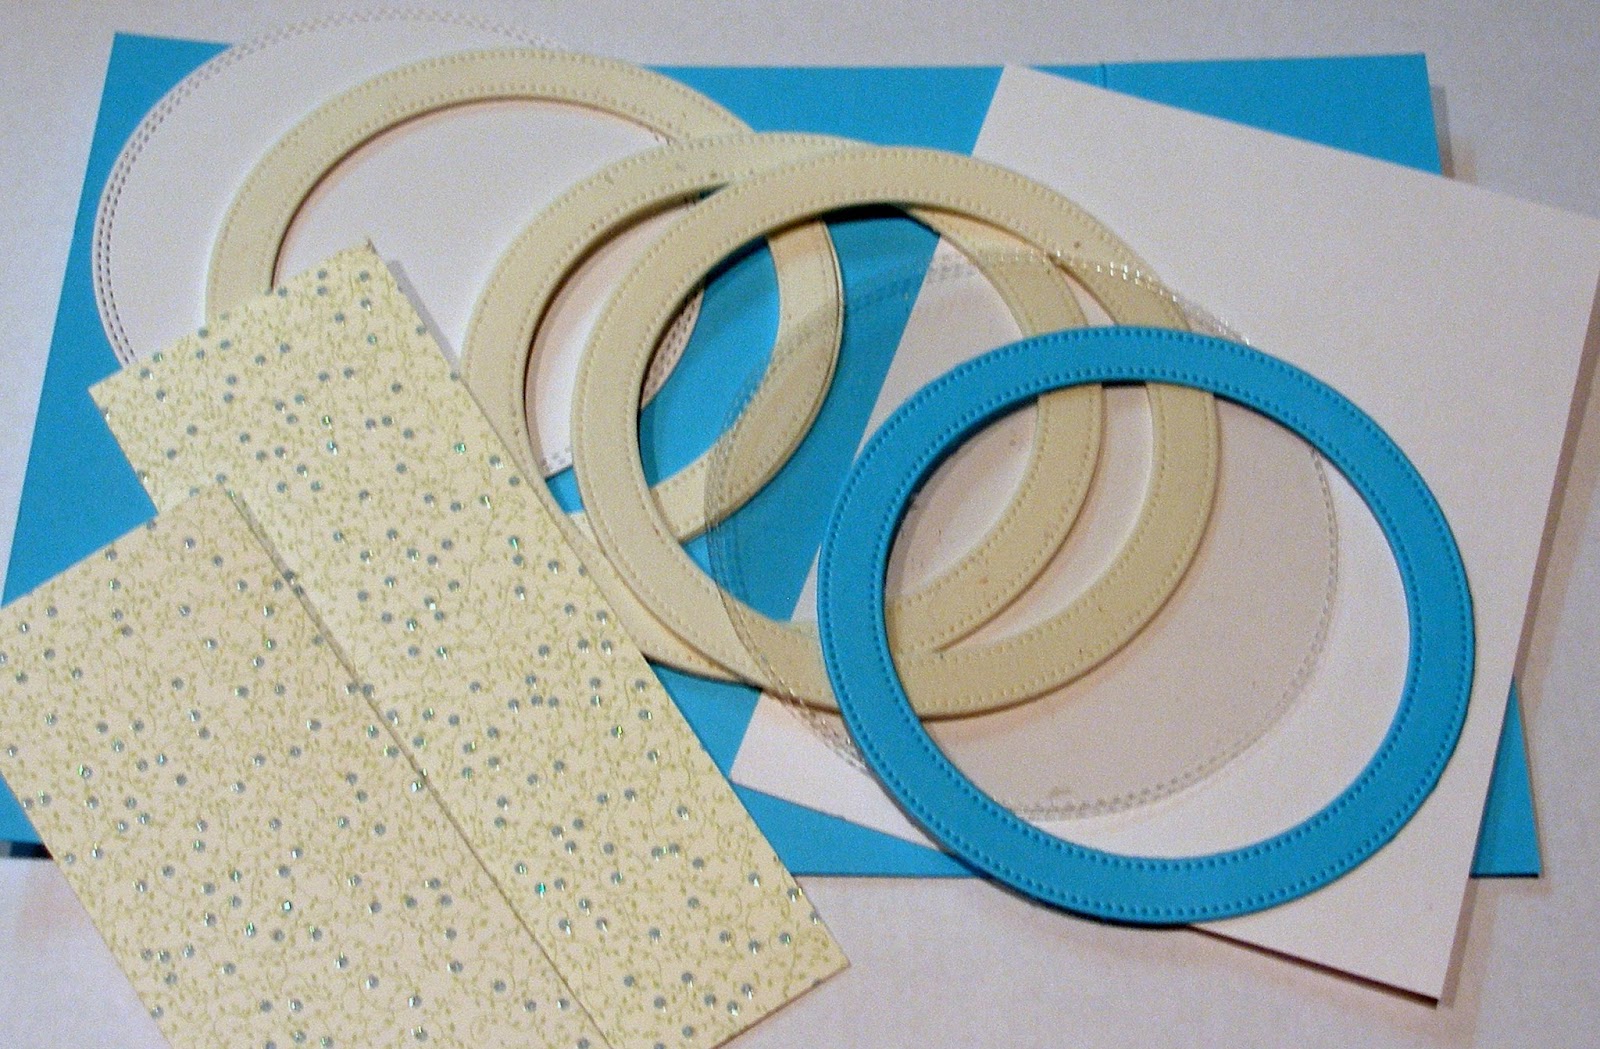
I created a frame to go around the floral panel with two of the CottageCutz Cross-Stitched Rectangle Set dies.  I attached foam tape to the frame and added it to the card.


Then I added foam tape to the floral image inlay panel and attached it inside the frame.


To complete the card, I added one of the Expression Plus Design script dies, hello, to the upper left of my card.


I hope you draw inspiration from my card, and come back tomorrow to see the artwork we have to share.

These are the CottageCutz dies used in creating the card:


Tuesday, May 16, 2017

Hummingbird Hugs (new die)

Hello Scrapping Cottage friends! Thanks for taking the time to stop and visit today. It's Mary Marsh here bringing you the Tuesday edition of the Blog. Hope your Mother's Day celebration was a great one whatever you did.

There is another great release of new dies over in the online store. The Expressions Plus (word dies) with 35 designs are currently on  promotional pricing and are 25% off. The font is so beautiful and you will definitely want these in your collection.

For your viewing pleasure today, I am featuring one of the new dies. It's the hugs phrase along with the hummingbird die.  So let's get started with some details on this card.

I started my card this week with the card colors. I am using the colors from the Splitcoaststampers color challenge #636. They are Peach, Coral and Artichoke. Once that was decided, I started thinking about my layout. I am using the MojoMonday #497 sketch.
Peach, Coral, Artichoke
Card Sizes:
Card base: 4 3/8" x 5 5/8"
Coral Layer: 4 1/4" x 5 1/2"
Coral Patterned Paper Layer: 4 1/8" x 5 3/8"
Vanilla Rectangle Layer: 2 1/4" x 4 3/4"
Coral Flower Paper: 2 1/8" x 4 5/8"
Image Layer: 2 3/8" x 4 1/8"
Coral Layering Panel: 2 1/2" x 4 1/4"

Step 1: I first figured out all the card panel sizes. Since I had the card colors, I looked through my patterned papers and found these ones in the coral shade. I decided I would go after a more monochrome look. I liked the gradient look on the background panel. I ended up putting the lighter shade at the top.
Step 2: I cut the flowers in peach and coral cardstocks and the leaves in artichoke. The hummingbird I cut in white cardstock and then sponged in coral, peach and a bit of artichoke.
Step 3:  I am now ready to start the card assembly. I wanted to show how I did my angled panel. I attached it onto the patterned paper panel at an angle with double sided tape . I used my craft knife and trimmed off the excess.


Step 4: The Hugs Phrase is cut with both artichoke and coral cardstocks. I did a slight offset for added interest. Here is a close-up shot of the hugs phrase as well as the hummingbird.
 
Well, that's it for me for this post. See you again on Saturday. The team will be showcasing some of the new Expressions Phrases so check back each day for more inspiration.

Dies I used to create card:
http://www.scrappingcottage.com/cottagecutzhummingbird4x4pre-order.aspx

http://www.scrappingcottage.com/cottagecutzexpressionsplushugsphrase.aspx


Monday, May 15, 2017

Koala Shaker Card

Hi, Lois here with my Monday post.  CottageCutz recently released a whole batch of baby-related dies.  One of them is a cute koala, which I used on my shaker card today.


Supplies used on this card are:

Blue cardstock  - 8 1/2" x 5 1/2", scored at 2 1/8" and 6 3/8"
Blue cardstock 4 1/4" x 4 1/4"
White cardstock approx. 3 3/4" x 3 1/2"
Patterned paper (2 panels) 1 7/8" x 5 1/4"
Scrap of patterned paper approx. 3 1/4" x 2"
White fun foam
Acetate
Copic markers (B0000, B60, BG32, BG34,Y21, and 100)
Ranger inks - Tea Dye and Antique Linen
Various sequins and seed beads
2 black mini brads
Liquid glue, foam pop dots, and tape runner
CottageCutz dies - Baby Koala w/ Blanket, Pierced Wide Circle Frame Set,  Double-Stitched Circle Set, Double-Stitched Oval Set

When I was thinking about what I wanted to do with this cute koala, I thought he would look cute framed in a shaker card.  To start the card, I cut the koala from white cardstock and sponged him with Tea Dye and Antique Linen ink.  The blanket and baby bottle were colored with Copic markers.


Then I cut the card base and shaker pieces.  I tried an experiment and instead of using foam tape to create my shaker box, I cut three layers of white fun foam with the Wide Circle Frame die. 


As an afterthought (and not shown), I decided that the koala would look better if he were sitting on a little rug.  So I cut another piece of patterned paper using an oval die.  I layered the three pieces of fun foam using liquid glue, glued the white circle to the bottom, and let it sit until the glue was dried.  At the same time I glued the blue frame to the acetate circle.   I adhered the two 1 7/8" x 5 1/4" panels of patterned paper to each side of the "gate."

After the glue had dried,  I brushed the insides of the foam with some baby powder to make it less "sticky" (just in case some of the glue seeped out from between the layers and glued the shaker frame to the card base -- just on one side.


I constructed the koala using foam pop dots and glue.  It was at this point that I realized that he really should be sitting on a rug and cut one from another piece of patterned paper, which I glued to the inside of the acetate.


Then I poured  the various sequins and seed beads into the shaker box and glued on the acetate circle.   I adhered the 4" x 5 1/4" piece of white cardstock to the inside of the card and stamped a sentiment (not shown).  I must admit that, even though I had rubbed the baby powder around the inside edge of the glued fun foam, I did get some errant sequins and beads stick to the sides.  I may have to rethink that in the future.


I did enjoy making this shaker card and hope you might give it a try.

CottageCutz dies used on my card are:
http://www.scrappingcottage.com/cottagecutzbabykoalawblanket.aspx

http://www.scrappingcottage.com/cottagecutzpiercedwidecircleframesetbasics.aspx


http://www.scrappingcottage.com/cottagecutzdouble-stitchedcirclesetbasics.aspx

http://www.scrappingcottage.com/cottagecutzdouble-stitchedovalsetbasics.aspx


Sunday, May 14, 2017

Colorful Collage Mother's Day Card

Happy Mother's Day! It's Janet from SugarShine Designs and it's my turn to bring you the Sunday edition of the blog. In honor of Mother's Day I present a colorful card featuring one of the CottageCutz Baby release dies called, Elephants on Parade. I also used the Oval Doily & Frame, Stitched Oval Set, and the Double-Stitched Rectangle Set to make this card. Find all the new baby release dies here.

Card Front
Inside of Card
I had a ball playing on the idea that in the Indian culture, elephants are honored and loved, just like our Moms are. Although this card focuses on Mother's Day, it could easily be changed into a birthday card too. Please visit the video which shows you how this goes together.  I've included all the dimensions and supplies needed for this card in the video description.


I hope you have a most wonderful Sunday and a happy Mother's Day to all the Mom's out there. It's your day. Enjoy it!

Dies used in this card:


Saturday, May 13, 2017

Toys for boys

Hi, Janja here!

For today's post, I prepared another children's card. This time for the boys.
Let's see how it is made.


Supplies:
- CottageCutz dies: Choo Choo Train, Toy Helicopter mini, Snowcapped Mountains
- white card base: 6 x 4.5" (15 x 11,5 cm), folded
- gray cardstock: 5.5 x 4.2" (14 x 10,7 cm)
- white cardstock: 5.2 x 4" (13,3 x 10,1 cm)
- white and colored cardstock
- Distress inks: Broken China, Twisted Citron, Vintage Photo, Hickory Smoke
- stencil and stencil brushes

Cut out all the elements for train and helicopter. Distress them on the edges with Distress inks, and glue together.


Trim white cardstock for background. At the bottom, create mounds with stencil, Vintage Photo Distress ink and brush. Color the rest of cardstock with Distress inks Twisted Citron and Broken China.
Cut out also mountains, and cover peaks with snow.


Assemble the card.


Thank you for coming over and have a nice day.


Friday, May 12, 2017

Faux spinner card with Sequins

Hello to all ,
This is Anita here with a card that has a twist . It looks like a spinner card but the boat in the picture does not spin and I have added sone Sequins in the spinner path to add some dazzle.


To make this card , cut out a circle using the stitched circle die on a card panel or patterned paper measuring 7inches by 5 inches .

Cut a circle from white card stock that is at least 1/2 inch smaller than the outline of the bigger circle.

Add a sentiment on this .

Double fold foam tape and cut out thin strips . Add this at the back of pattern paper all around the circle shape and add another pattern paper at the back .

Adhere the circle die cut with sentiment at the centre with double foam tape.

Cut the boat die on white card stock and colour with zig markers following the image on the package .

Add this on the card with double foam tape as shown.

Add Sequins to finish the card.


This card gives the look of a spinner card but the boat is fixed . You can create a variation by creating a spinner card with the boat actually spinning . 
Do stop by the CottageCutz blog for a whole range of dies .