Sunday, May 28, 2017

Hello Sweet Baby

Hi!

It's Anja here and I have a cute baby card for you today. I used a few baby animal dies and combined them with the new expressions dies. It's such a fun to play with them :)


I used:
- CottageCutz dies (Hello Phrase, Sweet Phrase, Baby Koala w/ Blanket, Spring Bunny w/ Flowers, Stork, Sweet Baby Lamb, Grass, Trees & Vines),
- Distress Inks and Oxides (Pumice Stone, Black Soot, Peeled Paint, Vintage Photo, Walnut Stain, Faded Jeans, Broken China, Fossilized Amber, Spiced Marmalade),
- white card base (10 x 21 cm),
- blue card stock (20,6 x 9,6 cm),
- white card stock (for die cuts),
- white paper and patterned paper (9,2 x 20,2 cm),
- black pen,
- glue,
- Versafine Onyx black stamp pad,
- alphabet stamp set.

First I die cut all the pieces from white card stock, colored them with Distress Inks and Oxides and glued them together. 


Then I cut blue and colored paper (the measurements are written above).


And then I just put all the pieces together using paper glue. To finish the sentiment I stamped "baby" to the inside of the card. I used silicone alphabet stamps.


I also decorated the envelope. I used sentiment stamp that seemed just perfect to go with the stork. 


And this is the finished card from the inside ...


... and the outside. 


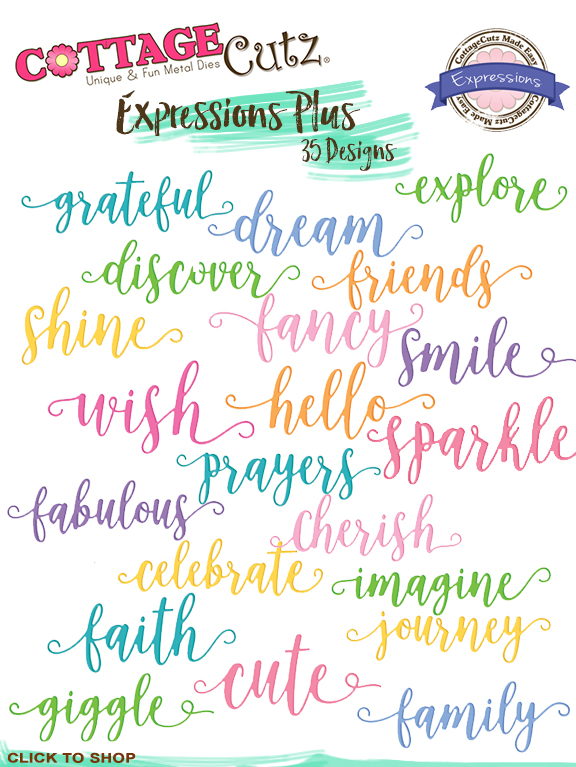
The new expressions dies go so well with all the cute Scrapping Cottage images. I am really looking forward to show you all the other projects where I paired them. And to see all the new dies check out these video made by Janet where she showcases them all.


And also go check The Scrapping Cottage store for the Memorial Day Sale and get all the new dies for a lower price.


Thank you for stopping by. Have a wonderful sunday.
Anja Ž. 


Saturday, May 27, 2017

Expressions Plus Precious Phrase


Hello, Scrapping Cottage friends and thank you for stopping by. This is Beverly Polen and I am a guest designer today for the Scrapping Cottage Blog.  Today I am featuring one of the beautiful, recently released Expressions Plus Design Dies, "Precious" and the CottageCutz Pram Die from the April CottageCutz Baby Designs Release. 

Before I discuss the card, I want you to know that the Scrapping Cottage has a MEMORIAL DAY SALE going on!!!  Click on the below to review the sale items.


I love the new CottageCutz script dies as they are made with such a beautiful font.  They are also a wonderful size.  The "precious" die used on this card is approximate 4"W x 1"H.   And the darling vintage baby carriage, also showcased on this card, is an awesome die.  One can make so many variations of the carriage by using different colors of card stock and other crafting products.  I wanted to dress this one up, so I added pearls and sparkling glitter.  May this card inspire you to try the CottageCutz Pram die to create such a beauty!

SUPPLIES USED AND STEPS FOR CREATING THE CARD

Supplies:


Steps:
  • Cut a 6" x 12" piece of pink card stock and fold it in the middle for the card base  
  • Cut a 6" x 6" piece of designer paper with shades of pink and green
  • Adhere the 6" x 6" designer paper to the front of the card base
  • Using the CottageCutz Pram Die, cut the baby carriage from a piece of white card stock, and repeat with pink card stock
  • Adhere the pieces together (I attached one carriage to another to offset mine)
  • Cover the center piece of the carriage with white sparkly glitter
  • Add crafting pearls to the carriage 
  • Attach this to the center of the card front (as seen in the first photo)
  • Cut out several pink flowers using the CottageCutz Tree of Nature Die
  • Cut out several green stems and leaves using the CottageCutz Grass, Trees & Vines die
  • Attach the flowers to the stems
  • Add pink stickles to the center of the flowers
  • Add the stems and flowers to the bottom and left side of the card
  • Cut out the "precious" sentiment from pink card stock using the CottageCutz Precious Die and add it to the top center of the card
  • Cut out a flower using the CottageCutz 3-D Flower #7 die
  • Shape with a stylus the three smallest flowers, cover them with a white glitter, adhere them together, and add Prills to the center

  • Attach the flower to the bottom, right of the card front

That finishes the card, and there are more photos below.  Let me know what your thoughts are about this card by leaving comments.  I love reading comments!  Before you go, I want to share more information with you about the newly release Expression Plus Designs Dies.

The Expression Plus Design Dies (35 word dies) were released just two weeks ago, and the font of these dies is beautiful! The word dies are definitely ones you will want for your crafting toolbox! To give you an idea of the size and font of these dies, our video artist, Janet, prepared the video below that showcases some of the Expression Plus Design Dies. 


These are the CottageCutz dies used for today's card share:


CottageCutz is now on Instagram!  Click here to see our Posts and follow us!

Friday, May 26, 2017

Expression Plus Phrase Die and Sunflower Shaker card

Hello to all !!!!
This is Anita here.
Summer is at its peak and so are the beautiful sun flower blooms .
CottageCutz has come up with amazing set of Expression Plus dies 35 in total and all of them are awesome. You can check them out here.

There is also a video showcasing the dies made by our design team mate.
Here in this video she shows the beautiful dies and how she has used them on the cards.


For my card today, I have used the beautiful sun flower die and have created a shaker card . Also see how I have added the expression WISH in a 3d way.


Start by die cutting all the designs in white card stock. Cut two foam frames from the stitched round rectangle frame. Cut the Wish frame three times and the sun flower die two times.

Colour all the die cuts as shown with Archival inks


 Adhere the two sponge frames together. Cut another backing frame from a pattern paper. Adhere a transparent sheet of the same size as the frame with glue. Adhere one sunflower face down as shown. Add the sequins and mini glitter balls. Cover with the backing paper.


Distress the frame with Peeled Paint ink. Add the other sub flowers.

Adhere the wish die cut colouring two with green ink giving a little shading and adhere to the last white piece , offsetting a little. Adhere this shaker panel on a card mat. Add twine and the wish phrase. Adhere the whole panel on an A2 card base.

the finished card


Do visit the CottageCutz blog to see the inspirations and stop by at the store for all your die cutting shopping.

Thanks for stopping by.