Hi, Janja here!
I am continuing with stories from the forest on cards. I used beautiful dies from CottageCutz release - Camping.
With CottageCutz dies you will always be able to highlight a magical moment in somebody's life.
If you thought that bears are already hibernating, you are wrong.

For the card we need:
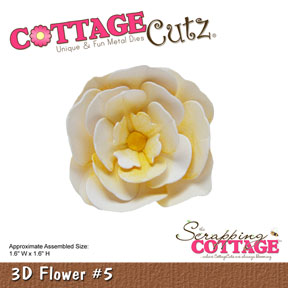
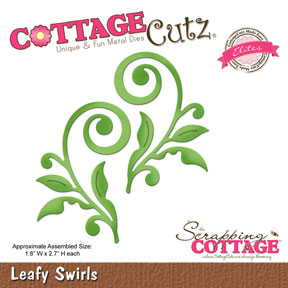
- CottageCutz dies: jamboree bear, campfire squirrel, campsite, snowcapped mountains, hollow tree w/ forest friends
- brown card base: 5.3 x 5.3" (13,5 x 13,5 cm), folded
- white paper: 5 x 5" (12,7 x 12,7 cm)
- patterned paper: 4.9 x 4.9" (12,5 x 12,5 cm)
- colored cardstock
- Distress ink: Antique Linen, Rusty Hinge, Aged Mahogany, Peeled Paint, Mowed Lawn, Tea Dye, Vintage Photo, Black Soot
- Memento ink: Dandelion
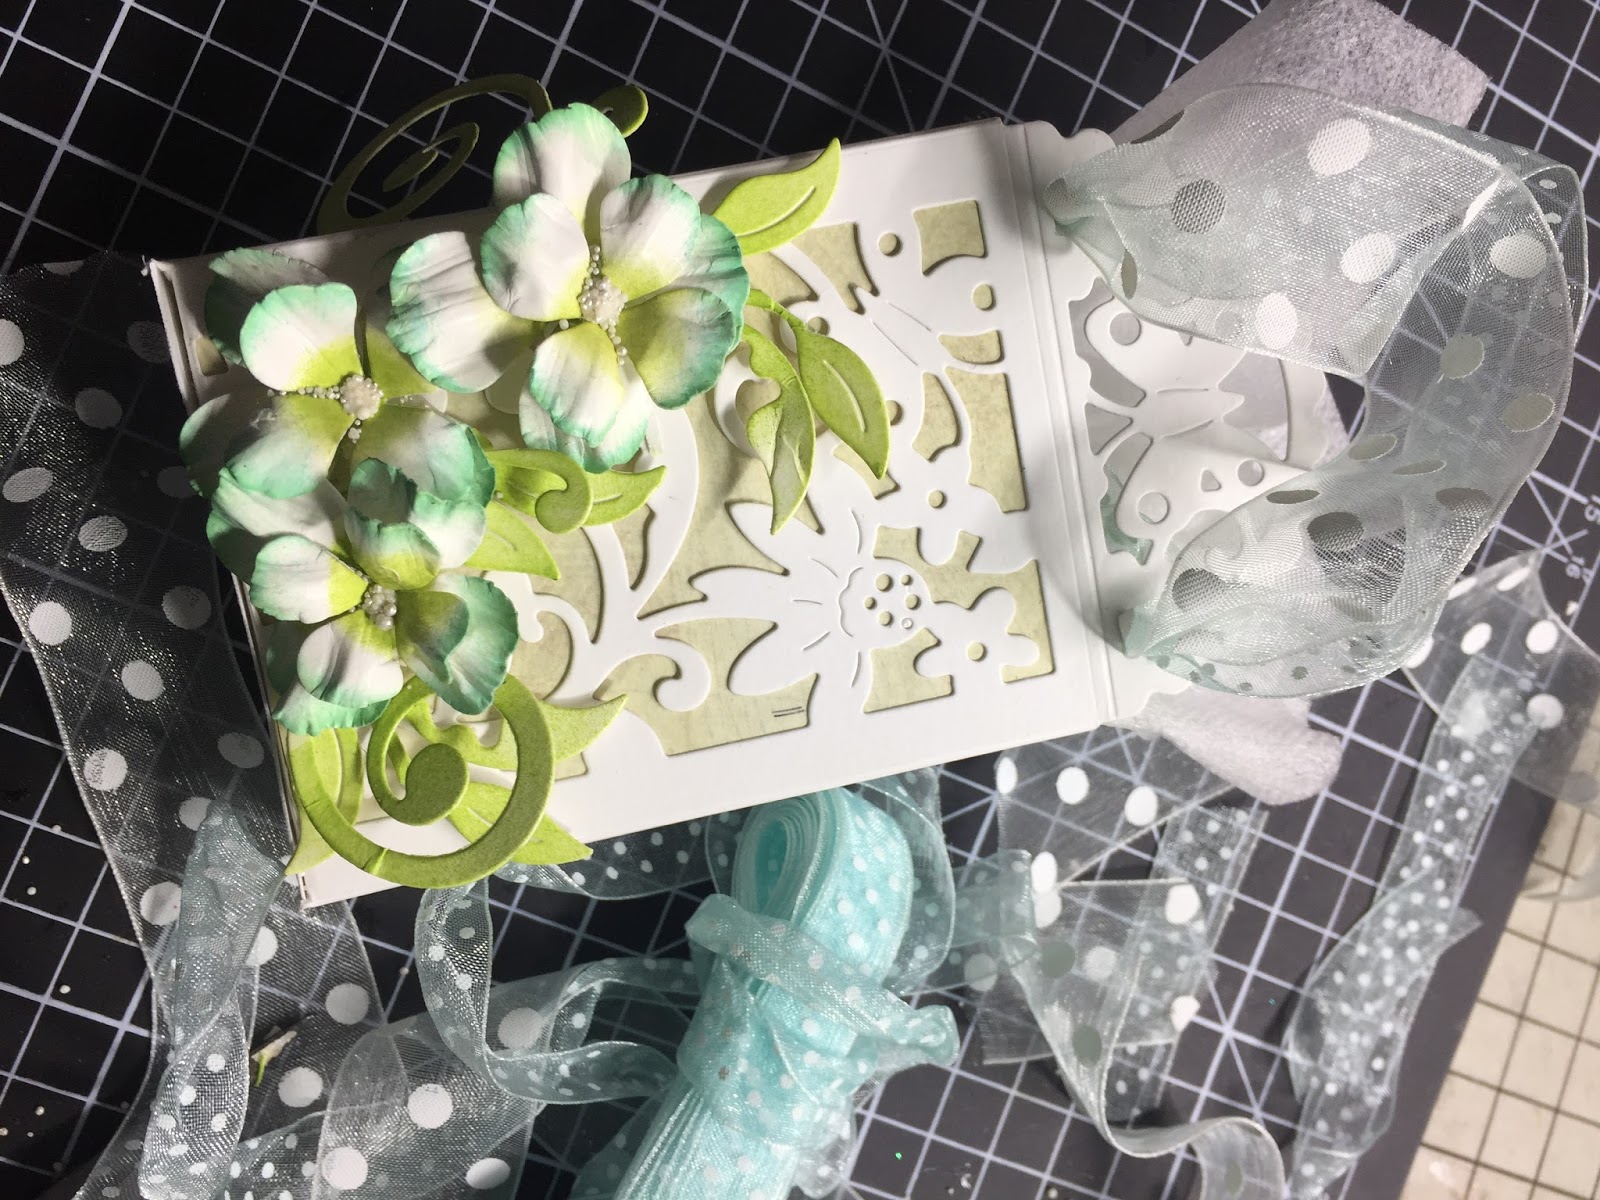
First, we cut out all the elements for the main motive on card. Use cardstock in a variety of colors.

Shadow all pieces with Distress inks and compose them only then in to a whole.


On patterned paper paint area with yellow ink for campfire. Shadow the remaining paper with black ink.

Glue all pieces together, and begin assembling the card. Use glue and self-adhesive foam pads.
Treat white paper around the edges with paper distresser tool. Attach patterned paper on white paper and paste them to the card base both together. Use double side adhesive tape.


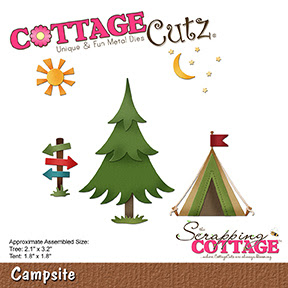


I am continuing with stories from the forest on cards. I used beautiful dies from CottageCutz release - Camping.
With CottageCutz dies you will always be able to highlight a magical moment in somebody's life.
If you thought that bears are already hibernating, you are wrong.

For the card we need:
- CottageCutz dies: jamboree bear, campfire squirrel, campsite, snowcapped mountains, hollow tree w/ forest friends
- brown card base: 5.3 x 5.3" (13,5 x 13,5 cm), folded
- white paper: 5 x 5" (12,7 x 12,7 cm)
- patterned paper: 4.9 x 4.9" (12,5 x 12,5 cm)
- colored cardstock
- Distress ink: Antique Linen, Rusty Hinge, Aged Mahogany, Peeled Paint, Mowed Lawn, Tea Dye, Vintage Photo, Black Soot
- Memento ink: Dandelion
First, we cut out all the elements for the main motive on card. Use cardstock in a variety of colors.
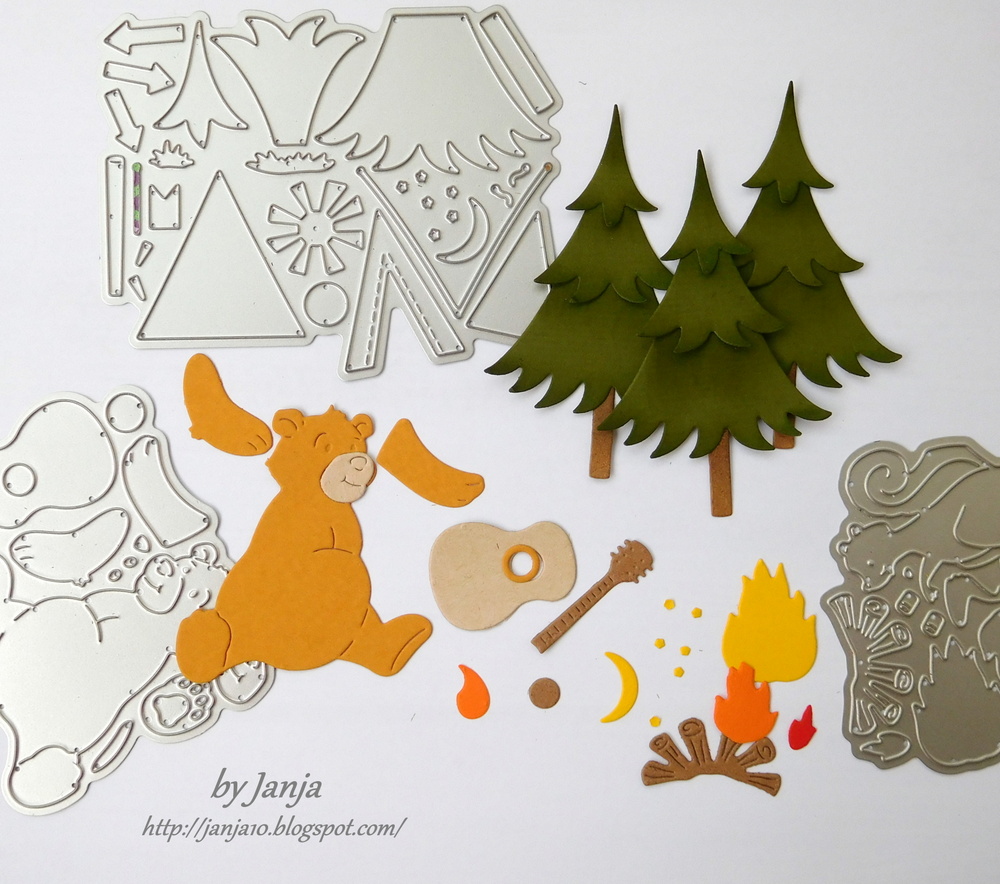
Shadow all pieces with Distress inks and compose them only then in to a whole.


Glue all pieces together, and begin assembling the card. Use glue and self-adhesive foam pads.
Treat white paper around the edges with paper distresser tool. Attach patterned paper on white paper and paste them to the card base both together. Use double side adhesive tape.

Thank you for coming over and have a great day.