Tuesday, September 20, 2016

Puppy with a gift

Hi, Janja here!

Summer is going away and nature is already flirting with autumn colors. But on my desk Christmas is still everywhere.


For the card we need:
- white scalloped card base: 5.3 x 5.3" (13,5 x 13,5 cm)
- green striped paper: 5 x 5" (12,6 x 12,6 cm)
- two patterned paper
- white and color cardstock
- Distress ink: Festive Berries, Aged Mahogany, Mowed Lawn, Peeled Paint, Black Soot

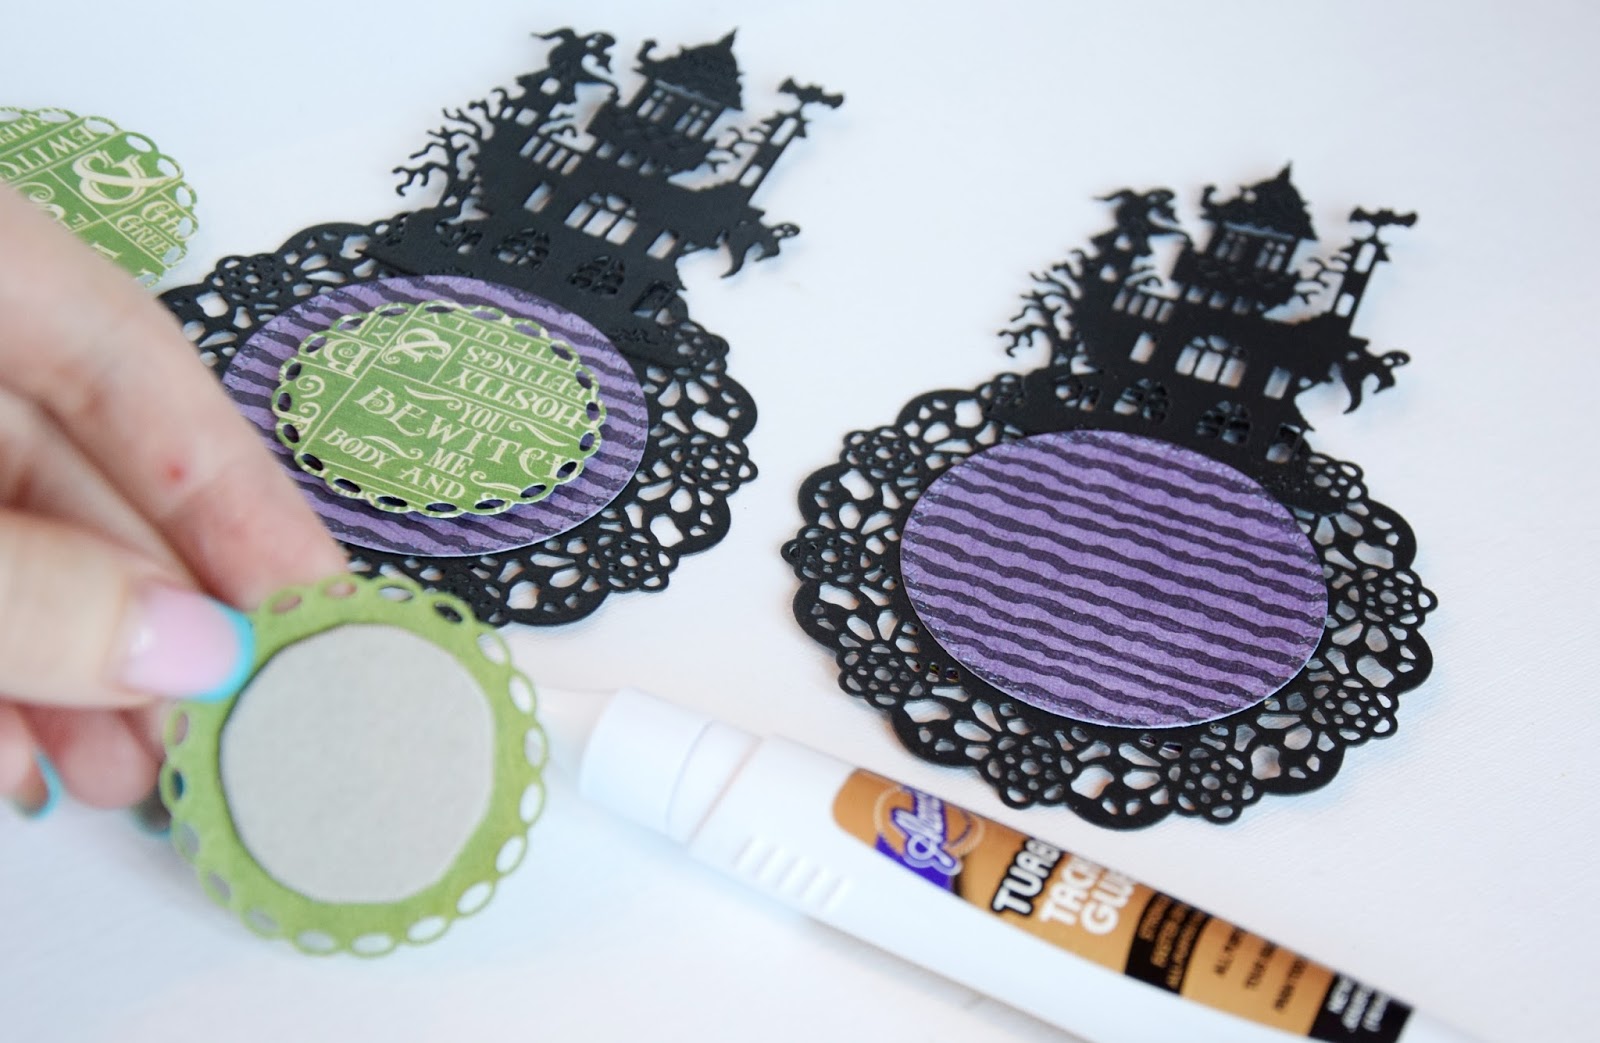
Trim green striped paper and place it on a white card base. Cut out a frame with the largest die from stitched wide circle frame set. Also cut out a circle with the largest die from the circle set.


Now we start with a puppy. We prepare cutouts from color cardstocks. Ink edges of cutouts and assemble the puppy.


On the upper part of the frame add some holiday greenery with spruce stems. Assemble poinsettia bloom and ink the edges.


Cut the tape and wrap it around the frame. Put the frame on circle and fix it with foam tape on green striped paper.


Complete the card. 


The puppy is so cute, that we can use this die also for other occasions during the year.


I would like to remind you on our challenge #6 - holiday. You can get more info here.

Hope you enjoyed my post for today.


Monday, September 19, 2016

You're invited on Halloween in Wonderland!

Hello friends!
This is Yuliya here). It's here share some of the new Autumn release with you! I will be sharing how to make this invitations for Halloween using the CottageCutz dies.


Here is list of all supplies 
I used CottageCutz Dies:
- CottageCutz Haunted Castle (Elites)
Other: Sizzix machine, black cardstock, patterned paper, glue, sequins, glossy accents, embossing powder, The essential glue pad
Follow the pictures below for making this invitations step-by step
1. 
2. 
3. 
4. 
 5. 
6. 
7. 
8.
9.
10.
11.
12.
13. Glue the pictures and the words
 14. Ok! Mad Hatter is waiting for you!

Halloween is coming!)
You're INVITED))


Sunday, September 18, 2016

Happy Thanksgiving

Hello everyone,

It's Donna here another new release die cut!  If you have not had a chance to see all the new dies that were released this month, please stop over at the store a to see the beautiful die cuts. Also, I hope you have been inspired by the talented design team and all their beautiful creations.  I have created my card using the new Cornucopia die.

Here is my card:


Here is how I put my card together:

1.  Cut an A2 card - 4 1/4 x 5 1/2
2.  The first layer is 4 x 5 1/4
3.  The Third layer is 2 1/2 x 3 1/2 and the orange layer is 2 1/4 x 3 1/4
4.  Cut the cross-stitched circle out and leave the ring around the circle cutout and use a light distress ink.  
5.  I cut all my pieces (see the first diagram).  I cut all the pieces and matched all the small elements.
6.  I distress all my edges (see the second diagram) and started putting all the pieces together and added them to the cornucopia.

(first diagram)

(second diagram)

Dies I used:


Saturday, September 17, 2016

AUTUMN THEMED THANK YOU CARD.

Hello everyone... Anita here.

The colour of the day is turning in a new shade of warm orange.. the leaves are drying, changing colour and there is a warmth in the air with the nature basking in new shades of FALL.

CottageCutz has recently released some new fall themed dies and they are so beautiful. You must try them to create beautiful fall projects.

I have a quick simple card for you today keeping in mind that cardmaking is in full swing during this season and one needs a large number of cards. So here is a sample which can be made in 15-20 minutes and they look good.

So here it is.


To make this card, make a card base 5.5inches by 4.25inches with light yellow card stock.
Emboss a white piece of card stock measuring 4inches by 5.25 inches in a brick texture embossing folder. Adhere on the card front.
Distress the design with Pumice stone and Peeled Paint distress ink.
Cut out  2 shapes from the CottageCutz Tree frame die and few from  CottageCutz Autumn Foliage die
Paste the two frame dies together to get a thick die cut. 
Colour with Brushed Corduroy and Peeled Paint distress ink.
Add on a black matte layer.
Colour all the leaves with Distress inks-Rusty Hinge and Mowed Lawn.
Adhere the leaves and frame on the card front as shown.
Add a thank you sentiment.

CottageCutz dies used.


Challenge#6 with Holiday theme is live on the CottageCutz blog.Do share your entries.
Check out all the amazing new releases at the store.