
HELLO!!!!!
It's Anita here and a warm welcome to the Cottage Blog on New Year. I wish loads of happiness and good health for all of you.
New Year means new things and I start my post with my new friends from the forest. They are super cute and you will love assembling them. You can find the entire collection here
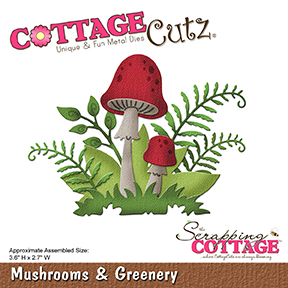
I have made a sweet forest scene where the bunny and the deer are my new friends peeping from the foliage and can you see the mushrooms. I have given a glossy look to them by applying glossy accents.
I loved assembling the whole scene and it looks so pretty.

Have a look for yourself.


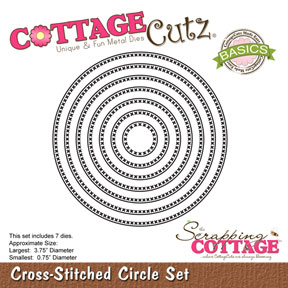
Cross -Stitched Circle Set
I hope you had a good time with my friends. I will share more inspirations with you in the coming week.

It's Anita here and a warm welcome to the Cottage Blog on New Year. I wish loads of happiness and good health for all of you.
New Year means new things and I start my post with my new friends from the forest. They are super cute and you will love assembling them. You can find the entire collection here
I have made a sweet forest scene where the bunny and the deer are my new friends peeping from the foliage and can you see the mushrooms. I have given a glossy look to them by applying glossy accents.
I loved assembling the whole scene and it looks so pretty.
Have a look for yourself.


I have embossed the card panel with an embossing folder and all the die cuts are coloured with distress inks.
CottageCutz products used.
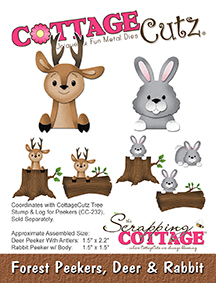
CottageCutz Forest Peekers, Deer & Rabbit
I hope you had a good time with my friends. I will share more inspirations with you in the coming week.


