Wednesday, December 07, 2016

Big Bulb Easel Card

Lois here today with another fun card.  Here it is the first week of December.  Christmas is right around the corner.  I'm sure we're all in the middle of making lots of Christmas cards; I know I am.  My card for today is another one using the CottageCutz Ornament dies and Peachy Keen face stamps.


Supplies used on my card:

White cardstock 4 1/4" x 11" and 4 1/4" x 5 1/2"
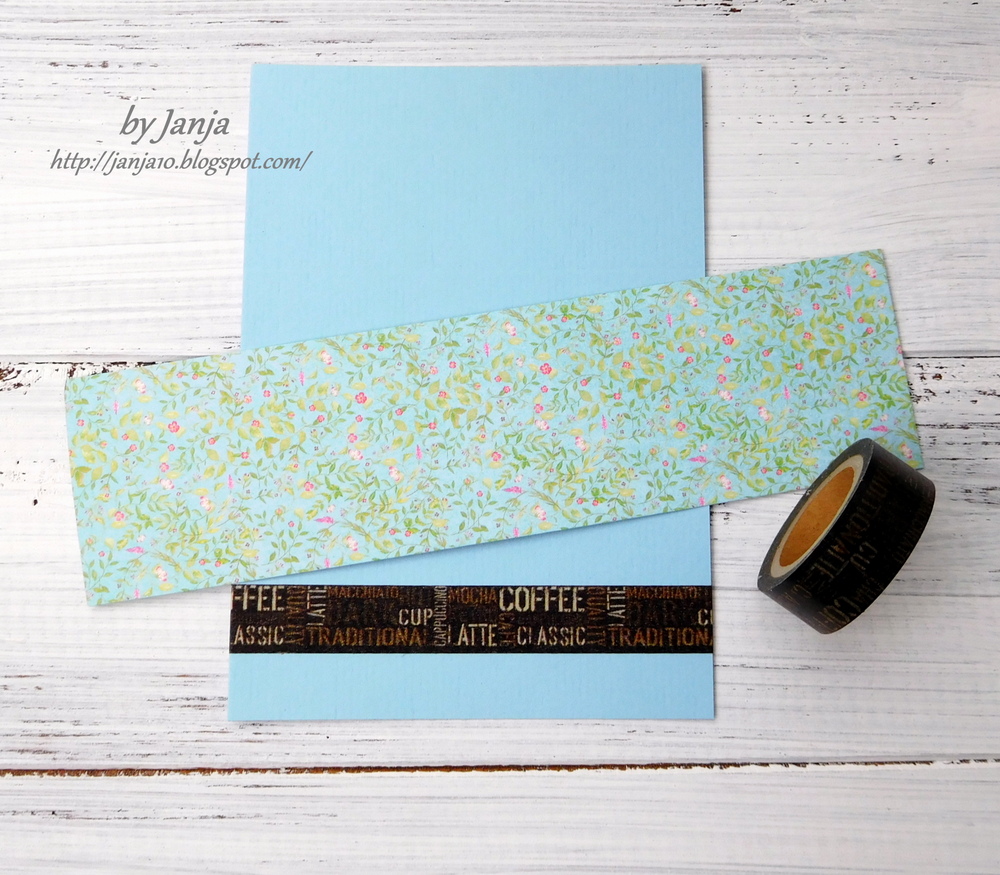
Patterned paper cut 4" x 5 1/4"
Coordinating patterned paper cut 4" x 5 1/4" and 4" x 1 1/2"
Scrap of yellow cardstock approximately 3 1/2" x 4"
Scrap of silver cardstock
Gold enamel dots
White and red gel pens
Distress ink - Scattered straw
Silver cord
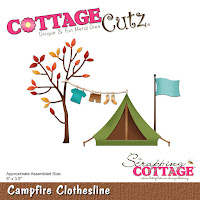
CottageCutz Ornament die - Bulb
Peachy Keen face stamps - 1 5/8"
Adhesive (tape runner, tearable tape, foam dots)

Cut out the ornament from yellow cardstock and the cap from silver cardstock.


Sponge the yellow distress ink around the edges of the ornament to add some depth.


Cut the cardstock panels to create the card.  Because this is an easel card, you will need to score the 11" x 4 1/4" panel at 5 1/2" and 2 3/4".


Adhere the silver cap to the top of the ornament, then stamp and color the face, as shown.


Complete the front of the card with the patterned paper, ornament die-cut, twine, and enamel dots.


Because this is an easel card, you will need to place adhesive on the small bottom section of the card base.  I used tearable adhesive tape for ease of application.  Adhere the bottom of the card front to this bottom section of the card base.  Create the easel by folding on the score lines.  Then add a "bumper" by placing a large enamel dot onto a foam pop dot and place in the center of the underlying base at a point where you would like the card to stand.  Then add a few more enamel dots, as shown.


Used on this card:


Tuesday, December 06, 2016

Outdoor activities

Hi, Janja here!

Do you like to go to the mountains, camp in the nature, enjoy the quiet moments of fishing?
With the new release of CottageCutz dies - Camping, you can catch all these outdoor activities on your projects.
If you are interested how I created the whole card, please sit back, since today's post is a little longer.


Supplies:
- white and colored cardstock
- washi tape
- Distress ink: Tumbled Glass, Stormy Sky, Antique Linen, Tea Dye, Vintage Photo, Peeled Paint, Mowed Lawn, Aged Mahogany, Black Soot
- Memento ink: Dandelion, Tangelo, Bamboo Leaves
- glue, adhesive pads, double-sided adhesive tape
- punch- round
- punch - slot
- ribbon
- string

Prepare the card base:
- two thicker cardstock for cover pages: 4.3 x 6" (11 x 15,3 cm)
- white cardstock: 17.2 x 6" (43,6 x 15,2 cm)
- folding measurements are: 4.3", 8.6", 12.9" (10,9 cm, 21,8 cm, 32,7 cm)


Glue two middle sheets with double-sided adhesive tape to get a pocket. On the upper part cut out a semicircle with a round punch. 


In the pocket insert a tag:
- brown cardstock: 3.5 x 4.7" (9 x 12 cm)
- white cardstock: 3.3 x 4.5" (8,3 x 11,5 cm)

Cut out a slot for ribbon with a puncher.


Paste cover pages. Our card base is now completed.


Trim colored and patterned papers:
- 2 x patterned paper: 4.3 x 6" (10,8 x 15,1 cm)
- 4 x blue cardstock: 4.3 x 6" (10,8 x 15,1 cm)
- 6 x patterned paper: 4.3 x 2.1" (10,8 x 5,2 cm)


Add on each sheet washi tape and a strip of a patterned paper (0.6" from the bottom edge). On cover pages add two different washi tapes.


In two patterned strips cut out openings for the mountains and lake with dies.


With brushes, clouds mask and Distress inks create clouds on the backgrounds.
 

In the middle of two backgrounds cut out semicircle with a punch.
 

From colored cardstock cut out all motives, which will be added to the backgrounds.
On the following photos, you can see only a few of them.


Now we can start by assembling and attaching individual sheets to the card base.
 

Used CottageCutz Dies:
Camping Phrases, Campsite, Campfire Clothesline, Camping Trailer


Used CottageCutz dies:


Used CottageCutz dies:
Jeep, Snowcapped Mountains, Campsite, Camping Phrases


I hope you enjoyed this project. 

Thanks for joining me today!


Sunday, December 04, 2016

Happy Camper!

Hello everyone!

It's Donna here I hope you all had a wonderful Thanksgiving. Can you believe there is only 20 days before Christmas? Did you get a chance to buy your favorite dies during the Black Friday sale? There were so really great deals.....speaking of deals. CottageCutz has release a whole new line of dies called Camping Bundle these dies are great for the ones that love the outdoors. There are 12 new dies included in the set. and the best part is, these are on sale! If you buy the entire set you can save 55%. Each individual die is currently 30% off the list price.

Here is my card....


closer look at the mountain tops, I added clear wink of stella to the tops.


Here is how I put my card together:
  1.  The card is an A2 card 4 1/4 x 5 1/2,
  2. I cut all my pieces and inked some of the edges.  The mountain tops are inked and I added wink of stella, I used newly released dies, Camping TrailerCampfire ClotheslineSnowcapped Mountains,
  3. I then assembled all the pieces with glue, 
  4. I arranged the images on my card,
  5. I finished the card off by adding the sentiment from the Camping Phrases.
I hope you enjoyed my card and I have given you some inspiration.  Please come back again soon!


Dies Used:


http://www.scrappingcottage.com/cottagecutzcamptfireclothesline.aspx


http://www.scrappingcottage.com/cottagecutzcampingphrases.aspx


http://www.scrappingcottage.com/cottagecutzsnowcappedmountains.aspx