Friday, December 16, 2016

SPARKLING SNOW AND CHRISTMAS CARD


HELLO FRIENDS !!

It's Anita here !!
Winter is all in its beauty with sparkling snow fields and woodlands covered with snow and those adorable forest creatures !!!! Ah !!! the natural surroundings in a countryside in the snowy winter months looks awesome.

To capture that look I have a Step card with sparkling snow land amidst the woodlands and that country scene , all together in one card, actually made possible because of the amazing Christmas collection found at the CottageCutz Store.

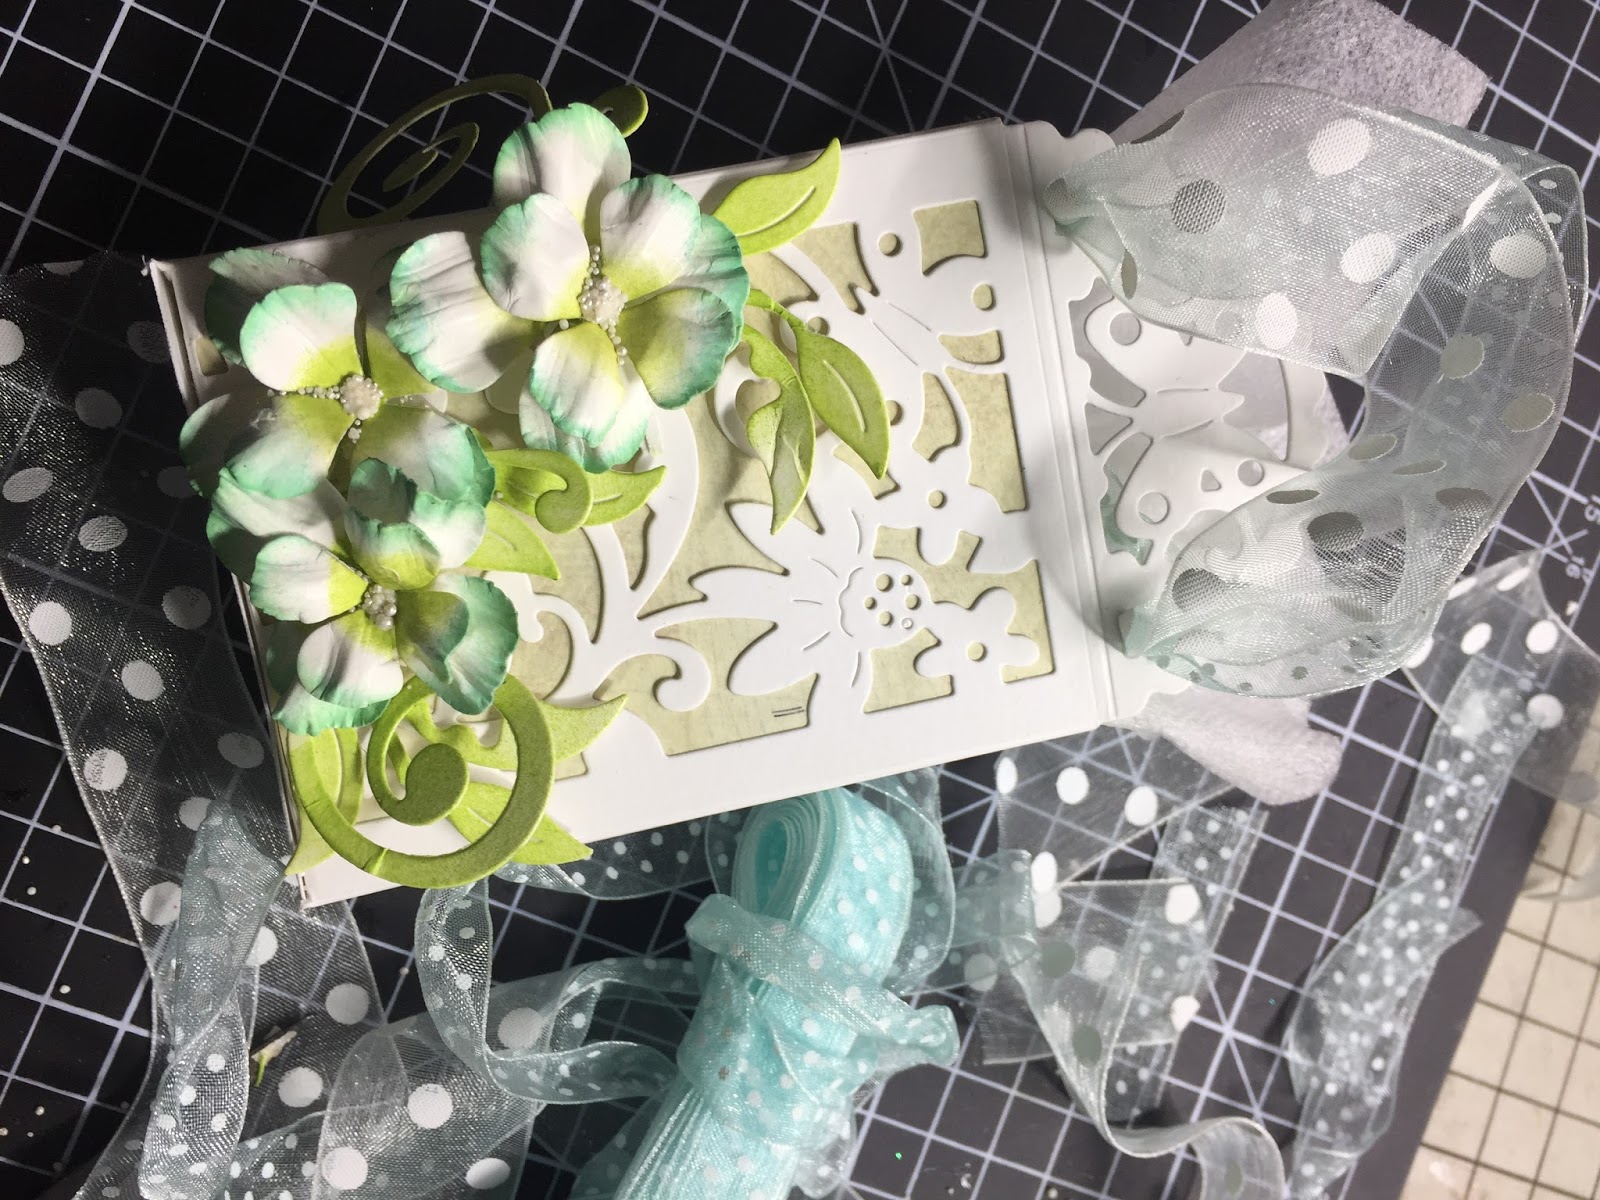
Here is my card and all the close up pictures. Its a very simple card and I have added a sparkling dust powder on the die cuts to create that shimmery look.


To make the card,

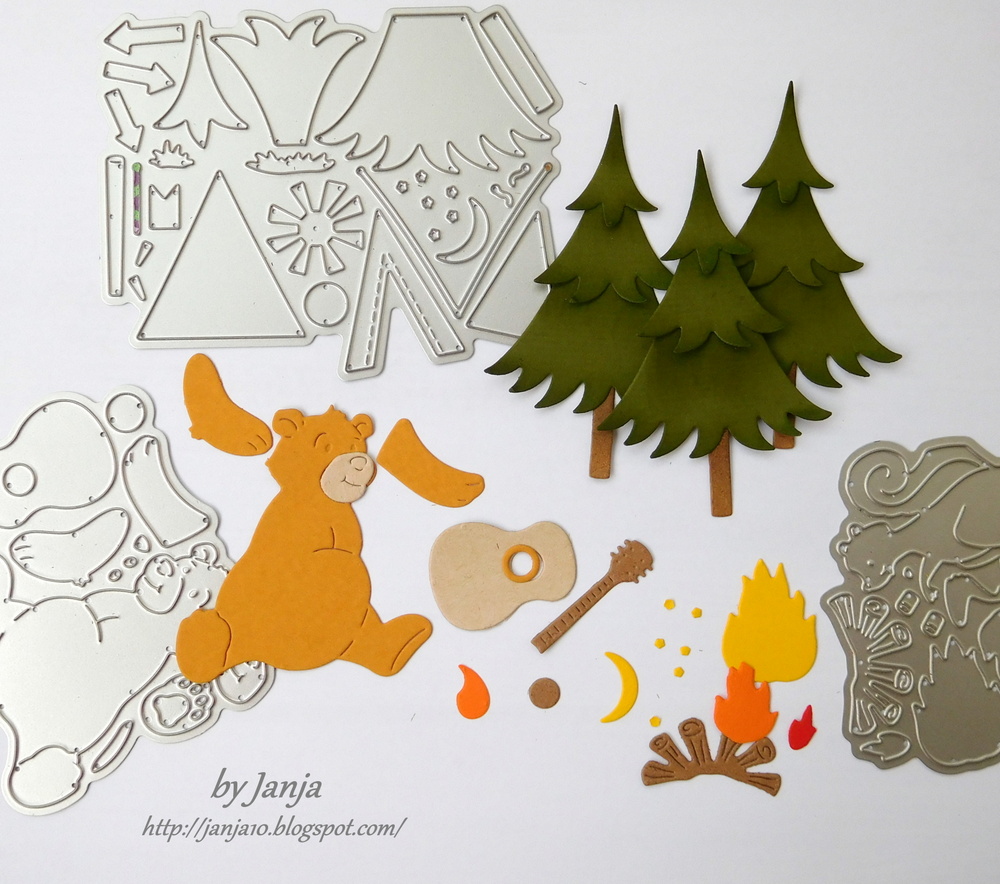
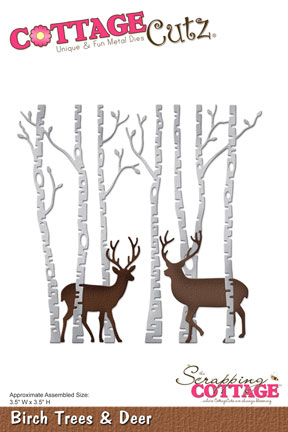
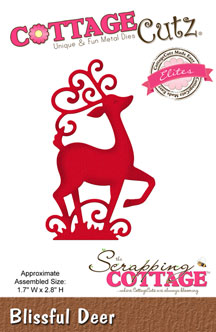
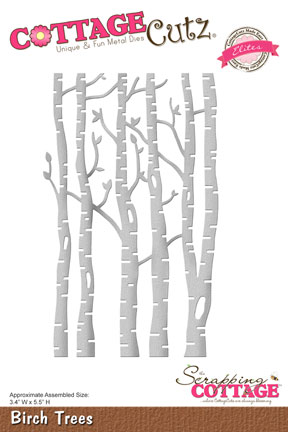
Cut all the die cuts from CottageCutz dies in white card stock.


For the card base, cut a piece in white measuring 6 Inches by 12 inches. Score at 1", 2" 4" and 6". Fold along the score lines to make a step card.


Create three panels for each step that have a wavy top edge.


Distress wit Tumbled Glass Distress ink and apply clear glue. 

Add the sparkling dust powder and remove the excess. This will create the snowy ground.

Adhere these panels on each step.

For the last panel, Add a frame from Stitched Wide rectangle frame die and top of it adhere the die cuts as shown to create a snowy woodland scene.


On each step, add the die cuts to build up the scene.


Add a sentiment on top to finish the card.

CottageCutz dies used.


I hope you liked this sparkling winter card. Have a great and fun filled Christmas  !!!

Wednesday, December 14, 2016

Gift Tags

Hi, Lois here today with a quick, last-minute project.  I'm sure we're all in the midst of buying and wrapping Christmas gifts this week. I am showing some gift tags made with CottageCutz Christmas ornament dies and Peachy Keen face stamps.  This was a fun and easy project.

Supplies used on these tags are:

White. green, silver and gold cardstock
Memento Tuxedo Black ink
Copic markers (R20, R24)
Sakura white jelly roll pen
Silver and gold cord
CottageCutz dies - Nested Ornaments Teardrop, Nested Ornaments Ball
Peachy Keen 1 5/8" Candy Cane Face Stamps
1/8" Scor-Tape

Start by stamping the faces and cutting out the ornaments:


Do a little coloring with the markers and white pen:


Add the ornament caps and cord:


Stamp the backs with a To/From stamp of your choice and you're done:


 Here's one of my tags attached to a gift.


Dies and stamps used on this project are:


Tuesday, December 13, 2016

Around the campfire

Hi, Janja here!

I am continuing with stories from the forest on cards. I used beautiful dies from CottageCutz release - Camping.
With CottageCutz dies you will always be able to highlight a magical moment in somebody's life.

If you thought that bears are already hibernating, you are wrong.


For the card we need:
- CottageCutz dies: jamboree bear, campfire squirrel, campsite, snowcapped mountains, hollow tree w/ forest friends
- brown card base: 5.3 x 5.3" (13,5 x 13,5 cm), folded
- white paper: 5 x 5" (12,7 x 12,7 cm)
- patterned paper: 4.9 x 4.9" (12,5 x 12,5 cm)
- colored cardstock
- Distress ink: Antique Linen, Rusty Hinge, Aged Mahogany, Peeled Paint, Mowed Lawn, Tea Dye, Vintage Photo, Black Soot
- Memento ink: Dandelion

First, we cut out all the elements for the main motive on card. Use cardstock in a variety of colors.


Shadow all pieces with Distress inks and compose them only then in to a whole.


On patterned paper paint area with yellow ink for campfire. Shadow the remaining paper with black ink.


Glue all pieces together, and begin assembling the card. Use glue and self-adhesive foam pads.
Treat white paper around the edges with paper distresser tool. Attach patterned paper on white paper and paste them to the card base both together. Use double side adhesive tape.


Thank you for coming over and have a great day. 


Saturday, December 10, 2016

Holiday Wreath

Hello Scrapping Cottage friends! Thanks for taking the time to stop and visit today. It's Mary Marsh here bringing you the Saturday edition of the Blog.

Well, it's 2 weeks until Christmas. I can't even believe it as I am typing this blog post. Are you in panic mode yet? I am so behind with all I want to do and I am still making Christmas cards. This one is on the CAS side and would be very easy to create about 10 of them quickly. Are you getting a hint here on how many I need (lol)?

So if you still need some cards here is an idea for you. Let's get started with some details on how I made this one.

Kraft Card Base: 4" x 5"
Kraft Pierced Wide Rectangle: 3 3/4" x 4 3/4"
Vanilla Sentiment Layer: 3 7/8" x 4 7/8"

I wanted to make a card with a wreath and the Holiday Wreath was just perfect for what I had in mind for my card. I cut it out 2x in a ivy green textured cardstock. This cardstock is a lighter weight and I thought it needed a little more dimension. I layered the 2 wreaths together with Ranger multi-matte medium. 
Next I cut my frame from Kraft cardstock with the pierced wide rectangle set.  I decided not to use the smaller cardinals on the above picture but I did use the bow from the Holiday Mason Jar die set for my wreath. I went for the bigger cardinal from the Cardinals & Birdhouse die set. I stamped a seasons greetings sentiment in red ink and that took care of all the pieces I needed for my card.
 
 
Now that everything is cut I started the assembly of my card. I was going for the tone-on-tone look so I used dimensional foam tape on my frame to lift it off the card base. It gives it a little more depth since the card base is also Kraft. I attached the vanilla layer to the back of the frame with double sided tape.
 
On my wreath I used some red half pearls for berries. I used foam tape just at the top of the wreath to attach it. I didn't want it to be flush against the vanilla layer. The cardinal was placed in the center to complete this card. This close up shows the detail on the wreath as well as the cardinal. If you click any of the photos it will give a bigger image.
 
That's it for me for this Saturday. I hope I have given you some inspiration using the holiday wreath die. So until next time........inky hugs!!!
 
http://www.scrappingcottage.com/cottagecutzcardinalsandbirdhouse.aspx

http://www.scrappingcottage.com/cottagecutzholidaymasonjar.aspx

http://www.scrappingcottage.com/cottagecutzpiercedwiderectangleframesetbasics.aspx

http://www.scrappingcottage.com/cottagecutzholidaywreathelites.aspx


Friday, December 09, 2016

DAINTY AND DELICATE GIFT BAG


Hello to all!!!!

Its Anita here!!!!
December means Christmas and Gifts . It is always so wonderful to create handmade gift bags and boxes to give gifts to our loved ones.

Here I have created a pretty , dainty and delicate gift bag using CottageCutz dies. It is adorned with tiny flowers and can contain candies, some jewellery or even a small perfume.

Here is my project followed by the intstructional pictures.


Cut out the die cuts from the CottageCutz Filigree Butterfly Pocket die, Leafy Swirls, and 3D flower# 5. Colour the flower and swirl die cut with Blue and green distress inks.


  Score along the lines on the pocket die.


Cut out two pattern papers from measuring 2.5 Inches by 3.5 Inches to add as inserts for both packet dies. Adhere from back.
  

Add tacky tape on the sides of one die cut.


 Secure the tabs to form a box
  

 Add a small flap at the bottom to close the base.
  
Arrange the flowers and leaves along with ribbons for handles


  The finished gift bag


 CottageCutz dies used

Leafy Swirls
3D flower # 5
Filigree Butterfly Pocket Die

Other products

Distress inks, ribbon, tacky tape, pearl prills.


I hope you liked my project. Do share your creations and happy crafting !!!