Hello friends!
I am Yuliya here with a beautiful new card for you!
And I want to show step by step pictures to show you how to make this rustic style card with very pretty 3D flowers!
And I want to show step by step pictures to show you how to make this rustic style card with very pretty 3D flowers!


For the card we need:
- white cardstock for the base card
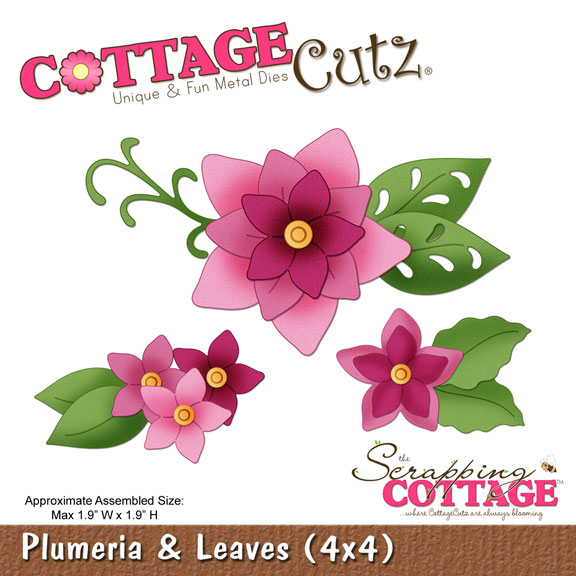
- CottageCutz 3D Flower 5
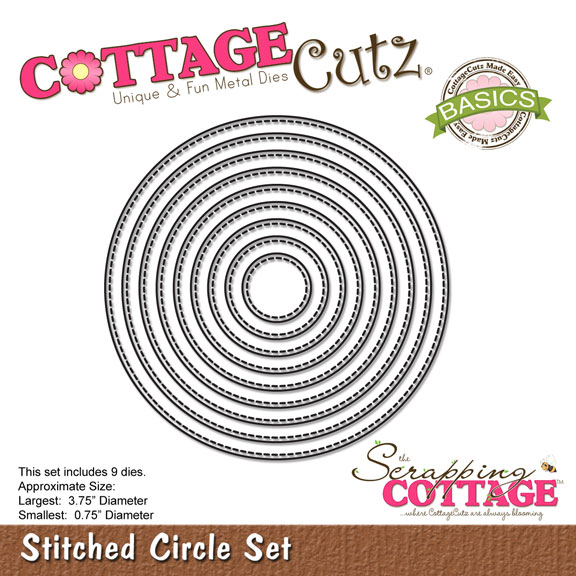
- CottageCutz Cross-Stitched Circle Set (Basics)
- CottageCutz Leafy Foliage (4x6)
- CottageCutz Tea Time Doily (4x4)
- CottageCutz Expressions Best Wishes
- ribbon or lase
- glue and glossy accents
1. I prepared the details of my future card:
- white cardstock for the base card: 11 x 5,5" (28 x 14 cm), folded in half -1 pc
- white cardstock 4,3 х 4,3'' (11*11 сm) - 1 pc
- scrapbook-paper 5,3 х 5,3'' (13,5 х 13,5 cm) - 2 pc and 4,1 х 4,1'' (10,5 х 10,5 cm) - 1 pc

2.Glue the details of scrapbook paper to the cardstock. Glue the lace

3. Add some volume with the help of chipboard.

4. Our card is ready for the next step

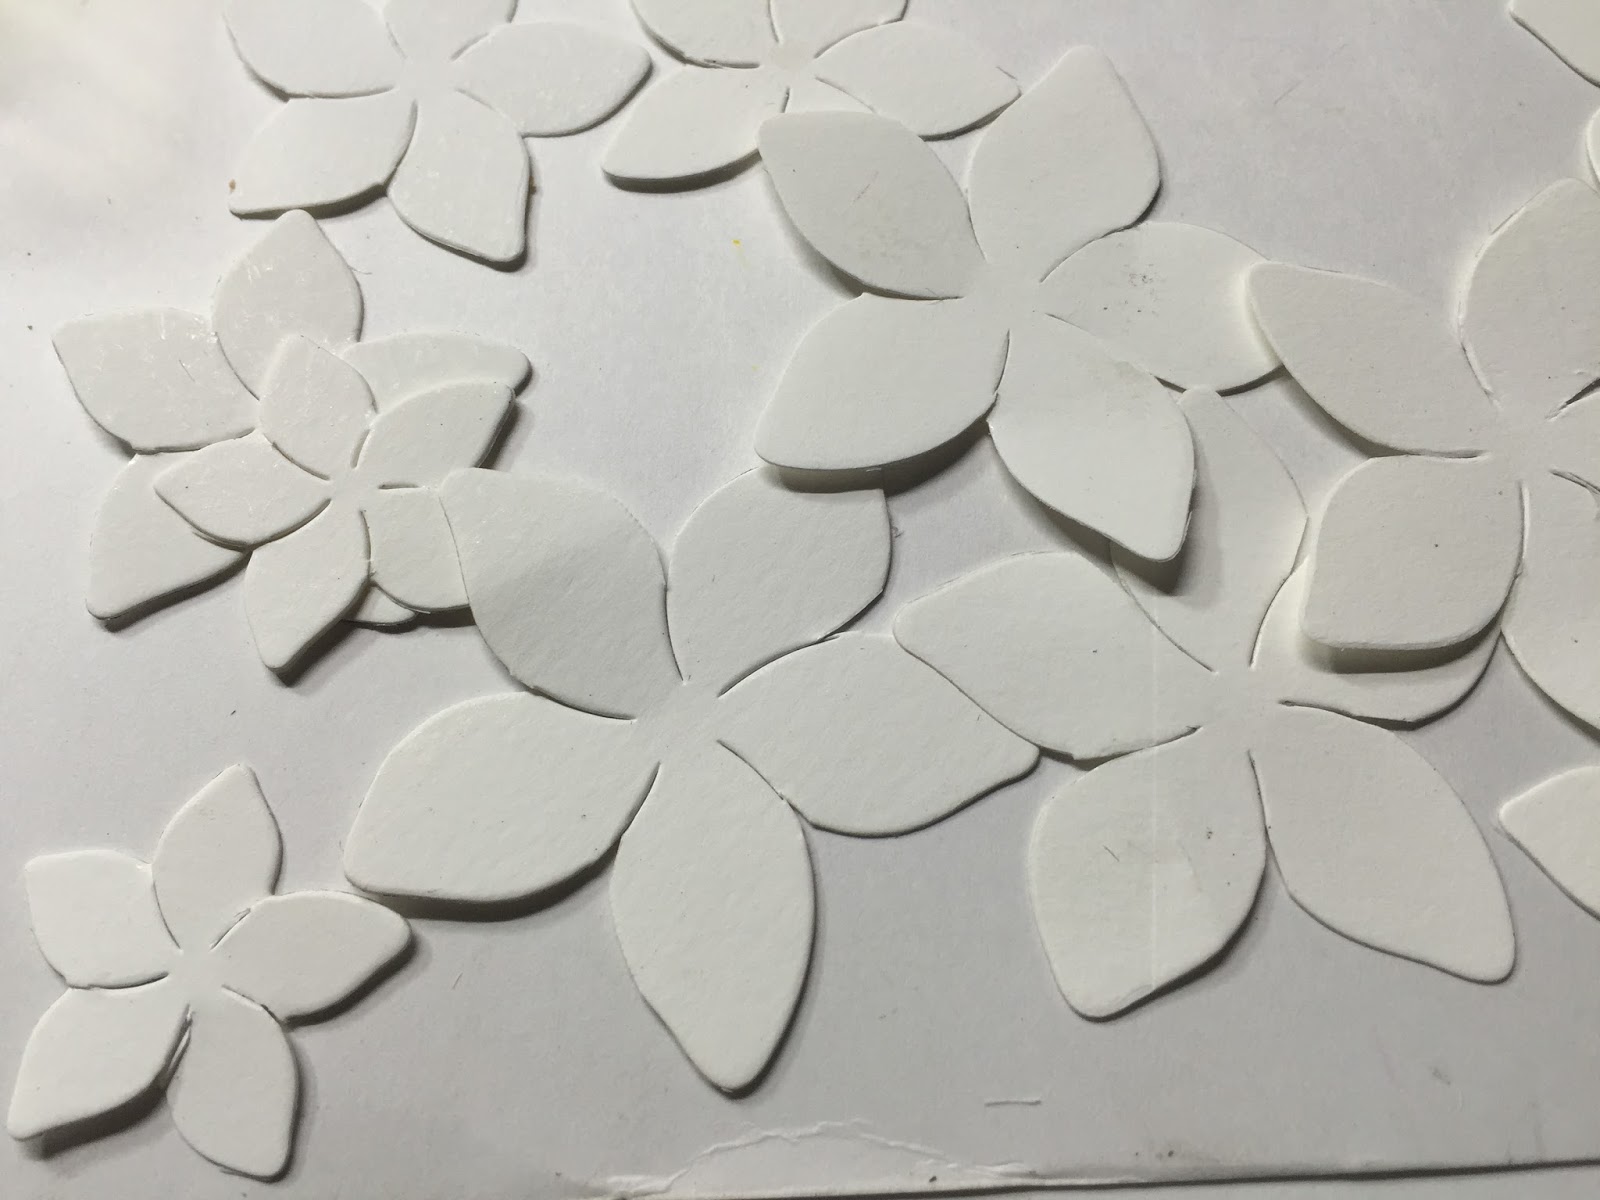
5. Cut out flowers and leaves from the CottageCutz 3D Flower 5, CottageCutz Leafy Foliage (4x6)

 6.
6.
 7.
7.


So cute, isn't it?) I use also CottageCutz Tea Time Doily (4x4)


8. Arrange our details on to the card as shown in the picture below.

9. I glue inscription Best Wishes on the circle. I make the very nice circle with help
CottageCutz Cross-Stitched Circle Set (Basics)
Cut out frames in many sizes in scrapbookpaper and arrange on to the card as shown in the picture below.
Cut out frames in many sizes in scrapbookpaper and arrange on to the card as shown in the picture below.

10. Arrange the flowers and leaves on the card as shown.


The card is ready.
CottageCutz is having a new challenge - Anything Goes, for the very first time and giving away two prizes to the winners. So do follow this link Challenge #1 and play with us.
Here are the dies that I used for my card


Have a great day. See you next week.