Good Morning Cottagecutz fans. I hope you’ve had a wonderful weekend crafting. My usual weekend includes dog walks with my Border Terrier Betty and a whole lot of crafting
Todays post is a light tutorial as I will be including a full tutorial on my Friday post
I’m including some of the designs from the
new release where you can still get 30% off which is amazing. These dies have really inspired me to make some really different cards, not usually my style. Get your dies why the discount is still available.
Top tip from me today, If I know I’m going to repeat a card, tag etc. many times, I always buy more than one of the design. If you have an A4 cutting plate you can load several does at once.
So lets get on to todays project
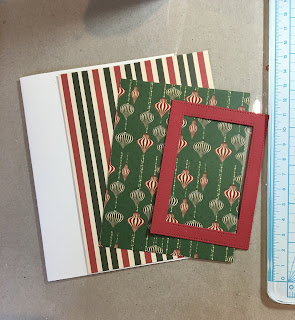
I started with a card when folded measured 6” square. The next layer was a piece of red card measuring
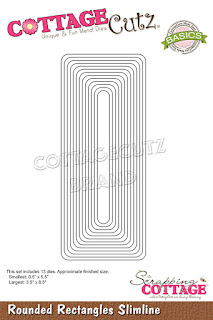
5 3/4”square, followed by a silver piece of card measuring 5 1/2” square. Finally I took a piece of white card measuring 5 1/4” square and in the centre using the largest of the nested stitched circles I cut a hole. With all the other pieces of card stick I stuck them down with glue but the white piece of card I adhered using 1mm foam pads.
Next I cut out the Santa Gnome and the chair in the colours above. I used a small stitched oval coloured in blue to act as a rug and then adhered the design on the top with 1mm foam pads. I took the mug from the new Smores die and gave it to Santa. He needed a hot cup of cocoa after delivering all those presents. I used some brown chalk to look like the marshmallow is toasted
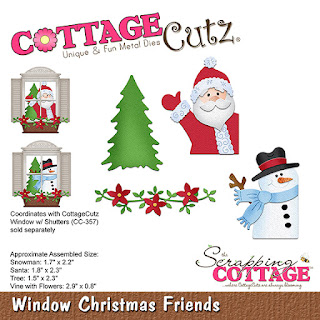
I thought it might be nice to adorn the card with some additional elements so I used the ‘Window Christmas Friends’. From this I took the Christmas tree, the vine and the poinsettia. What I liked about the vine is that you could bend it to fit around the tree and also for the top left hand corner of the card.
Finally I used the new ‘Merry Christmas W/Shadow’ sentiment. I think the red looks really powerful on the silver card. I used a diamanté above the ‘I’ in Christmas to give the card a little more bling. I attached the sentiment with 1mm foam pads
I really hope you like the card. I’ve tried to keep this simple and clean and a card that can be easily repeated for your crafty stash. Have a wonderful week and I really look forward to seeing you Friday with something a little different
Dies I’ve used for the card


