Monday, June 07, 2021

Howdy from the Funny Farm

Hello!  This is Sukie and today I have a card to share featuring the new Country Farm die release!  There are so many amazing dies in this release to choose from and they are currently on sale!

My card features the Country Farm Barn at the focal point of my card.  The farm barn has so many little details from the animals to the greenery surrounding it.  I selected some bright and cheery patterns for the background of my card and used the Hills Slimline and the Clouds Slimline die sets to create the farm scene. The fun sentiment was perfect for finishing off my card.
Here are the die sets used on my card, available in the store:

Sunday, June 06, 2021

You're Invited


Hi!

It's Anja here. I have another celebration themed card for you today. This time it's a party invitation. 


For this card I used:

- Cottage Cutz dies (Juggling Monkey, Circus Snacks, Rounded Rectangles Slimline, Pierced Circle Set),

- Distress Inks and Oxides

- white card base (10x21 cm),

- white card stock and watercolor paper for die cuts, 

- black pen,

- white pen,

-water spritzer,

- white acrylic paint.

- heat gun,

- printer,

- paper glue. 


First I cut and colored the monkey and the snacks.

Next I cut the rectangle and colored it with Distress Oxides.  

 
Next I sprinkled the background with water and white acrylic paint. I dried the paper with the heat gun.

 
After that I printed and cut the sentiment. I also cut another circle from white card stock.

 
Last I arranged all the pieces to the card base and glued it together. And my card was done. 


That's all from me for today. Have a nice Sunday and see you again next week. 

Anja Z.


Cottage Cutz dies I used:


Saturday, June 05, 2021

Hey Chick

Hello Scrapping Cottage friends! Thanks for taking the time to stop and visit with us today. It's Mary Marsh here bringing you the Saturday edition of the Blog.

IT'S NEW RELEASE TIME! The collection is called COUNTRY FARM! It has the most delightful dies from Tractors to Cowboy Chicks! Each die is just full of awesome details and can be used for so many different occasions. All of the new dies are on sale at 25% off.

Today for your viewing pleasure, I am featuring the new Cowgirl Chick die. She is just the cutest little thing and even a bit sassy.  I thought it would make a great birthday card for a gal! So lets get started with some details on how I created my card. 

Design Steps:

I started my card by cutting the Cowgirl Chick die. For her hat and scarf I used the packaging colors because it's a perfect western look.
Next, I looked through my designer papers and found this one that already has an outdoor scene as part of the paper. I decided to make a square card because I didn't want to cut to much of the designer paper. 

Card Base: 5 1/2" square
Designer Paper layer: 5 1/4" square
Stamped my sentiments on both the clouds. I wanted the words to be a bit sassy like the chick. The "hey chick" sentiment has an exclamation point at the end. The clouds are from the Stitched Sun, Clouds & Umbrella die. 
Now I am ready to start the card assembly. I used dimensional adhesive to lift the image and clouds off the background. 
 
To finish off my card, I attached the image panel to the card base. I scattered a few red enamel dots just for some added interest. Well, that's it for me for this post. I hope I have given you an idea for a way to use this new die. See you next Saturday!

dies I used to create card: 


Friday, June 04, 2021

Hogs and Kisses

Happy Friday!  It's Jeanne today and IT IS NEW RELEASE TIME! The collection is called COUNTRY FARM! It has the most delightful dies.  Everything from Tractors to Chicks to Cows!  Each die is just full of awesome details and can be used for so many different occasions.  Today, I am using the Farm Pig Peeker as a gift card holder / card.

This little gal is adorable with her floral headpiece.

I first started by coloring her with Distress Oxide inks.  I used Copic markers for the smaller floral pieces. (There is a sneak peek here of a card I'll have later this month for you!)

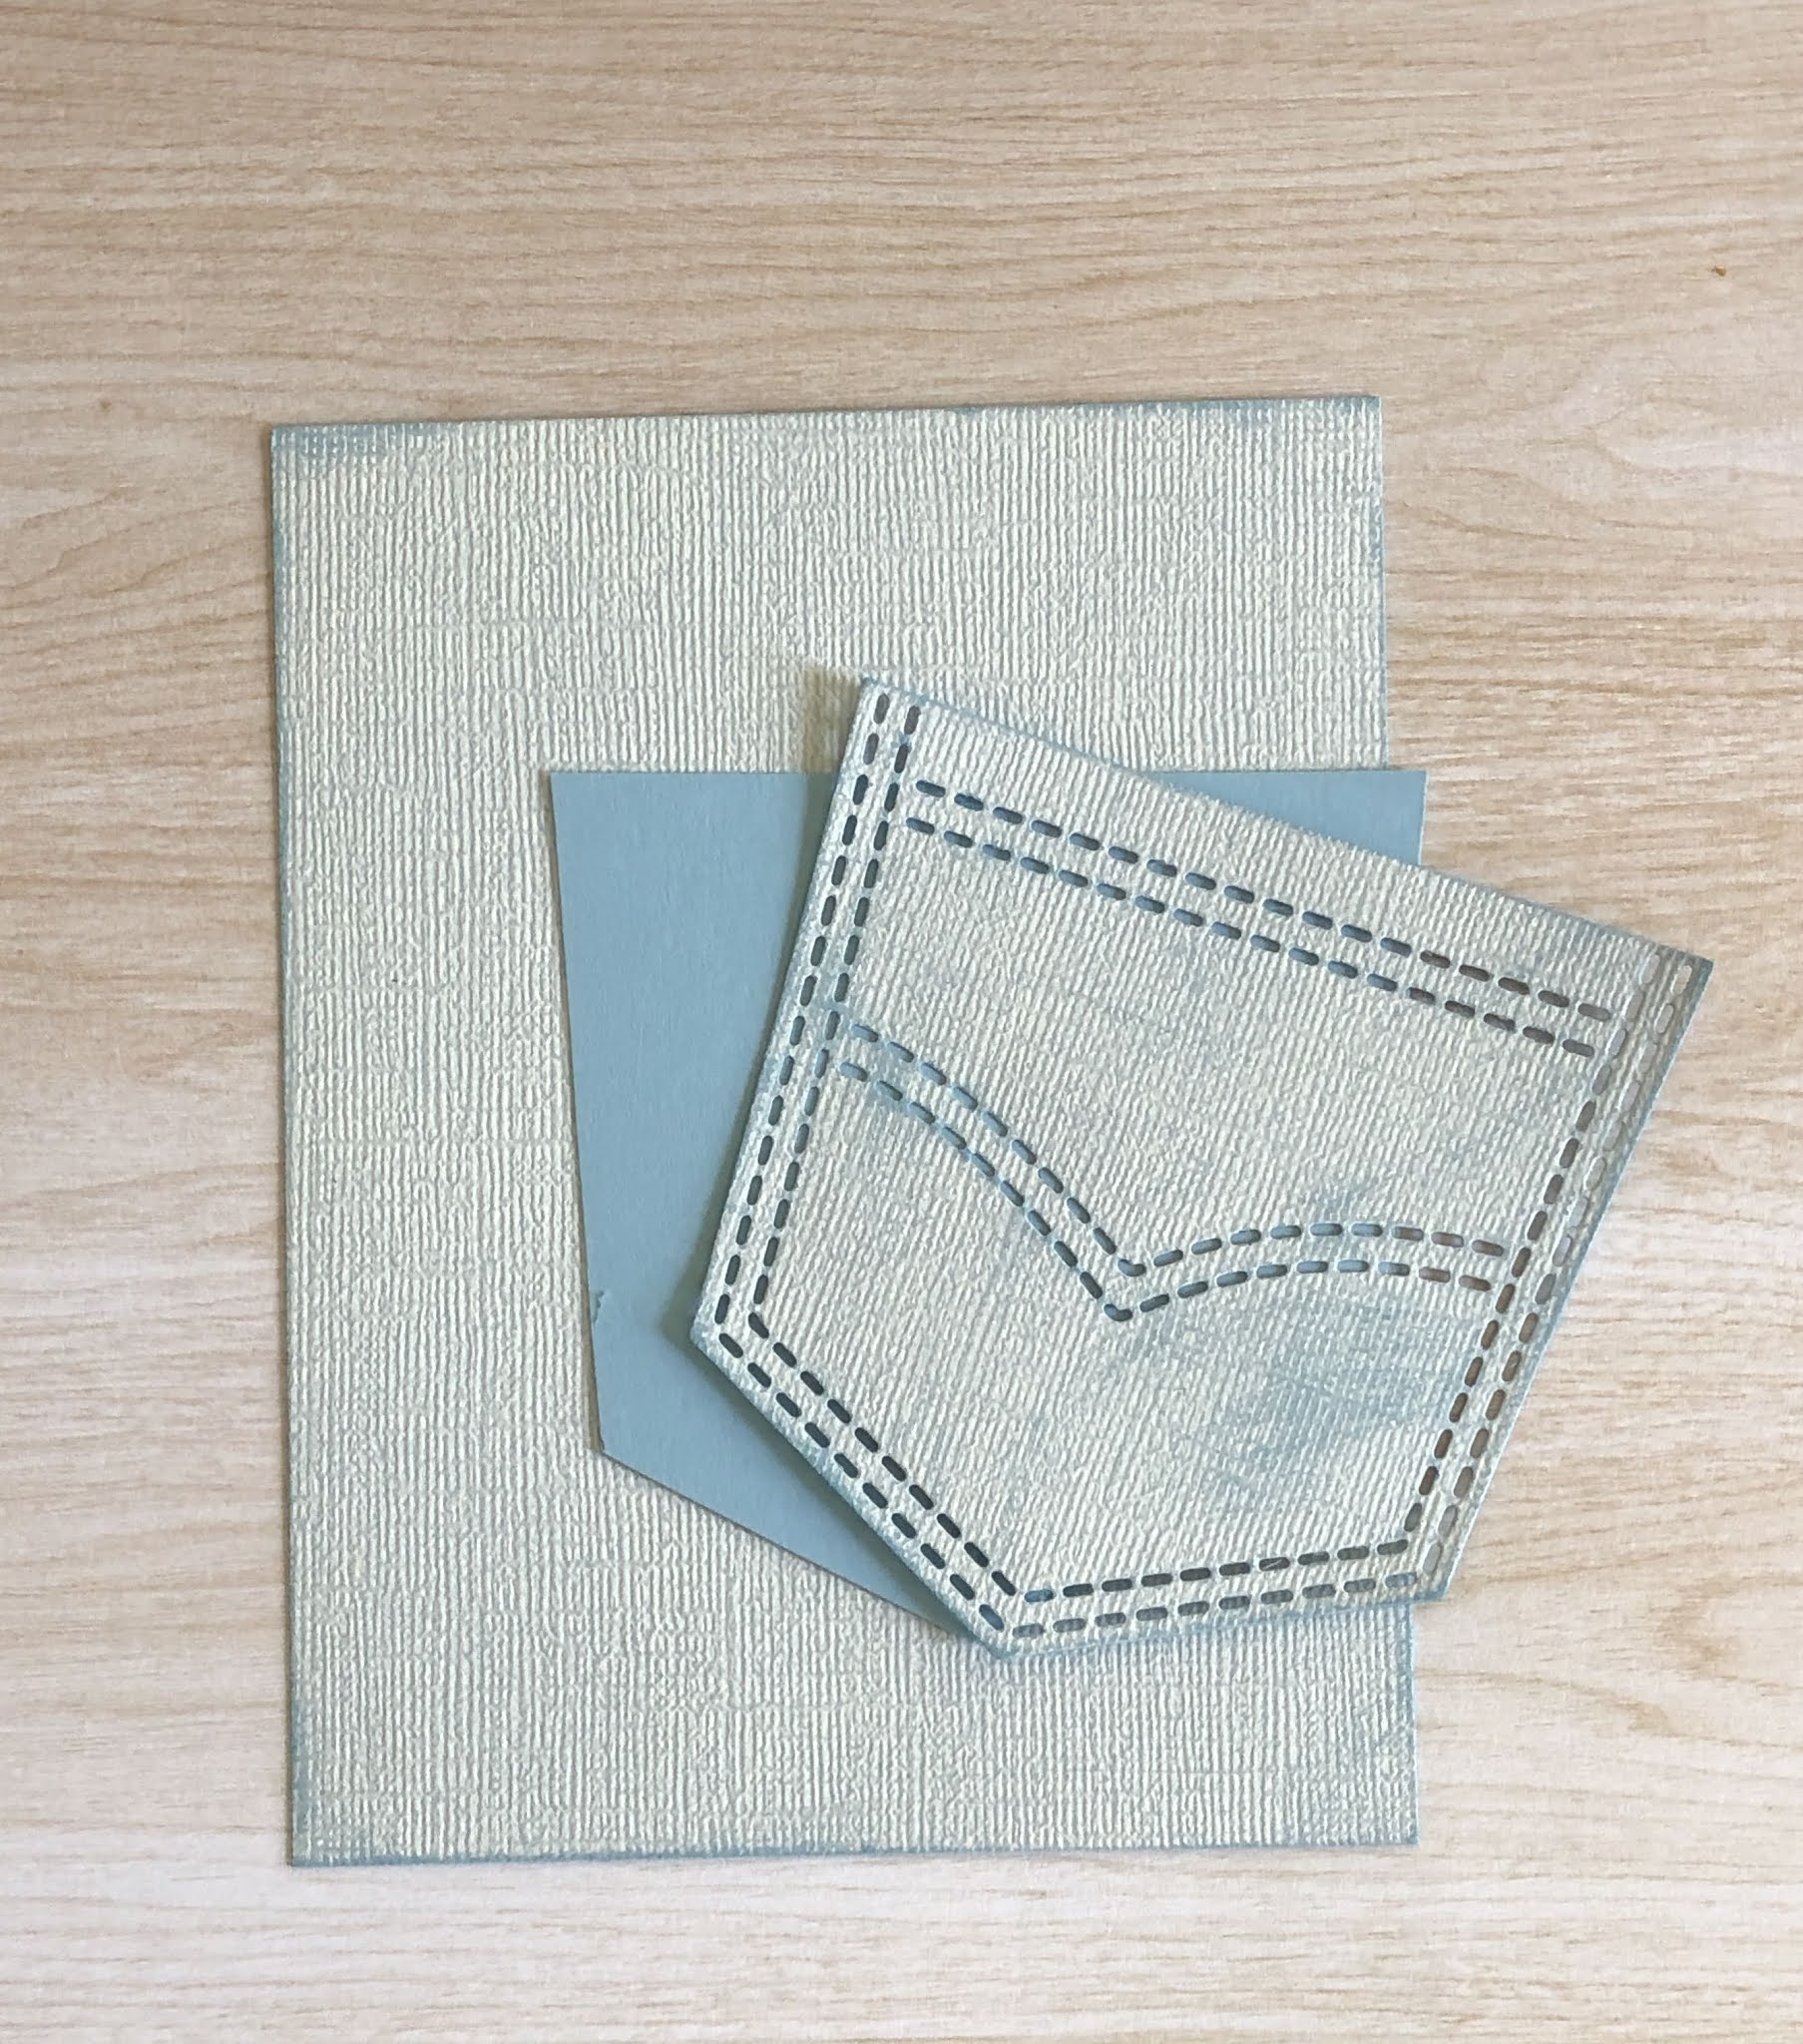
 I cut my A2 base and pocket from a Co'Ordinations cardstock which gives a weathered look when sanded.  I wanted it to have an "old jeans" look.  The Pocket was cut from the Peeker Pocket die which is currently out of stock.

I traced the pocket onto a piece of light blue cardstock and cut it slightly smaller than the pocket.  I glued this to the back of the pocket.

The pig peeker is glued to the pocket NOT the card to make a gift card holder. 

The front view.

I added her flowers and glued the pocket to the card panel.  When adhering a gift card pocket I insert the card while gluing so I know that I have enough room for the card. If I don't, I have at times, glued the pocket piece so tightly to the card that I can't insert the gift card! 

I stamped the sentiment and used the smallest of the Stitched Rectangle Slimline dies to cut a banner.  The excess I trimmed with scissors.

Finally I added a small daisy in the corner to match the daisy in this little piggy's headdress.  This panel can be used alone as a gift card holder or as the front for an A2 card!

Dies used:


Thanks for visiting today!  Be sure to stop by the online store where the new Farm Realease is on sale for a limited time!

I hope you have a fun and creative weekend!


Thursday, June 03, 2021

Best of Cluck!

Hello Scrapping Cottage Friends 

It is Pam creating with you today!

IT IS NEW RELEASE TIME! The collection is called COUNTRY FARM! It has the most delightful dies.  Everything from Tractors to Cowboy Chicks!  Each die is just full of awesome details and can be used for so many different occasions.  Today, I am using the Farm Tractor w/Trailer as a best of luck z-fold card.


Design Steps:

1.  Using the Tractor w/Trailer die cut all the pieces.  I used red, black, silver, brown and acetate for the window and head light.  I also used the Stacked Farm Animals for the additional chickens.  And the Grass, Tree and Vine die for the background tree.  Shade and assemble all pieces
2.  For the base of the z-fold card I used a white piece of card stock 4 x 11.  Fold it in half and then fold the front fold in half again.  For the little z-fold white strip I cut a 1 x 11 inch strip.  This strip is scored at 2 3/4 x 5 1/2.  

3.  Before attaching the strip glue down your cloud DP 2 panels at 2 5/8 x 3 7/8 and 1 panel at 5 3/8 x 3 7/8.  Next use your Grass Slimline die and cut 2 pieces of green grass about 1 inch high.  Also cut 4 pieces of white fence using the Victorian Fence die.  Glue the fence to the back of the grass and then glue to the z-fold strip.  Using the Stitched Sun, Cloud and Umbrella die cut out a sun in yellow
4.  Pop up the Tractor and Trailer to the card as shown.  Add the sun to the upper left corner
5.  Glue the tree flat to the back panel as shown.  Glue the 2 additional chickens and bags of grain to the card as shown.  Add the sentiment and your card is finished

CottageCutz Products


Thank you all for stopping by and be sure to check out this adorable new release!

Take Care and Blessings
Pam