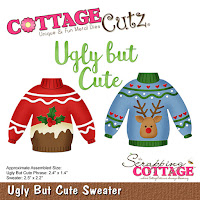
I am in need of some masculine birthday cards this month so that's my theme for this post. Since it's January and sweater weather I thought I would use the Ugly but Cute die for my card. It's part of our Christmas 3 collection but my card shows you a way to use it for other occasions. Helps you get more mileage out of your dies.
Let's get started with some details on how I created my card.
Step 1: The sketch #720 from Splitcoaststampers was a perfect layout for a masculine card. It's simple and I think that always makes for a great male themed card.
I chose this designer paper from my stash. It has a variety of colors that will help me build my card. For the angled panel, I cut a piece of turquoise cardstock 4" x 5 1/8" and cut it at an angle. I did the same with my designer paper.
I wanted some texture on the turquoise panel so I embossed with an argyle embossing folder.
I cut my sweater from cardstock to match the colors on the designer paper. Used a purple (rich razzleberry) and pumpkin cardstocks.
Step 2: Now that the card elements are cut, I can start my card assembly. I attached the angled panels to the white card base with double sided tape.
I wanted a cover up where the 2 panels meet. I thought of ribbon or twine but eventually decided on just a strip of rich razzleberry cardstock. It's 1/2" wide and 4 1/4" long. It kept the masculine appeal of my layout.
White card Base: 4 1/4" x 5 1/2"
The sweater was attached with dimensional adhesive. I always like the look of the image being lifted just slightly off the image panel.
Step 3: To complete my card and add a sentiment, I used the Celebrate Phrase and cut in turquoise cardstock.
Well, that's it for me for this week. I hope I have given you an idea for another way to use this sweater die. See you next Saturday.
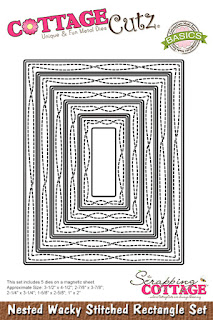
dies I used to create card:


