Hello
Scrapping Cottage friends! Thanks for taking the time to stop and visit today. It's
Mary Marsh here bringing you the Saturday edition of the Blog. Hope you are staying warm during this cold snap that is currently with us.
While we are preparing for a brand new CottageCutz release, the design team has been showing you a mix of creations from some of the older dies. And, that's where my card is going today. I created this birthday card from the stamp & die combo
farm animals. So lets get started with the details on how I created my card.
Step 1: As I frequently do, I started my card with the layout. I saw this sketch posted on the Splitcoaststampers site and a card idea immediately came to mind. Well a rough idea had been brewing in my mind for awhile. Then this sketch just finalized everything.
Step 2: As with any sketch you can change things up a bit. Like the shapes that are shown here. I decided to used the
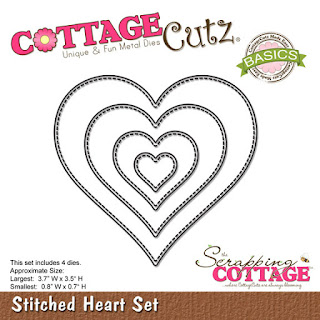
circles and
stitched circles die for my shapes. I chose circles because of the background designer paper I am using. The paper reminded me of cow spots so I decided to go with a circle to place the cows on. The
circle die only is currently
on sale at 60% off the regular price. So you can pick it up for
only $7.95 right now.
Card Base: 4 1/4" x 5 1/2"
Patterned Paper: 4 1/8" x 5 3/8"
White Circle: 4th largest die
Black stitched circle die: 4th largest
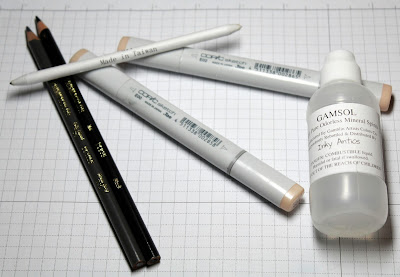
Step 3: I stamped the cow images, used the corresponding die and colored the images with both Copic markers and Prismacolor pencils and gamsol. Gamsol is odorless mineral spirits that is used to spread the wax in the pencil around.
Copic Markers: E000 + E02
Primsmacolor Pencils: Black PC935 + Warm Grey 70% PC1058
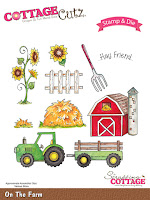
Step 4: I thought the cows needed a little pop on the white circles. So I cut a scallop circle for a cloud template and I stamped the hay from the "
on the farm" stamp & die combo. Sponged the clouds with distress ink and colored the hay with alcohol blenders.
Step 5: I am ready for the card assembly. I attached the cows to the circle panels with Scotch mounting tape. And used the same adhesive to attach the circles to the patterned paper layer.
Step 6: I decided to make layer 4 of the above sketch my sentiment panel. I wanted the panel to be a pierced rectangle but the rectangle dies were just a bit too big to fit in the corner. So I adjusted the size of the 4th largest pierced rectangle.
The first photo below shows the finished panel with my stamped sentiment as well as the original size of the rectangle.
I placed the panel back in my big shot and just moved the die to where I wanted to re-cut it.
Once I re-sized the panel, it was the perfect fit for my sentiment as well as the corner of the card.
And that my friends, completes my card for this week. If you have these stamp & die combos, I hope I have given you a new idea for using them. If you don't have them they are still available in the online store. In fact, the on the farm stamp & die set is on sale for 50% off. You can get it for just $10.
See you all next Saturday!!
Dies I used to create card:


