Thursday, March 30, 2017

Larkspur Beauty!

Good Morning to All of Our Sweet Scrapping Cottage Friends!

It is Pam today excited to share a mixed media card with you today!
At the Cottage Cutz store you will find some wonderful stamps that represent all the flowers for each month of the year!  The stamps are beautiful and have a sweet whimsical quality!

Today,  I used the Larkspur stamp which I am partial too because my birthday is in July!

1.  Started with an A2 white card base and a slightly smaller piece of deep purple card stock.  I glued the purple card stock to the front of the white card base and set aside


2.  Using a 4 x 5 1/4 piece of notebook designer paper I decided to do a bit of a mixed media background. Use TH distressed inks and sponged them onto the designer paper.  The two colors used are Peeled Paint and Seedless Preserves
3.  Continuing the process by using a stenciling and Tumbled Glass ink

4.  After the sponging to soften the look use a white acyrlic wash over the top.  Mix the white paint with a lot of water and apply one coat over the whole background
5.  Let dry then added some of the Seedless Preserves splatters.  Do this by smearing some of the ink on a plastic sheet and added water.  Then pick up the ink with a brush and tap it on your finger above the paper in different spots
6.  Let the background dry and while it was drying  color the Larkspur and Dragonfly with copic markers: Y13, 15 - V000, 01, 04, 06, 09 - YG03, 63, 67 - G21, 40, 94, 99 - E23 - B02 - C02
7.  Using the coordinating dies cut out the Larkspur and Dragonfly. Add a purple ribbon to the Mixed Media background paper then mount flat to the card front.  Add a silver cord by just taping it down. Then Using the Double Stitched Rectangle die cut a light purple piece of card stock.  Pop it to the front of the card over the silver cording
8.  Pop up the Larkspur and Dragonfly onto the die cut rectangle.  Using the same deep purple card stock cut out Thanks and glue it just above the on the right side

Here is the finished card!

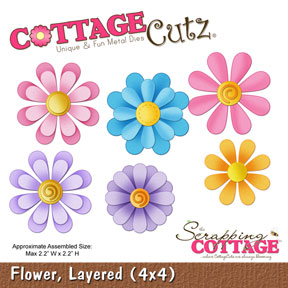
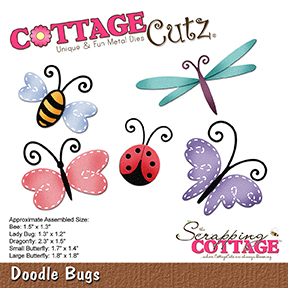
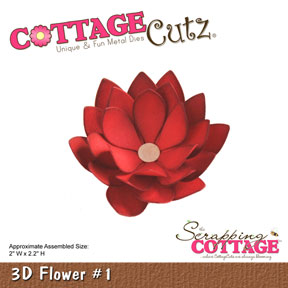
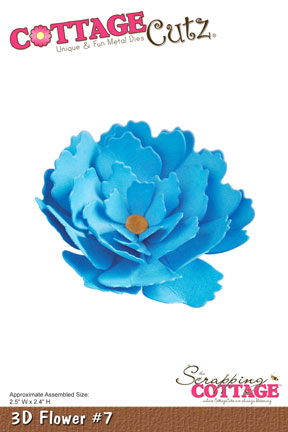
Cottage Cutz Products Used in this project:


I hope you try one of our lovely flower stamp sets soon! And as always thanks so very much for taking the time to stop by today! We really appreciate it!

Blessings
Pam


Wednesday, March 29, 2017

Scenic Jar Card with Teardrop Trailer


Hi everyone! It’s Janet with SugarShine Designs and I’m excited to share my video card creation today featuring the Teardrop Camper, Spring Grass, Stitched Circles and Double-Stitched rectangle dies! 

Be sure to take advantage of the BIG Anniversary Sale. All the dies I used for this card are 25% to 50% off through Friday. Now is the time to load up on wish list items that are on sale and share your list with family members as a hint for Mother's Day!

You can click on my video below to see how I made this cute mason jar shaped card but first let me tell you a little more about it. 


The adorable Teardrop Camper is the true star of the show! The details in this die cut are incredible, down to the tiny curtains and awning which for me is my favorite part. To create a little more texture to the die cut, I used an embossing folder to set off the bottom piece of the trailer and I also dry embossed the clouds in the background. I accented them with some white and tinsel mixed embossing powder which gives both a milky white and glittery appearance.


The base card is a 4-bar sized card and it’s created using an envelope punch board. I got the idea from many videos out there showing how to make a jar shape but I made it my own by turning it into a card with the hinge at the top. I further experimented a little and found that I could dry emboss a zig-zag pattern with my embossing board to give the jar lid the illusion that it is screwed on. The round tags were stamped and cut out using the stitched circles dies and the interior piece was cut out with the double-stitched rectangle die. It’s these little touches that makes the card so fun.


I have included the dimensions and supplies in the description of the video so go there to get all the details to make your own scenic jar card with the Teardrop Camper or other CottageCutz dies. There are so many possibilities! Thanks for spending some time today with me at the Scrapping Cottage Blog. Have a wonderful day!
 Click to see video.


Tuesday, March 28, 2017

Easter basket

Hi everyone, Janja here!

Spring is here, and with it the upcoming Easter holidays, which offer us great opportunities for creativity.
For Easter card I used three CottageCutz dies. Two older and one from this year's release.
Let's see how it is made.


Supplies:
- CottageCutz dies: Calendar Icons (eggs), Sweet Spring Kitty (basket), Fancy Victorian Frame
- white card base: 5.3 x 5.3" (13,5 x 13,5cm), folded
- corrugated cardstock: 5 x 5" (12,7 x 12,7 cm)
- patterned paper: 4.5 x 4.5" (11,4 x 11,4 cm)
- white and colored cardstock
- Distress ink pads: Worn Lipstick, Dusty Concord, Mowed Lawn, Vintage Photo
- Memento ink pads: Dandelion, London Fog
- ColorBox Frost White

First, we prepare cutouts: basket, Easter eggs and flowers. Shadow all the elements, and shape them.


Trim corrugated cardstock. Here and there apply white paint with a sponge.


Mount patterned paper on corrugated cardstock with double-sided adhesive tape.


Cut out a part of frame that will be used for decoration in the upper right corner.


With glue and self-adhesive foam pads fasten basket on the background and arrange flowers.


Thank you for joining me today. See you again next Tuesday.


Monday, March 27, 2017

Get Well Scene

Hi, Lois here today with a card that has many small pieces.  That's what I like about the CottageCutz dies -- all the elements included on them.  I'm using another new-to-me die -- the Tree of Nature die with lots of cute elements.  I've made a get-well card with the look of spring.


Supplies used on this card are:

Tan cardstock for the base, 8 1/2" x 5 1/2" folded in half at the 4 1/4" mark
Dark brown cardstock 4" x 5 1/4"
Light blue cardstock 3 7/8" x 5"
White cardstock for the die cuts
Copic markers
Ranger Distress Mowed Lawn ink
Foam pop dots
Googlie eyes
Tape runner
Xyron X sticker maker
CottageCutz dies:  Tree of Nature, Picket Fence Border, Spring Grass


Instructions for card:

To avoid having to make many passes through my Big Shot with different colored cardstock, I cut all my pieces from white -- and colored them afterward.


As you can see there are four blossoms and four sets of leaves already on the die.  I used a variety of Copic markers, as well as a fine black pen, to color my die-cut pieces.


As you construct a scene on your card, you could decide to cut more of them.  As you can see with my colored images, I decided I needed more leaves and blossoms.  While I was at it, I also cut two strips of grass using the Spring Grass die and sponged on some green ink for texture.


Next I cut the cardstock for my card base -- tan, dark brown and pale blue.


I then constructed my scene.   I used my Xyron X sticker maker to put adhesive on the back of the smallest pieces.   I had cut two strips of grass because I wanted one strip behind the fence and one in front.   As it turned out, I actually cut four more blossoms for my tree.  Here is a close-up of the 3-D pieces (the butterfly, the bird and the owl).  I used tiny foam pop dots to create the 3-D look for the wings of the butterfly and bird -- and larger ones to adhere all three critters to the card.   I love using googlie eyes on owls, so I used them rather than the eye pieces from the die.


I then stamped the small sentiment at the top and I was finished.  Again, here is my card:


Dies used on this card are:


By the way, check out the BIG Anniversary Sale.  You could save up to 50%.


Saturday, March 25, 2017

Paper Embellishments with Layered Die cuts

Hello dear friends,

How is everyone doing!!!!! I hope you will have a super crafty Sunday today.
Have you ever wondered what a range of paper embellishments can be created with die cuts.

We are always short of tags, mini cards or even decorative embellishments and try to make quick simple ones . So here I have five creative paper embellishments that can be used as tags, cards and even for scrapbook layouts.
CottageCutz has a wide range of dies and you can play with them to create these super cute things. And the best part is you use all your paper scraps that you have been hoarding all this while. So have a look at these. Get inspired and start playing with your dies.


Aren't they super cute!!! And I had fantastic time playing with my die cuts.
I gathered all my paper  scraps and grouped them in shades of various colours. Then I picked one floral die and cut many flowers from one shade.
Similarly , If I chose a stitched die, I cut many die cuts of different colours from paper scrap. 
Cut several designs in many shades and layer them with foam tape. You can create hundreds of designs. 

Here are the dies I used for my embellishments.


You can check all the amazing collection of dies at the CottageCutz Store.
Do share your views on these pretty paper creations. Thanks for stopping by.