Hi, Vladka here!
It is such fun to play with Christmas dies and today I have this card for you:
Let's go to basics first:
White card base: 4 1/4 x 6 inches (cut 4 1/4 x 12 inches, fold in half)
Additional piece of white cardstock and some white and light blue cardstock for die cuts and back side of the ornament.
Other Supplies:
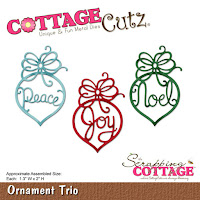
CottageCutz Dies: Listed Below
Other: Paper trimmer, Sizzix machine, Scor-buddy, White watercolor in tube, paint brush, fun foam, green and brown copic markers
1. First prepare card base and use the biggest Bulb Ornament die and cut it out of additional piece of white cardstock. You will need the negative piece, but save the ornament bulb for the next project. Do the same with piece of fun foam, which should be slightly smaller as additional piece of white cardstock. This is our base.
2. Cut the snow hill, Deer and Forest scene out of white cardstock and prepare also piece of blue cardstock for next step.
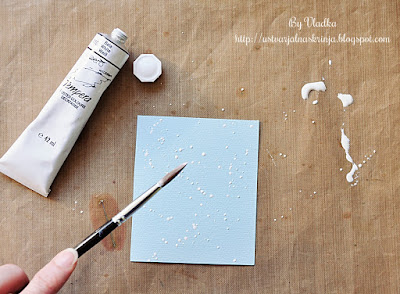
3. Let's go on with background. Take piece of light blue cardstock and some white watercolor and paint brush. Mix white color with a small amount of water. With paint brush, flick some droplets on the blue cardstock and let it dry.
4. Color the trees and the deer with green and brown copic markers:
5. Put some white watercolor on the piece of dish sponge and drag gentle over the Winter scene:
6. Use double sided tape and glue snow hill on the backside of the additional piece of cardstock so that it will be visible true the bulb hole. Glue also Deer and Forest scene on the backside of the fun foam so that it will also be visible true the bulb hole.
6. Now glue fun foam on the back side of the additional piece of white cardstock and blue piece of paper on the back of fun foam. Glue everything on the cardbase, which is already prepared beside.
7. With Build a Bow die, make bigger bow and glue it on the top of the bulb. Flick some white droplets also on the finished card:
8. Finished the card and glue everything on the cardbase and add also the Merry Christmas die cut. If you want, you can add also piece of acetate between additional piece of paper and fun foam and make shaker card out of it.
I hope you like this card. Have fun creating. And don't forget, fifth CottageCutz challenge is waiting for you. This time theme is BIRTHDAY CARD. You can linked your project here. And please, use only Scrapping Cottage dies.


