Hello CottageCutz friends! Thanks for taking the time to stop and visit with us today. It's Mary Marsh here bringing you the Saturday edition of the Blog.
IT'S NEW RELEASE TIME! The Spring Release with 20 new designs is in the online store. The individual dies are currently at 30% off.
There is a nice combination of both religious and whimsical designs. So perfect for all card makers out there. And the dies don't have to be used strictly for Spring or Easter. The team has done Valentine, Birthday and Thinking of You cards with these new dies. Take a look back on the Blog for lots of ideas.
There is a nice combination of both religious and whimsical designs. So perfect for all card makers out there. And the dies don't have to be used strictly for Spring or Easter. The team has done Valentine, Birthday and Thinking of You cards with these new dies. Take a look back on the Blog for lots of ideas.
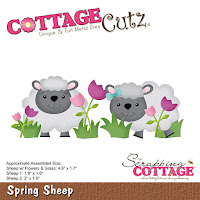
Today, I have for your viewing pleasure a card for Easter featuring the new Spring Sheep die. So, let's get started with some details on how I created my card.
Design Steps:
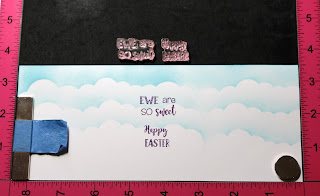
I decided to make a slimline card this week and I used the Circle Windows Slimline die to place the sheep. I cut some blue patterned paper from my stash. I liked the soft whimsical appeal. On my white card base, I used a stencil and stenciled some clouds with broken china distress ink.
white card base: 8 1/2" x 3 1/2"
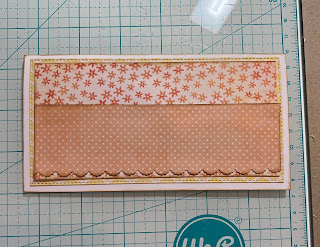
blue patterned paper: 8 1/2" x 3 1/2"
I cut the sheep, tulips and grass with cardstock. For the tulips I used 2 shades of purple cardstock. I cut more than I would need because I wasn't sure how I was going to place them.
In the center window, I stamped my sentiment using a grape ink.
Now that all my elements are prepared, I am ready to start card assembly. I attached just the top portion of the designer paper to the card base. I wanted some wiggle room to get my grass and tulips positioned on the lower portion of the card. The grass is attached with glue dots and the sheep with dimensional adhesive.
To finish off my card I added some of the tulips to the circle windows and that completes this design. I then secured the bottom of the designer paper with double sided tape and liquid glue.
And that's it for me for this week. I hope I have given you an idea for a way to use this new die. So, until next time......blessings!
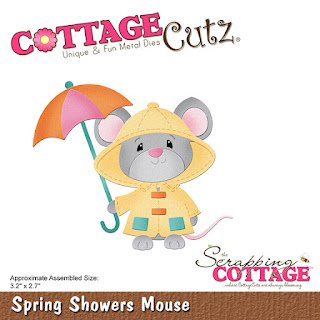
dies I used to create card:


