Monday, October 18, 2010

Happy Monday Morning Friends!


Good morning everyone! I am so excited about the new dies at The Scrapping Cottage! I can't wait to try them all. Today I have a card featuring Lisa Jean Witch. This die set comes with 3 Peachy Keen Stamps, a toothless grin face, a cranky witch face, and an angry broom face. I chose to use the crabby witch face today as I used the other face just a short time ago on my blog.

I cut the pieces using white cardstock and colored them up with my copics. I am so happy Lorie taught us that wonderful trick. I find myself cutting most of my images in white. I love to color and I feel that you can get a much more detailed image doing it this way. Please be sure and check out the new dies at The Scrapping Cottage or at Peachy Keen Stamps. They have been selling quickly. They are definitely dies you will want for your Halloween collection. I would love to see what you create with your Cottage Cutz dies. Just leave a comment with a link so I can come take a look. Enjoy your day and I will be back next Monday with some more Halloween cuteness.

Sunday, October 17, 2010

If friends were pumpkins...I'd pick you

Hello! Happy Sunday!!! For my card today I used the Turkey w/Pumpkins die for my pumpkins, and the Hay Wagon die. I LOVE the cool texture on the wagon. I used mini brads for "nails" in the wagon.

I hope you're having a restful Sunday! See you back here next week!

Nikki


Saturday, October 16, 2010

Brand New Cottage Impressions!!!!

Check out the newest addition to the Cottage Cutz family - Cottage Impressions!!

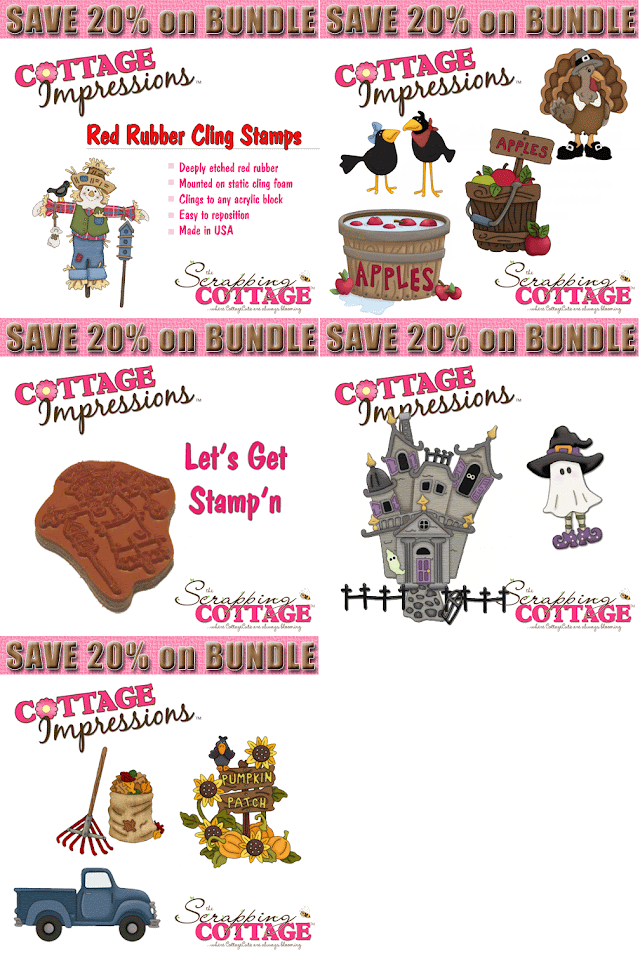
We have released some of our most popular designs from last year as Cottage Impressions Stamps. Cottage Impressions are cling mounted stamps deeply etched from top quality red rubber. They will cling to any acrylic block.

Check out the very first release here:

Halloween ABC Book

I have decided that since these Cottage Cutz Halloween dies are soooooooooooooo cute, I want to make a Halloween ABC Book. Sorry I am late posting today, but I was hoping my new Cottage Cutz Halloween dies would arrive today, but no such luck. So I skipped my title page for now and started with my "A" Page.

For this first page, I used the Cottage Cutz Candied Apple die. To create the caramel covering for my apple, I used brown fuzzy paper to add some really fun texture. My pages are 6x6 so I will have enough room for some of the larger dies plus my little rhymes along the way.

Glad you could stop by today. Hope you have a fun weekend filled with scrappy time!!


Friday, October 15, 2010

Fall Is Still In The Air

Good morning!  Yes, Fall is definitely in the air.  It's a chilly 42 degrees this morning, and I'm warming up with some beautiful Fall color, both inside and out.  Outside the leaves are beginning their change, and inside I'm crafting away with beautiful papers in rust, brown, and gold colors.  I took those wonderful warm colored papers and worked them into this altered Band-Aid tin.  I used the Happy Fall Y'all and Mini Pumpkin Cottage Cutz dies for this creation.  I used colored card stock, and colored the pumpkin with my Copics, then added some sponging to the edges of all the pieces with some Tim Holtz Vintage Photo ink.  I had a little scrap of lace that I had crocheted some time ago that just fit perfectly around the edge of the tin.  I'm so glad I riffled through my scrap ribbon jar and stumbled upon that little piece of lace, and it made me so happy to find a use for it.
 Now I'm ready to fill this pretty piece with a yummy treat, or some mini cards, or who knows what.  These are so quick and easy to make, and such a nice little gifting item.   Thanks so much for stopping by today.  Have a blessed day, and happy crafting to you!


Thursday, October 14, 2010

What's brewin'?

The weekend is nearly here...which means there are only two weeks left till Halloween. Are you ready? Do you party, decorate and dress up? I've put up a few decorations but still need to decorate my pumpkins. This week I'm sharing a few Halloween party ideas with you.


I love the bubbly cauldron with the frog, bones and eyeball and used it on this fun door hanger. This would make a cute party invitation with all the essential info printed on the back.


The border punch is Martha Stewart, drippy goo.


Li'l Frankie adorns this party favor treat bag. The treat bag is so easy to make.
I printed a poem on a tag and tied it to the back of my treat bag with the ribbon.


Treat Bag
Instructions:
You'll need mini cellophane bags and cardstock. From one sheet of 12x12 cardstock you can make 4 treat bags. For each treat bag, cut cardstock 9 1/2 inches long by 3 inches wide.
Make the first score mark at one inch. Measure 3 1/2 inches from the score mark and score again, measure 3/4 inch and score again, another 3/4 inch and score again. You'll have four score marks total.

I have a Scor It board, but in case you don't, you can easily use your paper trimmer and stylus as shown here, to make your score lines. Don't have a stylus either? Use a bone folder or the dull pointed cap end of a pen.
Fold as shown here

Fill cellophane or mini zip bags with candy corn or other small candies, and fold the top over. Place the candy bag in the folded treat bag with the folded top of the candy bag inside the treat bag. Punch two holes through all layers and tie with ribbon.
Embellish as you wish and secure with ribbon.
Li'l Mummy would make cute name tags for a classroom party or place cards for the table.


I hope you've enjoyed my projects and maybe you'll try making the treat bag. It takes literally only minutes to make one. Have a great weekend. :)

Wednesday, October 13, 2010

The answer is YES!

Hi everyone!
My post today is all about wedding. I bet by now you are looking at my card and saying "wedding"? It's a squirrel, what's that got to do with wedding?
Well, I'm going to tell you. This Friday my daughter is getting married and I can hardly believe
this is really happening in two days and yes, my life is crazy right now!

I made this Going Nuts? card in behalf of myself today LOL!
I have a whole new perspective on the M.O.B. (mother of the bride)
and all the stuff she has on her shoulders. I hope I can offer help like some of my friends and neighbors have during this process.
What a nice thing it would be to receive a card like this with a plate of Peanut Butter Brownies (pictured above) or a bag of Peanut M&M's or other nutty treat.

The inside reads: Call me - I'd be glad to help
This Nutty Squirrel is so cute, how could anyone resist?
There are so many punny sentiments you can do with him:
I'm Nuts about you
Ah Nuts! I forgot your birthday
What a Nut!
to name just a few.

Tuesday, October 12, 2010

Hoo, is checking his list?

Hoo, is checking his list. . all ready for Christmas? Santa Owl is! This weeks card was made from the Cottage Cutz Stylized Owl Die. This is one of my favorite dies because it can be used so many ways. Here I did a Santa Owl. . . .Naughty or Nice.
I did the owl in a deep red, added a belt (the buckle is from the Cottage Cutz Witch & Cauldron Die). Switched out the leaves for holly leaves (used an old punch). Added a few berries to the leaves with red card stock and clear Stickle. The Santa hat is from the Cottage Cutz Doll Accessories Set #3. I used a bright red for the hat. A really heavy coat of clear Stickles for the white on the Santa hat and the white square frame. (put a normal coat of Stickles, than come back after it has dried and add an additional coat. Otherwise it will take forever to dry and warp the paper really badly because of the moisture). I used a white ink pad to sponge a highlight of white on the red of the owl .

The Santa List was made on the computer at 8point font and printed at 90%. This seemed to be the correct size for him to hold and be readable. The card base was embossed with a holly print embossing folder. I used red ink to tint the berries on the green card and edged the green card with white ink.

And I said this die had a lot of uses, This guy is not finished yet but he does make a handsome Pirate. I switched the branch out for a bone, put a sword in his hand (cut by hand, sorry) and the best thing I added was his peg leg. Cut the foot in yellow and brown card stock, split the brown and add a peg from behind. I was going to use a toothpick for the peg and stain it brown with a Copic, but just went with the card stock. His patch I used a needle and thread to add the strings and stretched to a notch on the top and side of his head. The black owl was hightlighted in white ink with a sponge. I think I am going to ink a rustic treasure map for the background for this guy.
Remember there is a cute black top hat and scarf in the Cottage Cutz Doll Accessories #3 Die, Owl McScrooge sitting on a branch with gold coins (replacing leaves) may be making a visit!!!!

Monday, October 11, 2010

Happy Monday to all of you!


Hello Friends!

Sorry I am a little late posting today. We have been having some really nice Fall weather and I know my sisters in WI have been enjoying beautiful sunshine and changing colors. For todays card, I wanted to try and achieve a shabby chic kind of feel. I think I was successful. I have been wanting to go apple picking, but haven't made it yet. I hope to before apple picking season is over. Here in New England, there are lots of places to chose from, and you don't have to drive too far. We went apple picking when we lived in Arizona, surprisingly. The groves were smaller but the apples were good. I still prefer the cooler fall weather of the Midwest and the changing colors. Massachusetts has a very similar climate as my home state of Wisconsin. I do miss the wide streets and sidewalks of Wisconsin, but New England is beautiful too!

I used two mini dies today. Apples and CottageCutz Basket Mini (currently sold out). I will be back next Monday. Have a great week!! :) Janice

Saturday, October 09, 2010

School Layout with my Fall Dies

For those of use with children and/or grandchildren, Fall also means Back to School and all of the great pictures that go with it! I knew I had to have this Cottage Cutz Hoot Owl because not only would he look fabulous on any and all Fall-themed pages, he is perfect for school pages as well. What school page couldn't use a wise old owl now and then, right?!


For this layout, I just ran the Hoot Owl die through my cutting machine one time with white textured cardstock and then used my Copic markers to color and shade him. I decided to leave off the branch to keep this little guy looking more ready for school than for the out-of-doors.


To create the flowers, I used this cool Cork Paper from Creative Impressions and my Cottage Cutz 3" Daisy. This cork paper is very thin but has such fabulous texture. The Cottage Cutz die cut it beautifully. I thought the cork flowers make for a fun and unique accent on my school-themed page.

Hope you are having a great weekend and getting some scrapping done in between the football! Keep checking back because you just never know when a new project is going to posted!! 
Ruth Ellen


Friday, October 08, 2010

You're A Hoot!

Good morning!  Today's card is literally a hoot.  This cute little Cottage Cutz owl from The Scrapping Cottage says it all.  What a hoot!!  LOL!!!  I had a blast coloring this little lady (I say lady, because I gave her some eyelashes) with my Copic markers.  She was cut from white card stock and I used the stippling technique to give her dimensional color.   I popped both the owl and the individual leaves up on foam dots, and added some faux stitching for interest.
 Thanks so much for stopping by today.  I hope you're looking forward to a wonderful weekend!  Wishing you many happy blessings and lots of happy scrapping!


Thursday, October 07, 2010

Corny Cards

Is it finally fall yet where you live? I know summer has been hanging on in some parts of the country, but that doesn't mean we can't use our fun fall dies. This week I've done two cards; the first, using the Indian corn die. I love adding dimension and texture to my projects so jazzing up the corn was a must. I've added stickles, fabric paints, and ink here. I apologize for my lousy photo -- it just doesn't do justice to the colors of the corn. It's much prettier IRL.

For my computer generated message, I've used the font, CAC Valiant. It's very "pilgrimish," don't you agree? Download this free font here!


This next card took a little more time and patience but I love the details and the finished project was worth it. The corn stalk and scarecrow dies are sold individually but look how well they coordinate together.


Again, I've added stickles and fabric paints for extra punch.


Thanks for looking. Be sure to check back tomorrow and every day for more projects!


Wednesday, October 06, 2010

"Hay" There!

I just love fall and I love using these cute fall CottageCutz dies. For today's post I used the
Hay Wagon and some fall patterned paper I had in my stash.
I thought "Hay" There was a cute sentiment for this die. Inside you could put:
I heard it was your birthday
What's Up?
I just wanted to say Thanks
I've been thinking about you
or you can just leave it blank and write your message.
One of the things I love to do when I make a card using patterned paper is to cut about an inch wide strip and decorate my envelope with it so it matches.

Hope it's feelin' like fall where you live!
Kay


Tuesday, October 05, 2010

Deck the Igloo

Deck the Igloo for the season, with Cottage Cutz. What a great gift for someone that does not have or know about Cottage Cutz Dies. These cute little guys are on the Cottage Cutz Penguin Die, you get both style Penguins. . along with clear stamps of both style faces.

This card has the general background of an igloo with the doorway. I cut ice blocks from Bazzill Bling card stock (Shinny) about 1/2" x 1" blocks , Randomly clipped the corners (all not even) than shaded the ice blocks with Versamagic Chalk Ink (Turg Gem) on the bottom edge and right side. Notice I also used the same turq ink to highlight the penguins. The Penguins are trying to untwist the Christmas lights (o' ya who put them away last year?) The lights are made with large seed beads glued onto 22 gauge wire. I start with a straight piece of wire, put a dab of glossy accents on the wire (in the center) and feed a bead onto the wire. Just as I touch the bead to the dab of glue. . twist the bead, it will draw the glue to the center of the bead and move the glue around the wire and into the center of the bead. This way you are not pushing the bead into the glue and globbing up the wire or bead trying to get the glue inside of the bead. Just feed from each side and work the rest of the beads onto the wire, let dry for a fair amount of time before twisting and looping. The igloo arch doorway is on foam dots to add dimension, and the middle penguin is on three layers of foam to really bring him out. I knew I needed a few ornaments of some sort and remembered a really old, CHEAP punch that I had bought of a fish skeleton . . . so the fish skeletons worked out well. . . .An added note, if you want the lights to be multi colored on your string of lights, and want specific colors that you may not have the beads for. . .use all clear beads and highlight the beads with the Copic markers, if you are ever stuck with clear or white beads or rhinestones. . Copic markers are great to highlight with. If you have added to much color or the wrong color. . just use your blender to change or lighten the color.


Monday, October 04, 2010

Happy Monday Morning Friends!


Todays post is some Fall wall decor. I purchased this wooden paddle for a dollar at A.C. Moore. I traced the paddle outline onto the black gingham designer paper. I cut out the shape. After adhering the paper to the paddle I then sanded the edges to distress them a bit. The dies I used today are Squirrel With Acorn, Pumpkin Scarecrow, and the Pumpkin. I used colored cardstock and patterned paper to cut the images. Distressed the edges and arranged the pieces on the paddle till I liked what I saw. I hope you like it too! Enjoy your day everyone!