Showing posts with label sunflowers. Show all posts

Friday, March 03, 2017

Sunflowers and Sunshine

Hello friends!!!

Welcome to the CottageCutz blog. this is Anita here, with another inspiration with the spring theme. Spring means sunflowers and sunshine and that is what my card brings in today.

The CottageCutz store has a wide range of spring theme dies and also stamps and die combos. You can view all of them here.

Here is my card with sunshine and sunflowers


So did my card bring a smile on your face!!!
Its very easy to make this card.

Instructions

1. Cut a white card stock a 5 inches by 6 inches and colour with water colour using shades of yellow and orange. Score the card panel on the score board at an interval of 1/8 inch. Adhere this on brown mat layer.

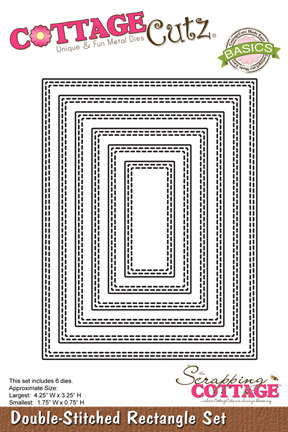
2. Cut four die cuts from double stitched rectangle die to get frames and adhere two frames together to get a thicker die cut. Add a sunflower picture at the back of one of the frames. To another frame , add a white backing paper that you get from cutting the frames. Add some water colour.

3. Adhere the two frames on the card panel as shown.

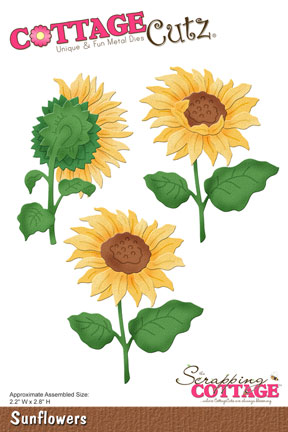
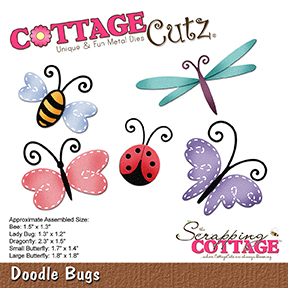
4. Cut die cuts in white water colour paper from Sunflowers die and colour the flowers and leaves as shown. Use any colouring medium of your choice. Add the dragon fly from Doodle Bugs Die

5. Adhere on the card panel with foam tape. 

6. Add sentiment, twine bow and some sequins to finish the card.

CottageCutz die used


See you again next week with more projects and inspirations from the CottageCutz.
Stay happy and keep crafting.


Sunday, September 04, 2016

Happy Fall

Hello everyone!

It's Donna here thanks so much for stopping by today!  I am here with CottagCutz showcasing the 2nd part of the Christmas and Autumn dies release. If you haven't been over to the online store, you should definitely go and take a look at all the new goodies.  The best part is the Harvest Scarecrow is 25% off plus many more of the new release for a limited time. Don't procrastinate, rush right over to the store and get some of these wonderful dies. I love them all, I have so many ideas in my head I cannot get them all done fast enough!


I am featuring several of the new Autumn release dies, so lets get started on how I created my Split Step Card, it can also be called Side Step Card.  

1.  I cut all the pieces out and inked the edges.  My table was so messy, I did not get a chance to take a picture, 

2.  I cut the base of my card 8 1/2 x 5 1/2, 

2.  I then cut and scored my paper, where the red line is you put your paper in your paper cutter at 1" and cut down to 6 3/8.  The other lines you score at 1", 2", 3 1/8", 4 1/4 and 6 3/8.  This image is not mine, I found the image on google.

3.  After cutting and scoring the base of the card, I added my layers.  On the left side the layers measurements are 2 3/8 x 3 1/8, the plaid layer 2 1/4 x 3.  On the right side top layer measurements are 2 x 2 1/4, plaid layer 1 7/8 x 2, the second step is 2 x 1, plaid layer 1 7/8 x 7/8. The layer under the grass is 5 x 1,

4.  I added a couple of layers on the inside of the card to write or stamp a sentiment.  The measurements are 4 x 2 7/8, the white piece 3 7/8 x 2 1/2,

5.  I finished the card off by stamping my image on the second to the smallest die from the double stitched square dies.

Whew, I think I got everything!  I had so much fun making this card, I hope I have inspired you to make one for yourself.


Here are some more pictures of the card:

Card laying down flat.


 Closer look of the right side of the card.


 Closer look of the left side of the card.

Don't forget to check out some of the other design teams projects from this beautiful fall/Christmas release.  

CottageCutz Dies Used:


Thursday, September 23, 2010

PLAY

We had such fun with the girls this summer and I'm not quite ready to let go of summer just yet, so I'm still scrapping photos from their visit. Here is Mila playing in the backyard with one of the kids' fishing poles. Grace was giving her pointers on how to fish. At 9, Grace is an expert now, you know. LOL

Papers for this project are from the Thrift Shop Collection by October Afternoon.


For the 3D flower embellishments, I used the sunflower die, minus the stem, pot, and faces, from the Peachy Keen collaboration release. Instead, I used buttons with ribbon for the centers, and popped the layers with foam tape for a more dimensional look. In keeping with the play theme, I threaded ribbon through and around the title letters and cut two of each letter overlapping light over dark to give a shadow affect.


Thanks for visiting the blog today, and I hope you'll leave a comment. I always appreciate the feedback. :)