Showing posts with label double stitched rectangle set. Show all posts

Monday, April 23, 2018

Friendly Llamas

Hi, Lois here today with another card using one of the CottageCutz Llamas and Botanicals dies.  You might want to check them out while they're still 25% off.  I used the die with two llamas for my card.  Again, I used one of Splitcoaststampers old sketch challenge layouts as my starting point . . .


. . . rotating it for my card.


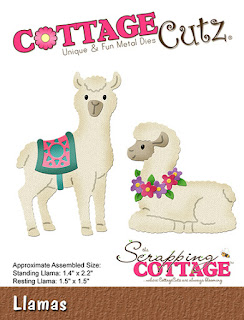
To begin, I cut all the elements of the Llamas die from white cardstock.


I then colored the pieces with my Copic markers and "built" my llamas.


Then I cut my cardstock as follows:

Turquoise cardstock - 8 1/2" x 5 1/2", scored at 4 1/4"
                                    3 1/2" x 2 1/2"
White cardstock - 4" x 4" and 3 1/2" x 4"
Dark patterned paper - 3 1/4" square
Light patterned paper - 3 3/8" x 2 3/8"

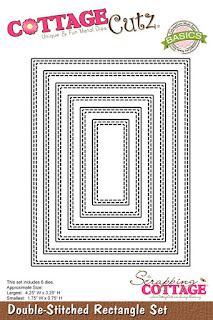
From the two small white pieces of cardstock, I cut the largest Double-stitched Square and the 2nd largest Double-stitched Rectangle.


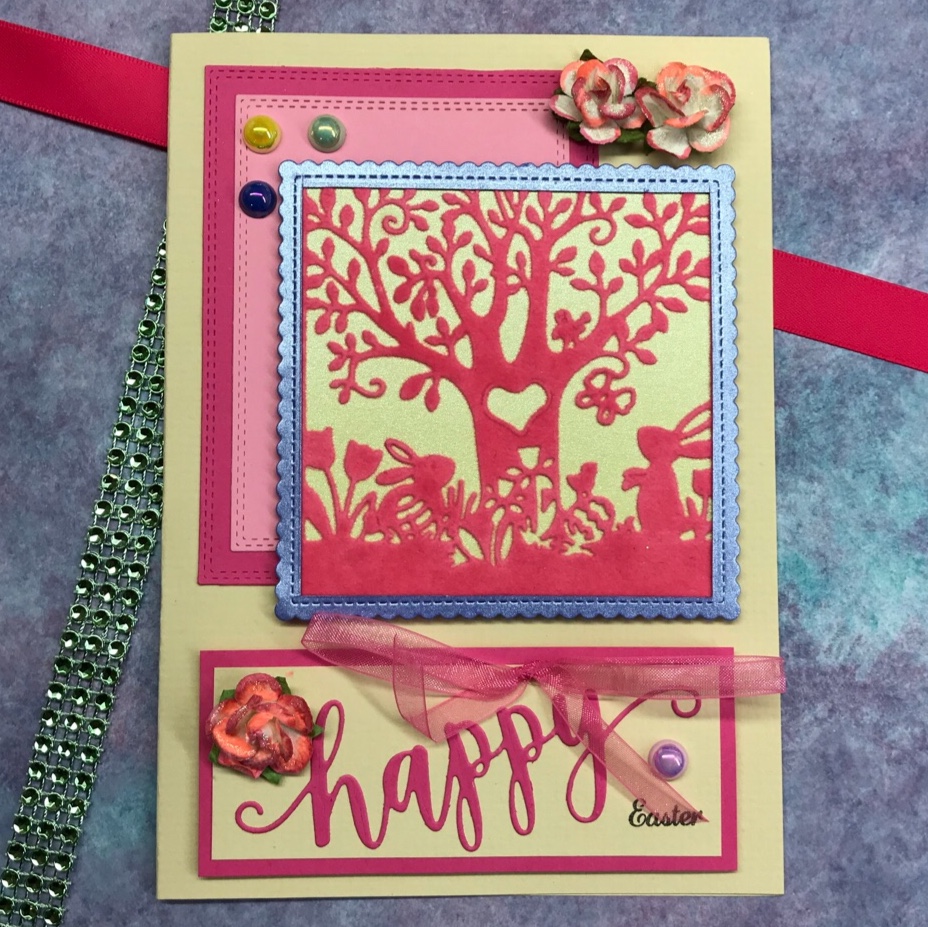
I then constructed my card following the sketch.


After stamping the small sentiment at the top right-hand corner of the yellow panel, I placed foam pop-dots behind the two llamas and placed them on the card, adding a bit of shadowing beneath them with a gray marker.  My card was complete.


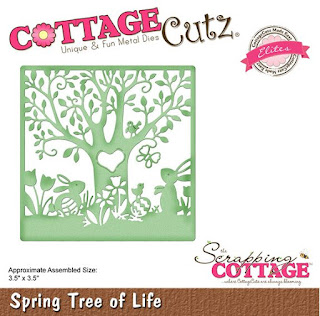
CottageCutz dies used on this card are:

http://www.scrappingcottage.com/cottagecutzllamas.aspx

http://www.scrappingcottage.com/cottagecutzdouble-stitchedsquaresetbasics.aspx


http://www.scrappingcottage.com/cottagecutzdouble-stitchedrectanglesetbasics.aspx


Wednesday, February 28, 2018

One Die Used Five Ways - Spring Tree of Life

Hello! I hope today finds you happy and in a creative spirit.

In today's video, I've demonstrated five different cards using the same new spring 2018 die, Spring Tree of Life. I really love CottageCutz's single pass dies and when I saw this one in the new release, I couldn't wait to use it.

Why do I love this style so much? Let me count the ways. First, they are super quick to cut. Just one pass through your machine and they're ready to use on your project. Second, they have such amazing detail! The art is always exquisite. Third, you can use them in so many ways and get so many different presentations out of them. How many? A lot. The video today shows five but I'm sure you can think of even more. The photo below shows my favorite of the set. I flocked the die cut for a soft and unique look. The others are different styles and size and include a few other spring dies as well.


Click on the thumbnail below or on this link to access the video.


I hope you get some great ideas to inspire you in your creative journey. Have a fantastic day!

Janet
SugarShine Designs

Dies Used In Today's Video:


Friday, January 12, 2018

Bouquet of Hugs

Happy Friday! It's Jeanne posting today.  I wanted to bring some sunshine to winter so I thought a bouquet of flowers would be nice.
Like many of my cards, I have a general idea of what I want to do but pick colors based upon one element.  In this case I knew I wanted to use this paper, so I picked the flower colors based on that.
The card base is A2 in size and I cut a panel of the floral paper to 4 1/4 x 5 1/2 inches.  I used the largest of the Double Stitched Rectangle dies for my top panel.
I measured the washi tape for the side (it was 1/2 inch) and trimmed almost that much from the floral panel.  I stuck the washi tape down to the side of the card and then glued the floral panel on top.  I overlapped the washi tape just a very little bit.
Next I die cut the flowers, foliage and vase out of various colors  of card stock and vellum.
I used Distress Oxide inks to color the edges and centers of the greenery and flowers.  I also used the Antique Linen on the sides of the stitched panel.
I used washi tape to temporarily hold down the vase while I glued the stems underneath.  Then I used Ranger Multi Medium Matte to glue down the vellum over the stems.  I used a VERY small amount.  This is the only glue I have found that doesn't show through the vellum.
I removed the washi tape and added the foliage and flowers.  I used an adhesive sheet on the back of the gold card stock before I cut it with the sentiment.  When I placed the sentiment on the card I overlapped the vellum vase and this helped hold that down.  The flowers on the top did the same thing to the top of the vase.

I adhered all layers together and used a few sequins for a bit of sparkle.
http://www.scrappingcottage.com/cottagecutzflowerbouquetjar4x4.aspx

http://www.scrappingcottage.com/cottagecutzdouble-stitchedrectanglesetbasics.aspx

http://www.scrappingcottage.com/cottagecutzexpressionsplushugsphrase.aspx

Thanks for stopping by - I hope you find time to do something creative this weekend!


Friday, December 01, 2017

Hope for Healing

Hi Cottage Cutz fans.  It's Jeanne posting today with a card of encouragement for those courageous women we know who are battling breast cancer.
I started this card by watercoloring a piece of 6 x 5 inch mixed media paper in three different shades of pink - Blushing Bride, Pink Pirouette and Primrose Petals.
I then cut it down to fit the front of an A2 size card base.
I used the second largest rectangle from the Double Stitched rectangle set to cut a white panel for the front and I used two shades of pink for the sentiment.
I found the two shades of pink made the ribbon stand out a bit more.

This card was also entered into this week's CAS Colours Sketches challenge blog sketch challenge.
Dies used:
http://www.scrappingcottage.com/cottagecutzhope.aspx
http://www.scrappingcottage.com/cottagecutzdouble-stitchedrectanglesetbasics.aspx

Thanks for visiting today. I hope you have a great weekend and find some time to be creative!


Tuesday, January 31, 2017

Flip Calendar - Part 1

Hi, Lois here today.  I was really excited when I saw that CottageCutz was making dies with coordinating stamps.  I've created a project that will cover my next three blog posts.  As you may or may not know, I love making 3-D projects as well as cards.  When I saw two of the dies from the CottageCutz Valentines 2017 release (Calendar Months and Calendar Icons), I immediately knew that I wanted to make a calendar of some sort.  My idea solidified itself after I saw the new stamp/die sets being released.  Here is a photo of my finished project.  My follow-up posts will explain how I made it.


Supplies for today’s post:
Cardstock – white, various colors based on choice of patterned paper
Patterned Paper – DCWV All Seasons 12” x 12” pack
Small monthly calendars or Excel spreadsheet software
CottageCutz dies – Calendar Months, Calendar Icons, Double StitchedRectangles


To start my calendar, I die-cut the months of the year and the icons.  I cut the icons from white cardstock and colored them appropriately with markers.  In addition, I cut a white panel using the largest Double Stitched Rectangles die.


I created a calendar for each month using Excel, cut it out as well as the background cardstock and appropriate patterned paper for each month.  The color scheme of the patterned paper determined the color of the base cardstock.  The photo here is for the month of January.  Each page of the calendar was created in a similar manner.


After adhering the panels onto the blue background panel, I adhered it to a 5 ½” x 7 ¼” white panel.  Each calendar page is two-sided so that the final calendar has six panels (January/December, February/November, March/October, April/September, May/August, June/July).


In my next post, I'll show how I made the scenes on the individual months.

Dies used on today's post are: