Showing posts with label Web. Show all posts

Tuesday, October 11, 2022

Halloween Decorated Treat Jar

Happy TuesDIE Cottage Cutz Friends!
Melinda here with you on this terrific Tuesday. Today I am sharing a little treat jar I decorated with some dies from the super cute new Halloween Release.
Here is a look at my cute little jar. It is a mini glass candy/apothecary type jar I picked up at the Dollar Store. I decided to decorate it with several of the dies from the Halloween release.
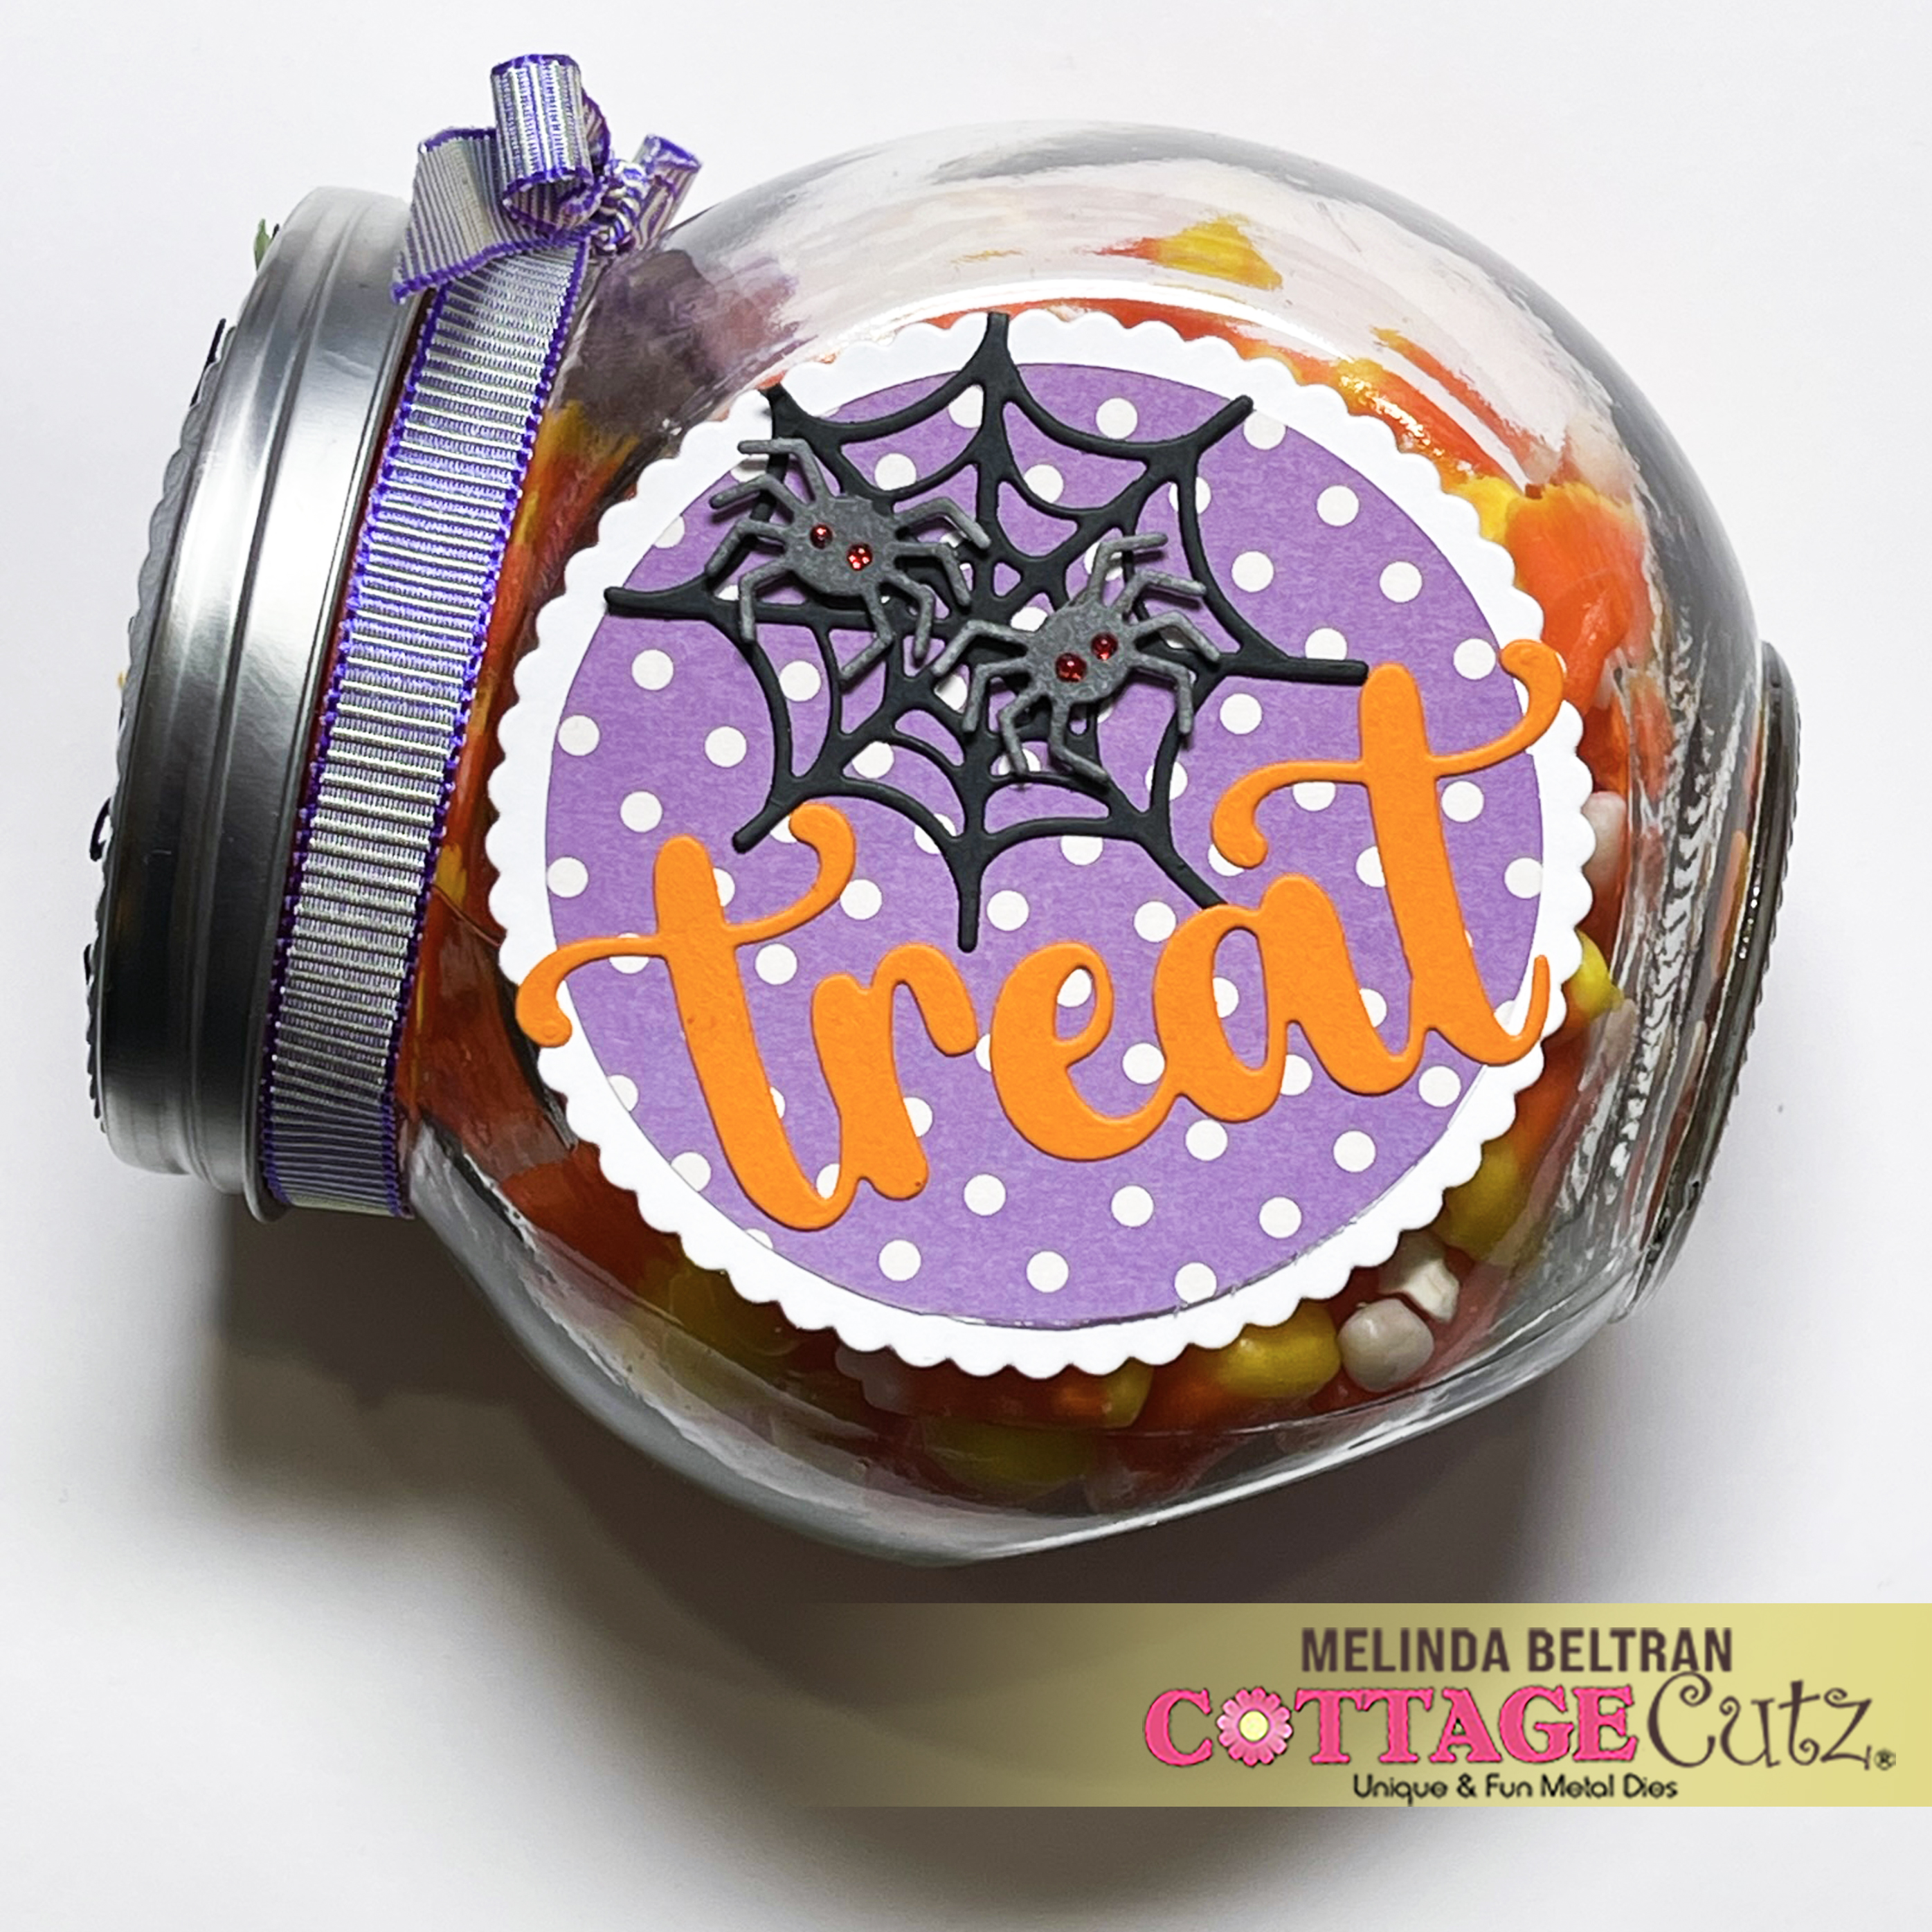
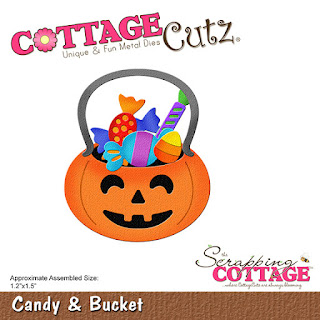
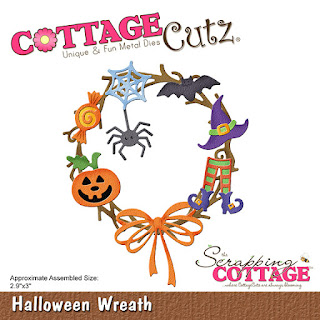
Here's a closer look at the lid. To decorate it I started with the super cute Candy & Bucket die. I mounted that onto a purple polka dot circle mat. I used a black wreath from the Halloween Wreath die and then mounted all of that onto the nested scallop die.


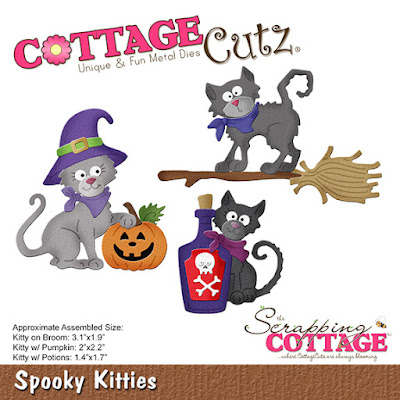
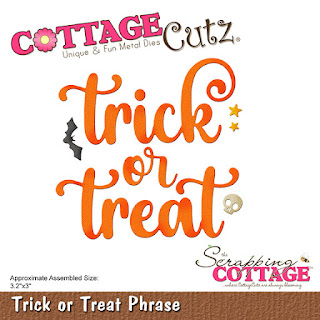
Here is a closer look at one side. I used the same polka dot paper for the circle mat and mounted that onto the white scallop nested die. I then cut out the word Treat from the Trick Or Treat Phrase. Then I used one of the adorable kitties from the Spooky Kitties die and decorated my little furry friend with the hat and the cute little handkerchief.

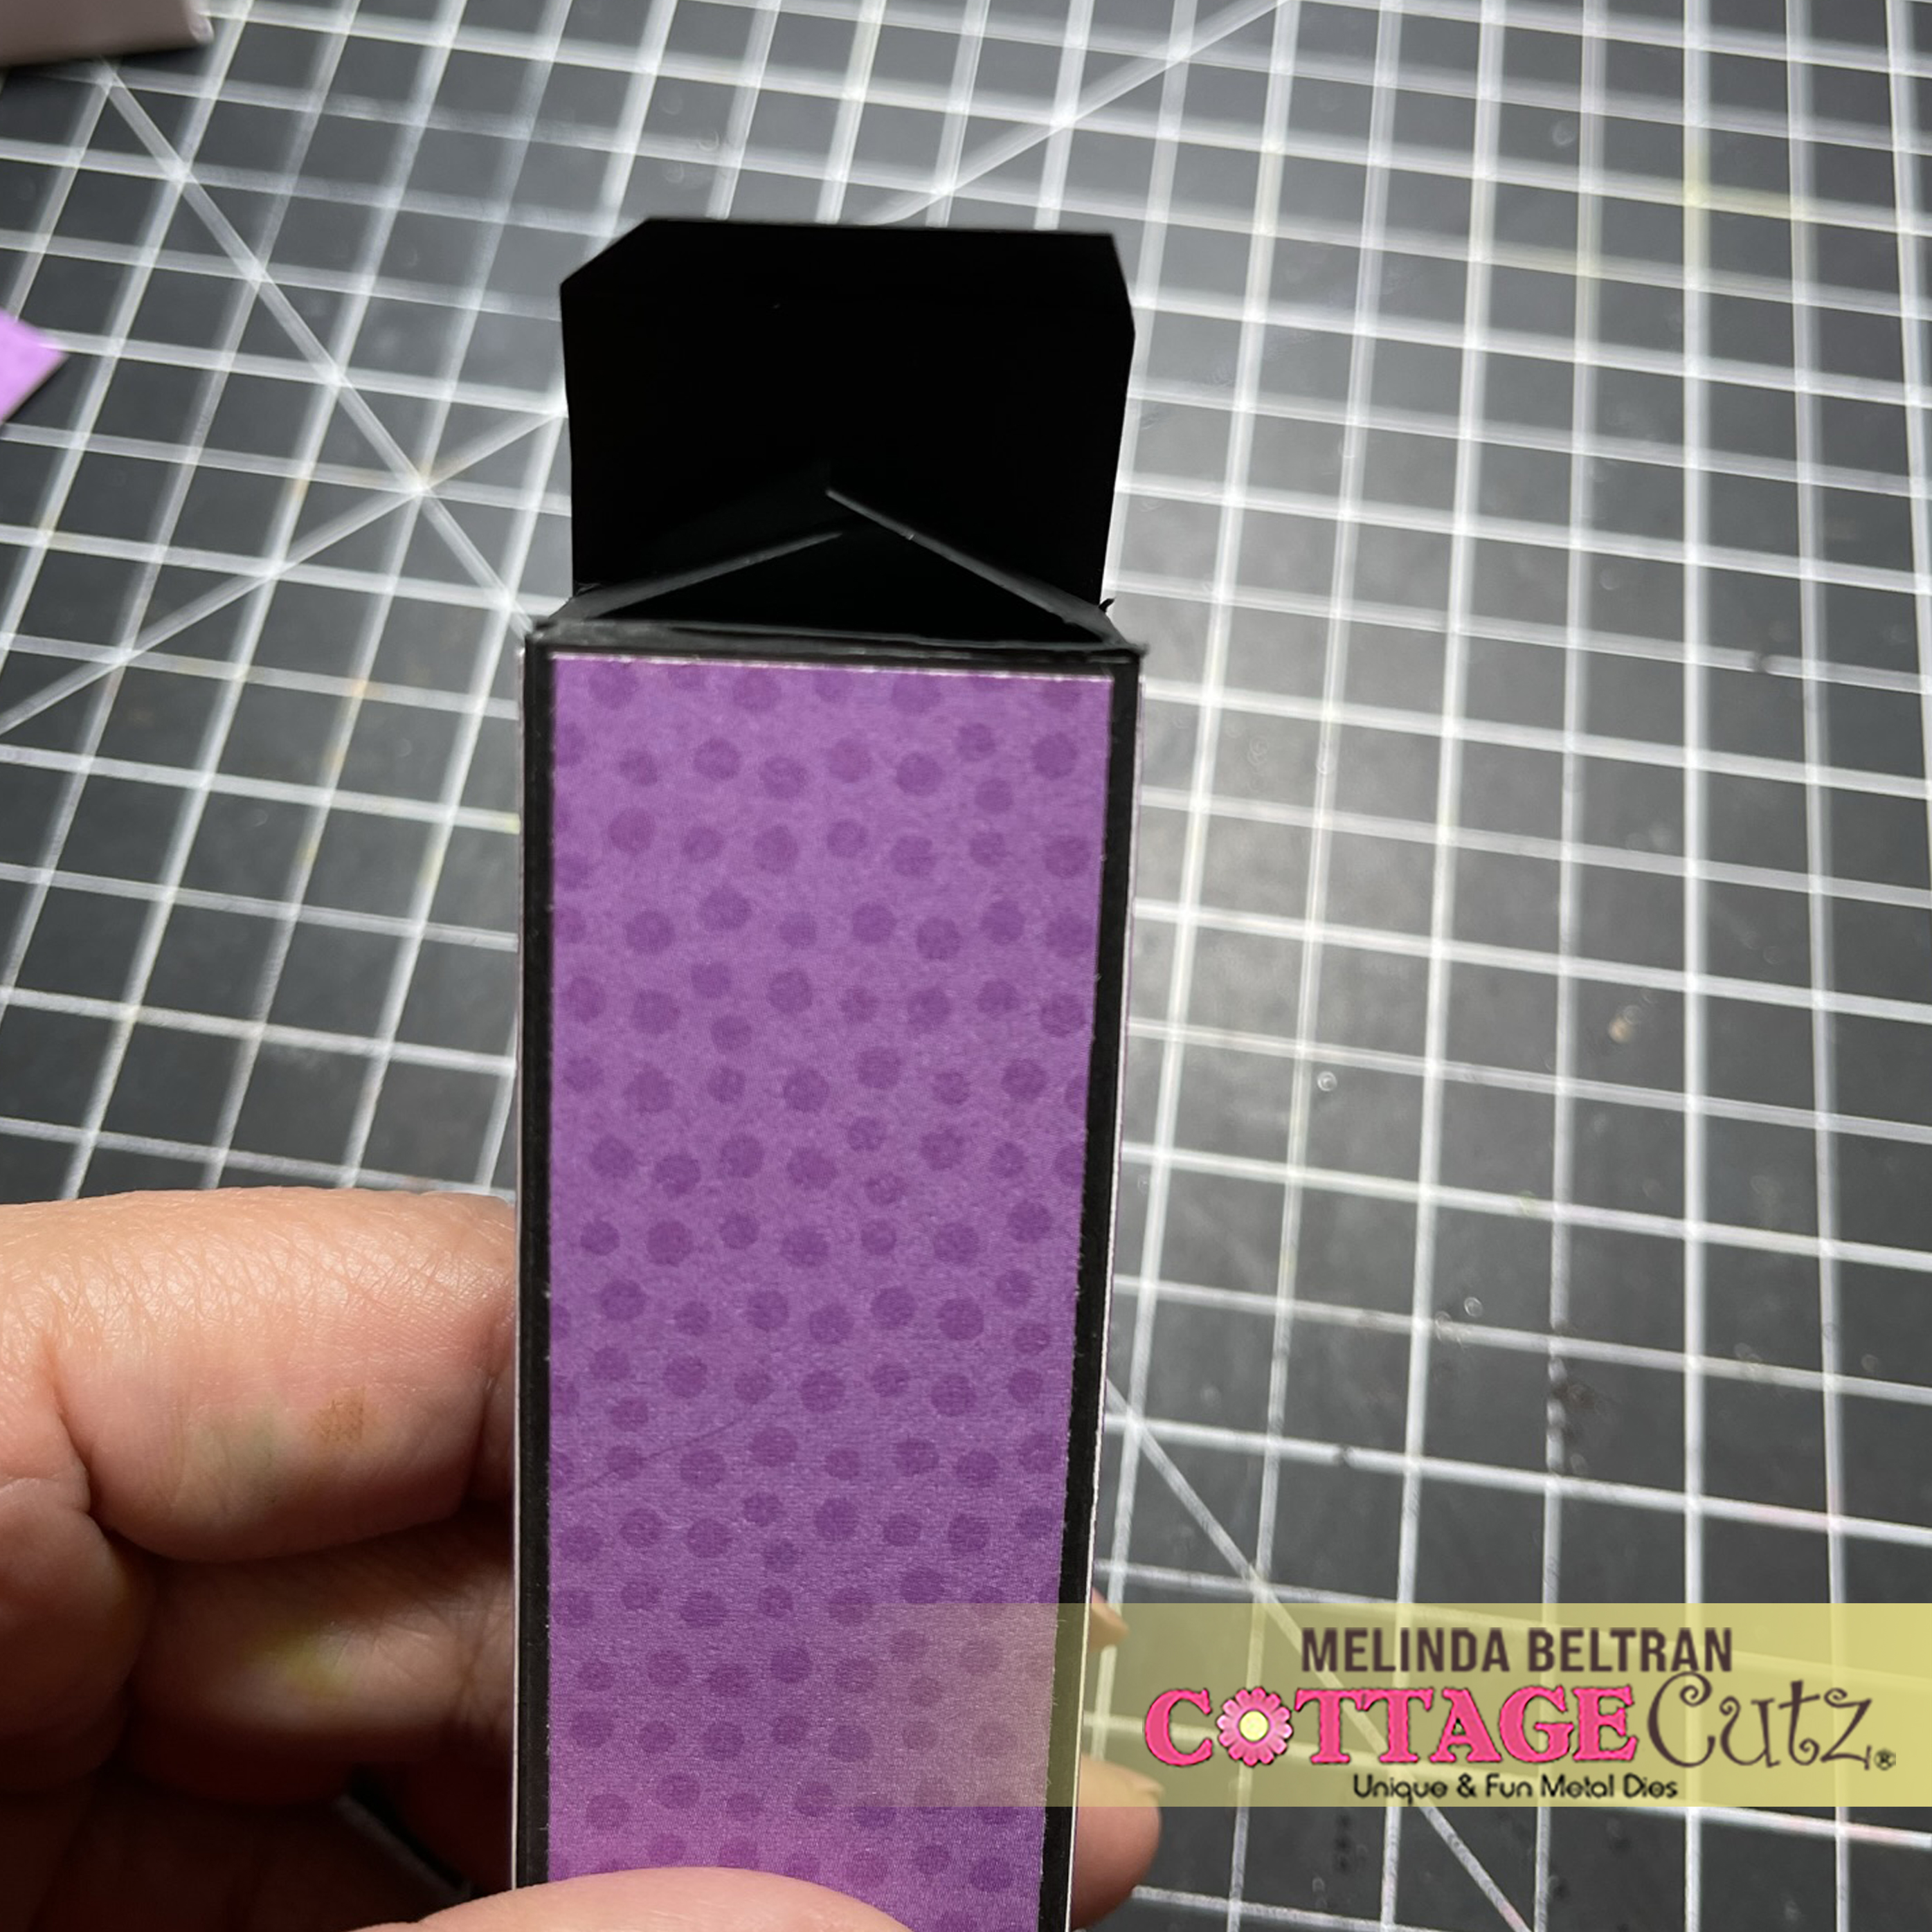
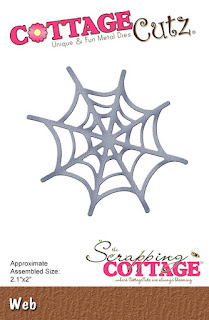
For the other side I once again used the same scallop circle and plain circle polka dot mat. For this side I once again used the word treat from the Trick Or Treat Phrase die. For this side I added the spider web and two of the spiders from the Jack O Lantern Witch.
Here is a view of the jar opened up. I finished it off by tying a bow with some ribbon around the neck. I added in some of Halloween's most recognized treat, some candy corn! I love how this turned out and will be taking it to work.


Don't forget to head over to the CottageCutz YouTube channel and check out all of the amazing projects on there. Our video team is doing a wonderful job of filling the channel with all sorts of creative content! You don't want to miss it!


Web


Nested Scallop Die set


Here's a look at the entire release. Be sure to head over and grab them while they last!

Well that about covers it for today! Until the next time, have a wonderfully craft-die day!
Melinda Beltran

Sunday, October 09, 2022

Halloween Release Design Team Samples (Part 2)


Hello CottageCutz friends! Thanks for taking the time to stop and visit today. We are sampling DT cards from the Halloween release.

There are 22 new designs in this release. So many whimsical images that are perfect for your Halloween card-making. They are currently on sale with 30% off individual dies. The sale is just for a limited time so hurry over to the online store to make your selections.

Group Posts give you the opportunity to see more card samples from the Design Team. We have 4 samples for your viewing pleasure today.

Card 1: Our first sample today is from Marla Harris. She created a colorful indoor scene that has such a fun vibe to it. Nothing scary here just cuteness overload! The dies she used are Cauldron, Witch LegsWitch Hat, Candy & Bucket, Web, and Potions Bottles. The candy phrase is from the Candy Cart die (May Sweet Treats) 

The floor was done with vintage photo and walnut stain distress oxide inks. Her wall is inked with seedless preserves distress oxide and splattered with water. The images are all Copic colored. She even added white glitter to the spiderweb for a little extra sparkle.


Card 2:  Our next sample is from Linh Van. I love the playful and whimsical appeal of her Halloween shaker card. She created it with the Witch HatWitch Leg, Jack-o-lantern WitchSpooky KittiesPotion Bottles (spider on pumpkin), Web and the Spooky Web Tree (the spider hanging on the web) dies.
 
For the shaker windows, she used solid color cardstock in bright colors that are perfect for her images. Her sentiment is stamped and embossed with embossing powder.  

Card 3: The next card is one that I (Mary Marsh) created using the Haunted Ghost House die and created a nighttime spooky scene. I used distress inks - black soot, villainous potion, carved pumpkin and forest moss for the ink blended sky. For the moon I used a circle die before sponging my background colors. 

The welcome phrase is from the Bee Phrases die (June 2022). Did you catch the bone that is holding up the side porch roof!!!
Sample 4: Our last sample for today is from Jen Hartsgrove. We know that we have scrapbookers out there that follow our Blog and purchase our dies. So, we are trying to give those crafters a way to use our dies in their layouts. Jen has done this on several of her YouTube videos - check them out here and here

For this layout she is featuring the Haunted Ghost House and paired it with some great designer papers to create a fun and not spooky layout. Her layout is all set for her to add her photos and title. 
I hope you have enjoyed the samples for today and that we have given you some ideas on ways to use these new dies. The team will be posting all week on the Blog & YouTube so make sure you check back each day for ideas. There is still lots of time to order your dies and get cards made for Halloween.

Dies used to create today's samples:


Tuesday, October 04, 2022

Halloween Treat Box and Card Set

Happy TuesDIE Cottage Cutz Friends!
Melinda here with you on this terrific Tuesday. Today I am sharing a fun and very easy card I created featuring dies that are part of the new Halloween Release.

Here's a look at my card and treat box. 


Here's a look at the card. It is a standard A4 Top Folding card. I started with a black cardstock base. I then adhered a purple mat and a yellow mat. I used the Spooky Kitties die to create the adorable kitties. The die includes the pumpkin, the bottle and the broom. I added a Web to the background. I mounted them onto a pierced circle and then mounted all of that onto a scalloped circle.

For the background I added a couple of cut webs for the top corners and then I added 


Here's a look at just the box. It was made to fit 5 little mini candy treats like the kind you get in the bulk bags. The little mini milky ways is what I used.

To create the box
For the base you start with 4.25 x 8.5
To create the box you need to score it along the 4.25 side at 1.25, 2, 3.25 and 4
for the 8.5 width you need to score it at .5 and 1.25 on each end.
Then you will need to cut it on both sides where I have the "X's" 

Here's a picture of what it looks like when you cut it on both ends.
Then you apply adhesive to the .25 piece and fold up to create the body of the box.

This is what it will look like when you have glued the two long ends together.
Then all you have to do is close the ends.

Here's a look at my black box and the mats. For the mats I just cut them an 1/8 of an inch smaller than the box sides. You will cut two at 1.125" x 5.825" and the other two are .625 x 5.825

Not pictured above is the little mat for the top of both flaps. You will need to cut two at 1.1/8 x 6.25
Of course the mats can be whatever size you like depending on how thick you want the borders to be.


Here's what the flaps on both ends will look like.


After I completed the body of the box, I used the cute Jack O Lantern Witch to create the cute little pumpkin lady. I added a little gathered tool to create a sort of tutu skirt for her. I then added some legs and decorated her. I mounted her onto a pierced circle mat cut from some cute yellow diagonal plaid patterned paper and then all of that onto a purple circle pierced mat and all of that onto another scalloped circle. I did this to kind of match the look of my card.

I then added the kitty, the tiny spider and web to the top. I added glitter and white gel pen lines to give it all a little extra decorative touch,

Here is one last look at both projects

Don't forget to head over to the CottageCutz YouTube channel and check out all of the amazing projects on there. Our video team is doing a wonderful job of filling the channel with all sorts of creative content! You don't want to miss it!


Dies I Used


Web


Nested Scallop Die set


Pierced Circle Set


Here's a look at the entire release. Be sure to head over and grab them while they last!

Well that about covers it for today! Until the next time, have a wonderfully craft-die day!
Melinda Beltran

Monday, September 26, 2022

Spooky Castle Pop Up Card

Happy Monday, crafty friends!  Kris here with a super easy-to-make inside pop up card featuring dies from our Halloween Release!

Here's the inside of my card...

And here's the front...


There are 21 dies in this release and they're currently on sale with a 50% discount on the entire bundle or 30% off individual dies for a limited time ~ so hurry over to the online store to make your selections!!

I used the Spooky Halloween Castle, the Spooky KittiesSpooky Fence Mini, the Web and Graveyard for the inside of my card - and for the front, I also used Trick or Treat Phrase, and Spooky Truck (just the spider).  As always, you can click on the pictures to see them larger. ☺

Design Steps:

I started with a piece of white cardstock cut at 5-1/8" x 3-7/8".  

I made a circle stencil from a scrap piece of cardstock by die cutting the 4th largest of the Pierced Circle set from the middle of my paper and alternating the positive and negative die cuts to sponge Distress Oxide inks.  I then misted with water and let dry.  Then I spattered white paint mixed with a li'l water over the top and heat set it to dry.


I cut my card base from Granny Apple Green cardstock at 5-1/2" x 8-1/2," scored at 4-1/2" 

I layered a piece of black cardstock, 5-1/4" x 4" to the inside upper half of my card, then attached my sponged piece on top.

I cut a piece of blue patterned paper at 5-1/4" x 3-1/4" and attached to the lower inside half of card. (see photo below for placement) 

I computer-generated my sentiment onto white cardstock, then cut it to 4-3/4" x 2-3/4".  I sponged the edges with Rich Razzleberry ink and centered it onto the blue patterned paper.

I then added my black silhouette tree and web to my inked layer before adding the mechanism as it will cover up part of the tree.


Now to make our POP UP feature!  

I cut a piece of black cardstock at 5-1/2" x 3-1/2" and then with the short edge along top of score board, I scored at 3/4", 1-1/2", 2-1/4", and 3".  Then I added tape to the last 1/2" piece and attached the other end to it to make a long box!


To add it inside my card, I added tape to the bottom side of my box and laid it down so it's just up to the score line w/out going over it.  (see photo below)

Then, I added tape to the adjacent side that will be attached to the "Back".  Then I closed my card front down over it and pressed.  Easy Peasy!!


I created a smaller pop up box to give dimension to the gravestone by cutting a pc. of black cardstock at 3/4" x 2-1/2" and scored it at 1/2", 1", 1-1/2" and 2" then folded score lines and attached the ends. I glued it in place by pressing it up against the inside back (blue) part and down.  Then I added the gravestone to the front section with glue.


And then I added all my elements as pictured  ☺


For the front, I cut a piece of rainbow glittered cardstock at 5-1/4" x 4".  Then added my die cuts and made them pop a li'l with a white gel pen... and DONE!!  ☺

PRODUCTS I USED:


Check out the whole HALLOWEEN RELEASE HERE!


I hope I inspired you to get crafty with your favorite CotageCutz dies ~ Have a blessed week ☺

~Kristine

❄❄❄

We are happy to announce that CottageCutz dies will be available for purchase in a boutique in Southern California. If you're in the neighborhood please drop by!

Wild Skyes
42050 Main St.
Temecula CA 92590

❄❄❄